|
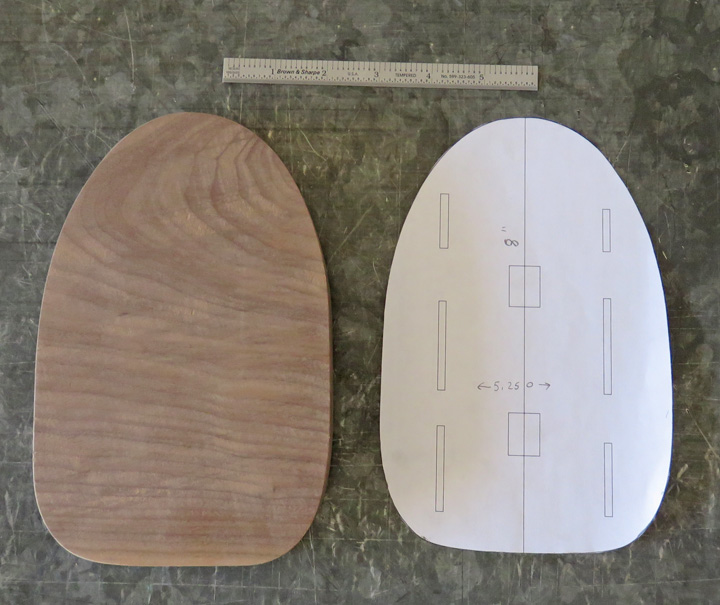
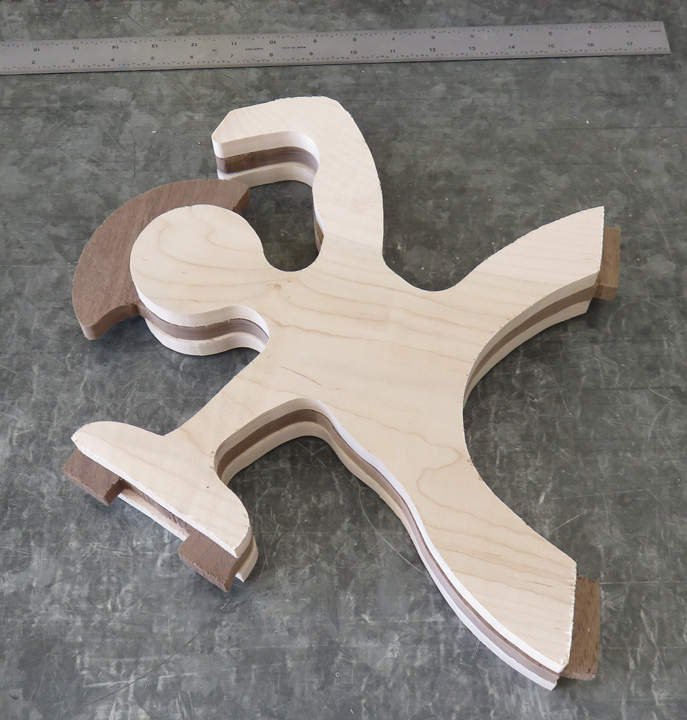
After a few minutes with my belt sander and some hand work, this piece
is about half finished. What remains are some slots and tenons (pockets), like
you see in the template and some rounded edges. The two tenons towards
the center are what will hold this piece to another part and the six slots
will hold all the knives. The size for this piece is 8" X 5 1/4".
Speaking of knife slots, I still need the width of Tracey's chef's
knife that's at her house. To get this info I called her boyfriend (the new boyfriend) and asked him
if he had seen her chef's knife or is it still packed away. He said that
he saw it and would get me the size. The next day he called me
back and I was good to go (I guess we'll see how good he is with measuring), but now it's time to work on another piece.
|
|
 |
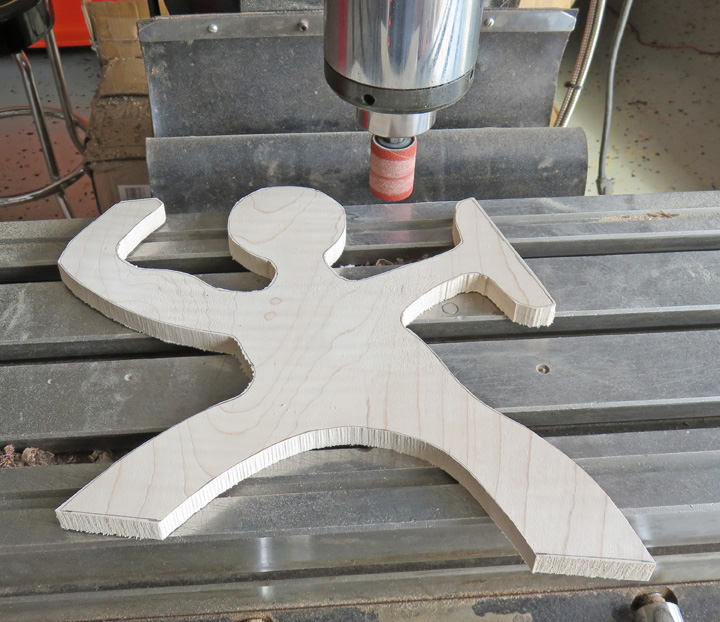
After sawing out these pieces, I sanded close to the
traced line. A drum sander would be ideal for this but I don't have one.
But what I do have are some 1" diameter X 1 1/2" long old sanding
drums that were sitting around at my work so I took a few home and used
them in my milling machine. I cranked the RPM up to 1800 and let the 80
grit sanding drum eat away.
|
|
 |
|
I placed the sanding drum right next to the mill table
and just below it. This way I could rough-sand right up to the line and
it worked out great, but it took awhile.
|
|
 |
Ahhh....more clues about the project here. Sanding with the drum sander
is a little slow but worked really well. I couldn't get to one small one
area but I have a plan for that later.
|
|
 |
|
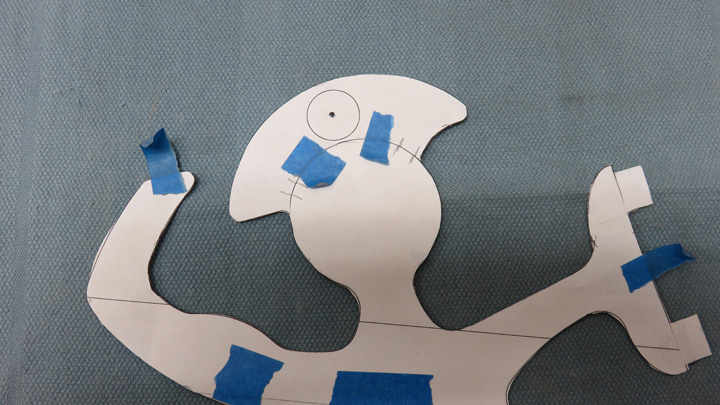
The only difference between the maple (outer) and the
walnut is the piece I added to his head below. The 'helmet' if you will,
does a couple of things: it gives our guy a unique look and the 'circle
area' will come into play later on. The two sets of lines near the tape
is how I lined it up. After printing this out, I placed one over the
other and then marked it like you see below. Then I cut away everything
I didn't need and put some tape between the two.
|
|
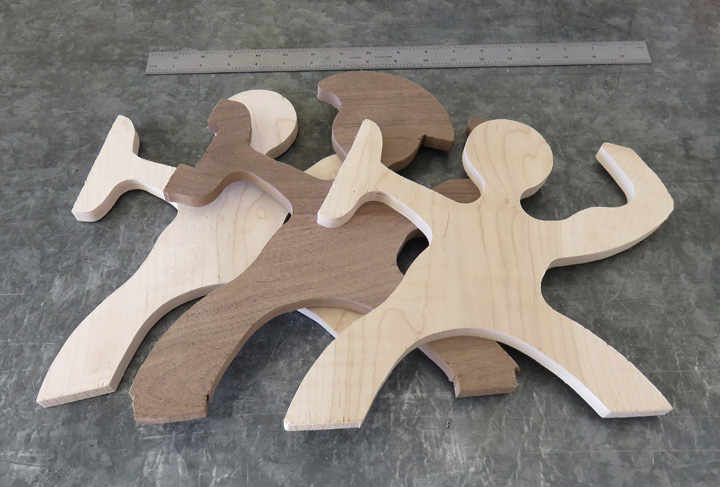
This is how things will sit once everything is glued together, like a
sandwich, but remember this is only roughed out and I have a long ways
to go yet. Let's take a look at what I came up with for the base on this
project.
|
|
 |
|
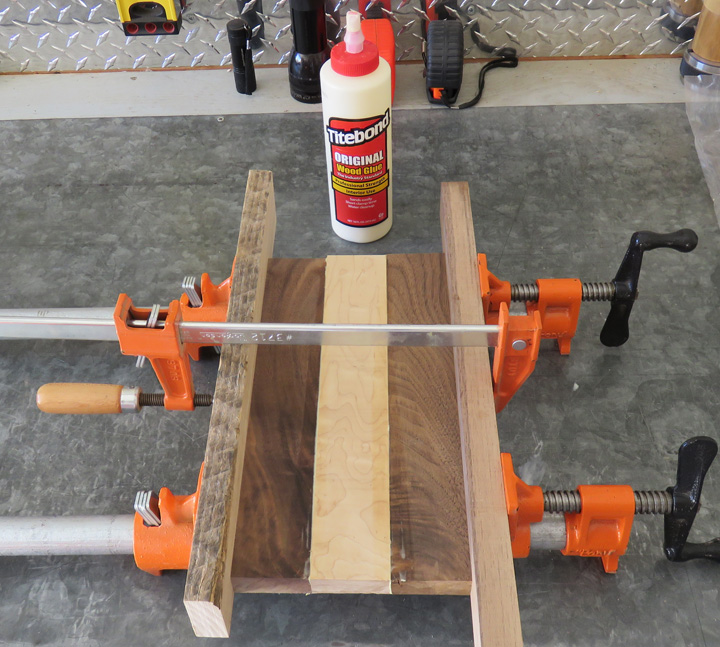
Remember I said that I went through my scrap pile and found some
material? Well here is what I came up with. I had more black walnut and
a small amount of maple too. What I decided to do was combine the two
which would give me enough to make the base out of.
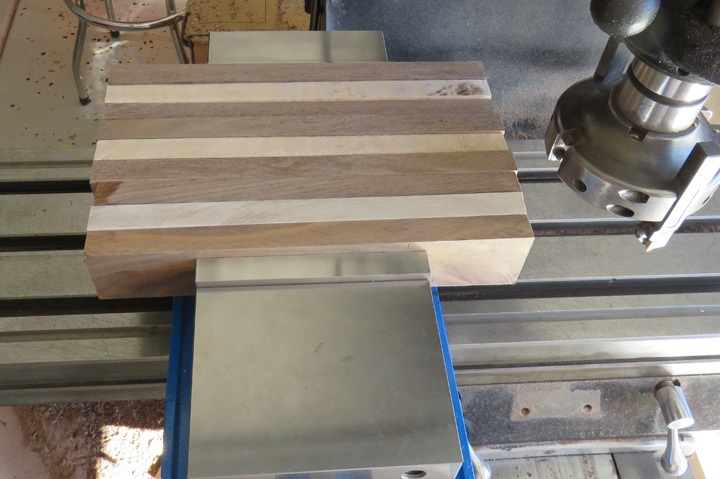
Here I'm milling what will be the sides of the pieces that will be
glued together. I was able to fit all nine pieces (enough for three
bases) into my vise. Once all the edges are cleaned up I'll glue them in
groups of three.
|
|
 |
|
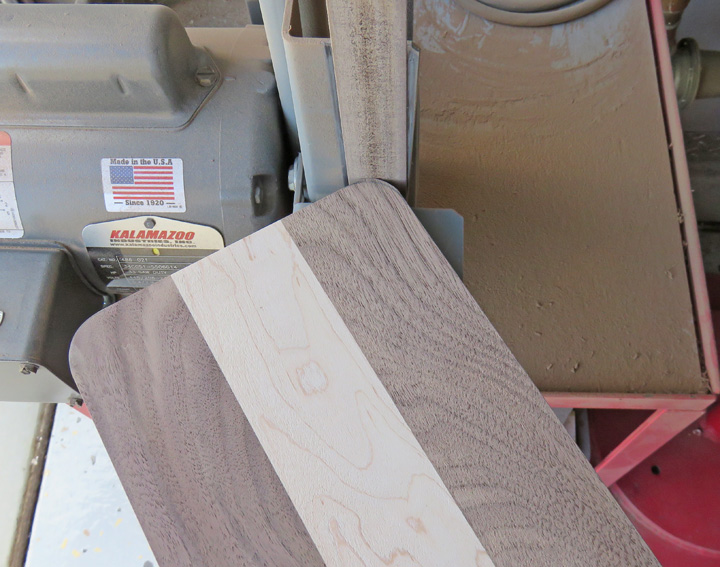
By using two pieces of walnut and one piece of maple,
I had just enough to make the size I needed.
|
|
 |
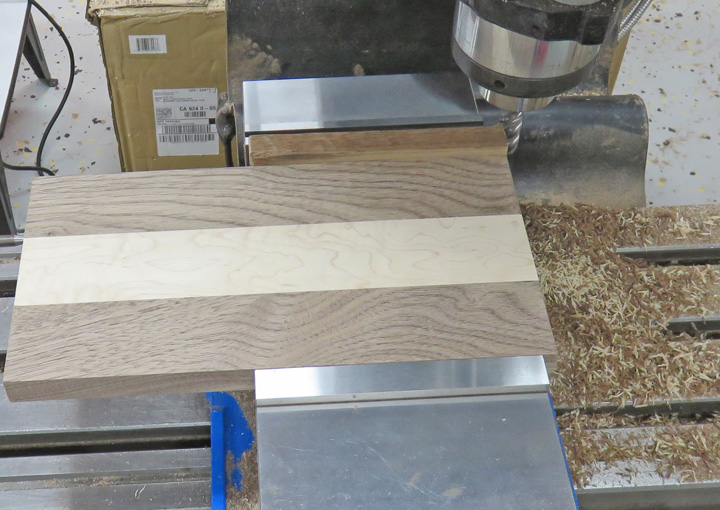
I surfaced the top and bottom and then squared both the sides and
ends. Notice the scrap piece of wood against the solid jaw (next to the
cutter). This helps prevent the wood from chipping or breaking at the
corner. The size of the base is 11 1/2" X 6".
|
|
 |
I used a 1 1/2" diameter socket as a template for each corner, then I
used my belt sander and worked to my pencil line (look close and you can
see the line). This was quick and very easy to do. I'll need to put two
tenons in this piece later so it's time to set this aside and work on
something else.
|
|
 |
|
1
2
3
4
5
6
7
8
9
10
11
12
13
14 |