|
Christmas Presents 2015
Three months before Christmas, I got an idea for a present that I wanted
to make, but the way that unfolded was very unexpected. In a nut-shell,
in 2010 my daughter Tracey moved out of state to be with this guy and get a new job,
while driving through Nebraska she hit a deer, it totaled her car, they
broke up a little over a year later, she moved back home with most of
her stuff. The 'old boyfriend' refused to send the remainder of her
things back. Five years later, some mutual friends of theirs
found her stuff, asked where they could send it and a week later, two
large boxes arrived at my work and I took them home.
A couple of weeks later, Tracey came by the house to open her boxes
and found all kids of things, most of it was hers... and some was not.
When she was going through it all she found many boxes of shoes, this
thing and that thing, but then she found her knife set that she used
during culinary school and got all excited. I told her that she could
leave them with me and I'd sharpen them for her, so she thanked me and
then finished going through her stuff. Little did she know that I had a
plan as soon as I saw them and it didn't involve sharpening her knives.
My plan was to take some measurements and make her a knife
holder. Side note: Turns out they were all still sharp...lucky
me!!
The next day I opened her knife set to see what I'd be working with.
There was good news and bad news here. The good: she had a really nice
set of cutlery. The bad: I needed six knives and she only had four in
the set. She mentioned that she had one of the knives (a Chef knife)
packed away somewhere when she was going through the boxes, so this was
another problem.
So what do you do? Well one was easy: I went online and looked for
one that she didn't have. And a week or so later I had my fifth knife,
which was good news, the bad news....it was very expensive! But you know
how it is, nothing's to good for your kids...right?
Now how about the sixth knife? Well... I'll get to that a
little bit later.
|
|
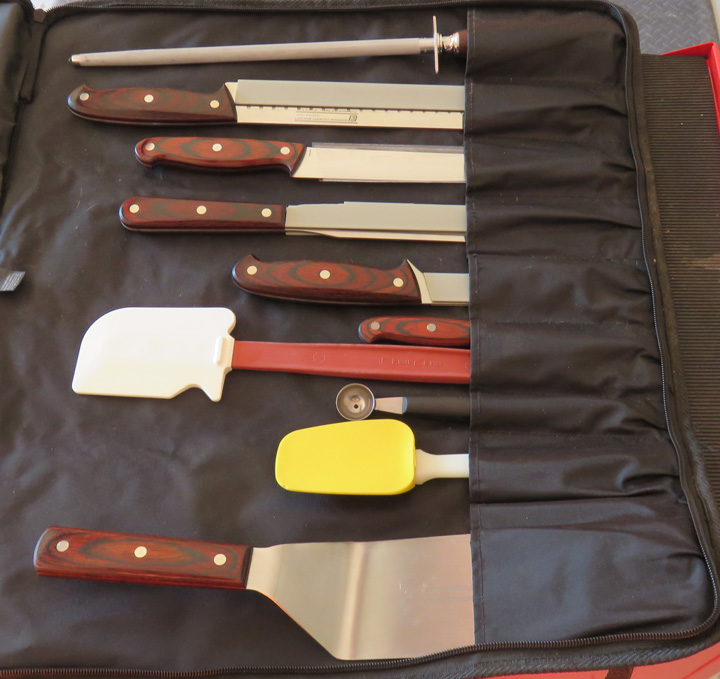
Here is Tracey's knife set that gave me
the idea for this project. I won't be using everything only five items.
|
|
|
|
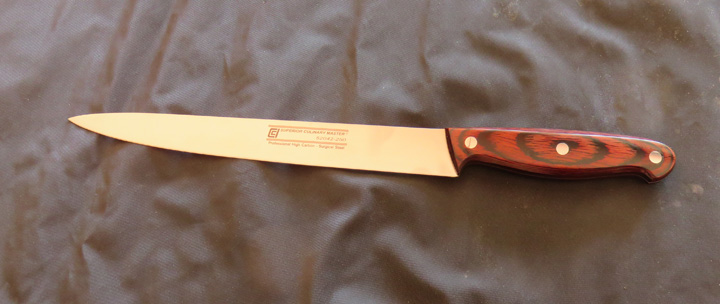
Here is the new knife that I bought her. The blade is
9 1/2" and the overall length is 15" long. It's called a 'Carver' and it's really nice.
|
|
 |
|
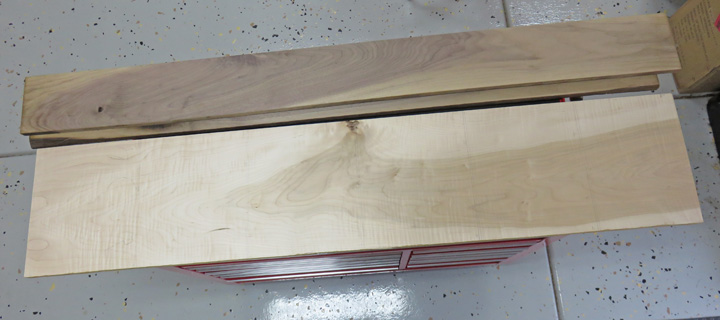
Black Walnut and Figured Maple
As I was in the planning stages for this project I got
another idea, how about making two knife holders? I mean is, while I have it
setup for one piece, it's not much harder to make two of something...so why not!!??
I made my materials list and headed down the road to my
favorite wood place,
Reel Lumber in Riverside,
CA. These guys have all kinds of nice wood so if you're in the area be
sure to check them out.
One thing I found out while I was at Reel Lumber was that black walnut had a change in policy and price. Now it's
been over a year or so since I've bought this species and it was an eye
opener for me. Why? Because the last time they would cutoff a small amount
for you, just as long as you left a minimum of eight feet in the rack.
What I needed was a width of 12" X a thickness of 3/4" for my project but now you have
to buy the whole board. That's not so bad but when all the wide boards
are right at or over 10 feet long and with the price now doubled, this was a
problem. Maple on the other hand was like I remembered it, they would
cut what you wanted or needed even if it's 'figured maple' like I wanted to use.
And it wasn't very expensive either so I bought some nice figured maple
that was 12" wide by 3/4" thick.
What I did for the black walnut was settle for some smaller pieces that were in the discounted rack and planned on gluing them
together for the width I needed. This worked out just fine and I saved a
few dollars in the process.
|
|
|
| Now if you've ever seen or read about some of the
projects that I've made in the past, you've probably noticed that I've had the
luxury of using the machines at my work. This project on the other hand
will be made entirely in my garage this time. That means it will be more
time consuming but it also means that some of you could do something
like this as well. And if you're wondering what style, shape or size of
knife holder that I'm making...well....let's just say it's not your
conventional knife block. Then again the people that know me would
kind of expect that.
Ok... back to the Christmas presents. The first thing I needed to do
was glue some black walnut together so it would be large enough for my project.
What I'm doing here is squaring up some edges prior to gluing.
|
|
 |
|
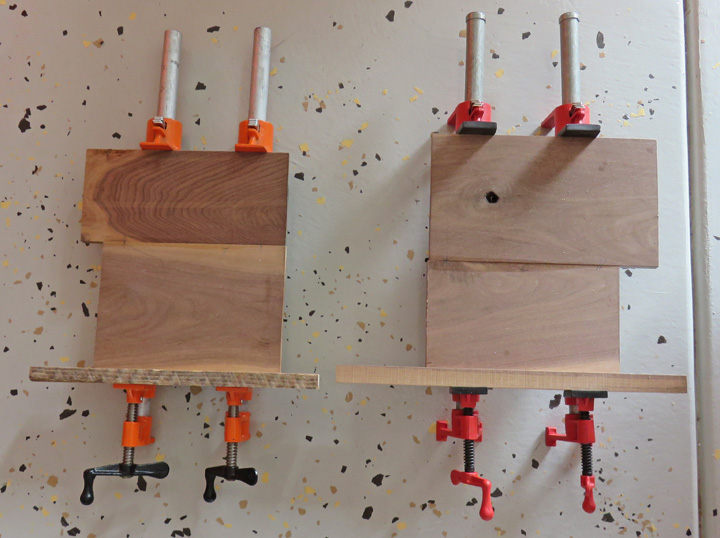
Next it was time to get out the clamps and put the
squeeze to them. And if you're wondering why the boards are not the same
length, you'll have to wait and see.
|
|
 |
|
While the black walnut was drying, I started working on the maple
pieces. And then it hit me, I wonder if one of our other kids would want
one? What I mean is, we have four kids but only one of them has a knife
block full of knives, if memory serves me correctly. So I talked it over with my wife and we decided that
I'd make three of them. That's all well and good, but I only bought
enough wood for two...so now what?
I could have just made another trip down to Reel Lumber but before I
did that, I decided to check my scrap wood pile to see what I had. One thing lead to another and I came up with a way to make
three of them without taking another road trip.
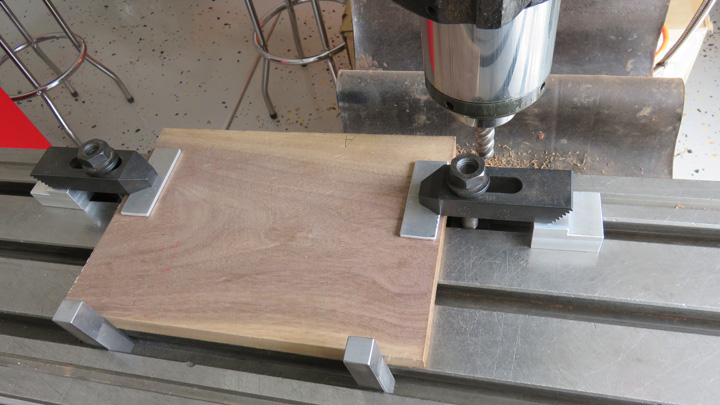
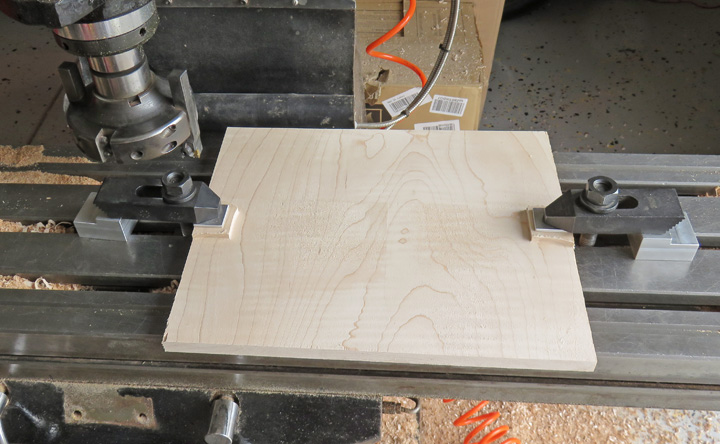
All of the wood is 3/4" thick and I need it to be 1/2"
thick. To get
the first side nice and flat while it was clamped, I used feeler gages
under each corner so the board didn't rock around. Once I had it sitting
like I wanted, I skimmed that side (minimum clean-up). For the opposite
side I could now lay it on the table and clamp it down without any shims. Notice I had to
work around the clamps below. This is
a slow way of doing things because you can't just take off all the
material with one cut, you have to make many passes at different depths
as you go,
which means going back and forth a bunch of times.
|
|
 |
|
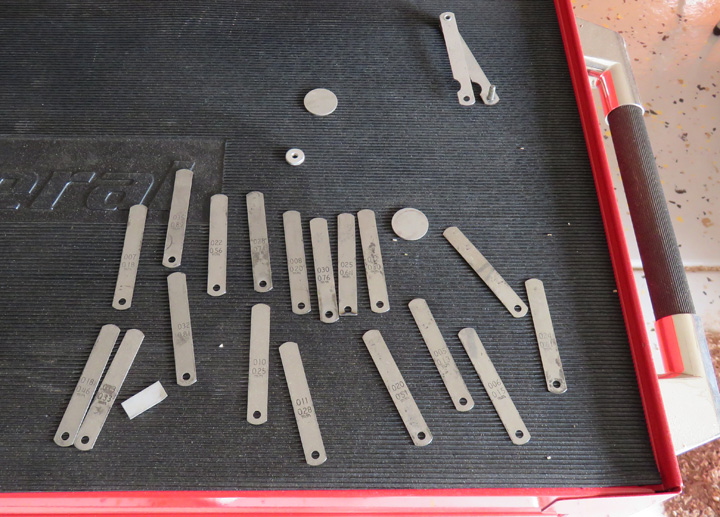
Here are the feeler gages that I used as shims to get
each board nice and flat. If I had a wood planer, this step would go much
faster and would be much easier. Oh well, maybe someday.
|
|
 |
|
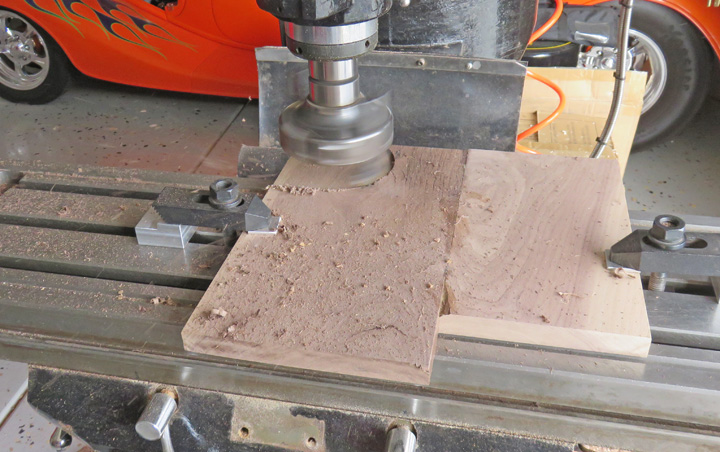
Here I'm machining the walnut and I did it the same way as the maple,
doing the 'shim shuffle' and then turning them over to cut the remainder
away. Note the wood chips flying in the air to the left of the cutter.
|
|
 |
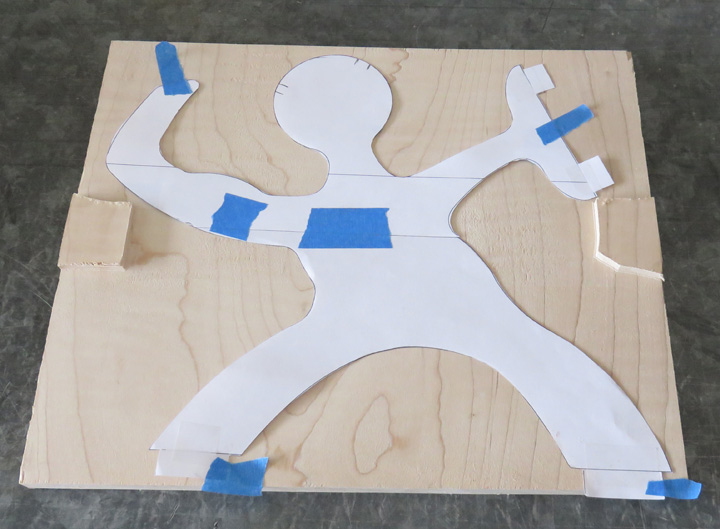
Now I realize that I haven't shared much info on this
project yet,
but I thought you'd like to play detective and try to figure it out
along the way. Soooo.....does this clue help you at all? I drew all the
pieces in my CAD system and then printed them out. The guy you see below
had to be printed in two pieces and then taped together (middle) because
it was larger than my paper.
|
|
 |
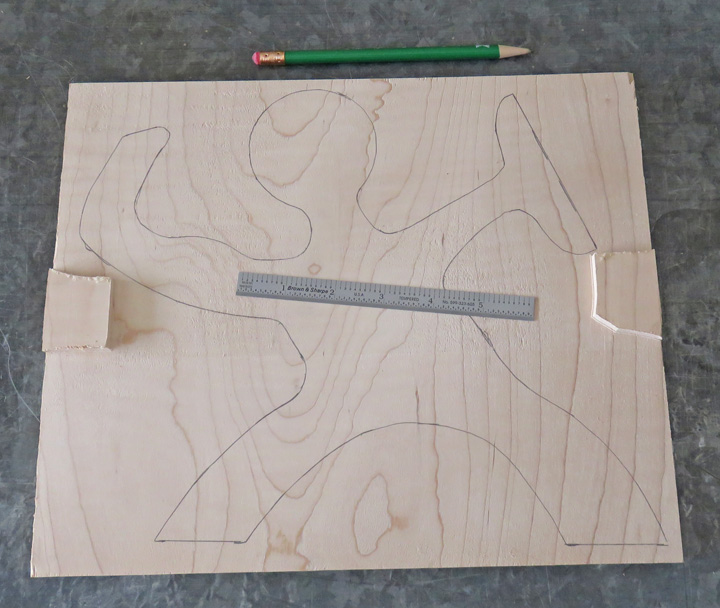
I traced around the paper cutout and then used a jigsaw and cut near the
line. Notice I didn't remove the raised areas that I clamped on. With
the unique shape of my cutout piece I was fortunate enough to cut around
them so I saved a step. Normally I'd remove the area under the clamp, and
to do that I would add a third clamp to one side, remove the original
clamp and cut that small area away. Then I would repeat the process on
the other side but this worked out and I didn't need to.
|
|
 |
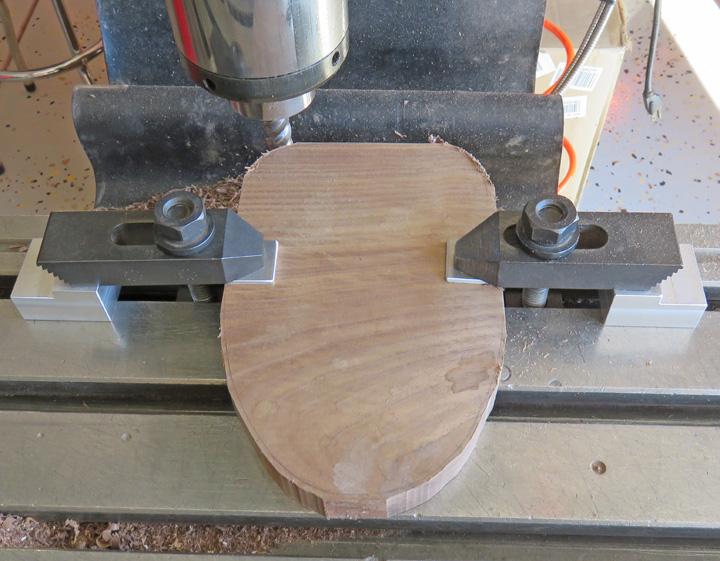
Ok, here's another piece to the knife holder. If you look close you can
see a pencil line running around this piece of walnut (traced around a
paper template like above) and at this point
has just been rough cut with my circular saw. I'm getting ready to
machine the two long sides to size here.
|
|

|
|
Here I'm squaring one end to the sides and removing some material for
some rounded corners. I placed my work piece over the edge of the mill
table and then worked up to the line leaving a small amount to sand off
later. BTW, using a belt sander makes it quick and easy to work up to
the line and then you can finish sand at your workbench. By now you've
probably figured out what I'm making....right?? If not then page two should
give you another clue as to what this is going to look like.
|
|
|
|
1
2
3
4
5
6
7
8
9
10
11
12
13
14 |