|
Rotary Table
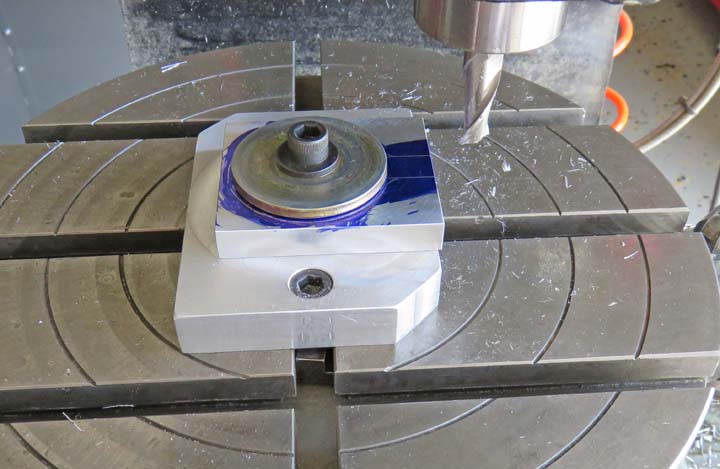
I've indicated my table and tooling to my milling
machine spindle and now I'm ready to start
machining. As luck would have it, I happen to have the right size washer to hold my
part with.
|
|
 |
|
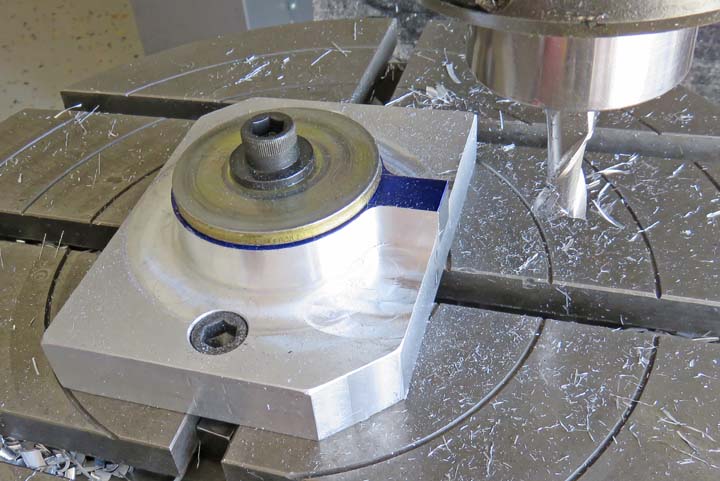
This really doesn't take long to machine
something like this, but it means taking your time when doing so. I know it's hard to see
here because the machined part
blends in with my tooling.
|
|
 |
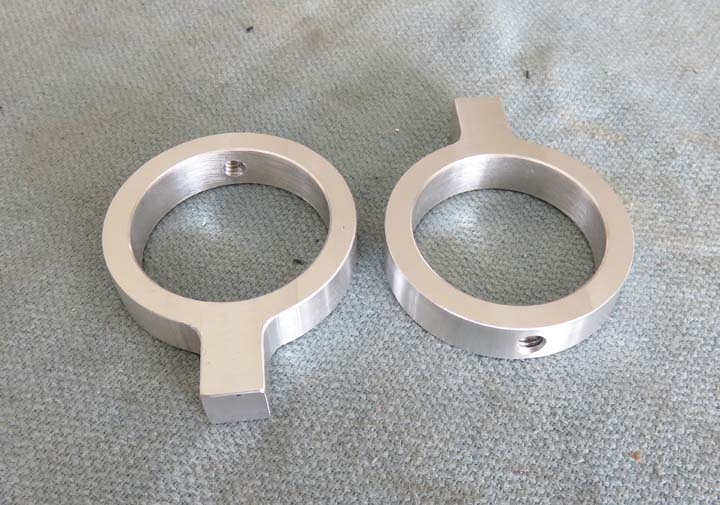
Now you can see them better. And I've added a 1/4-20 thread for a
setscrew that will keep them in place.
|
|
 |
|
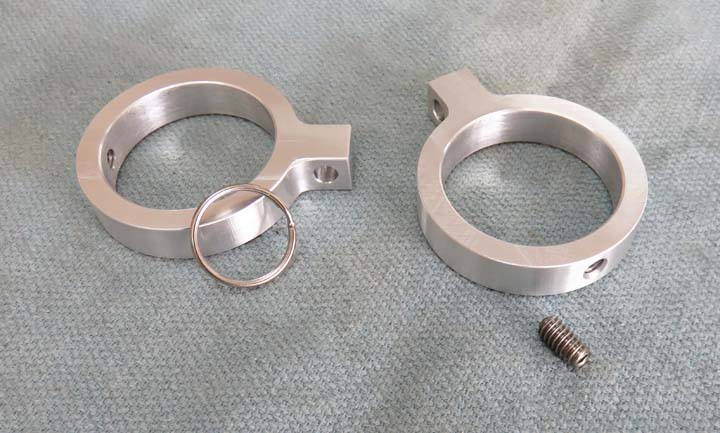
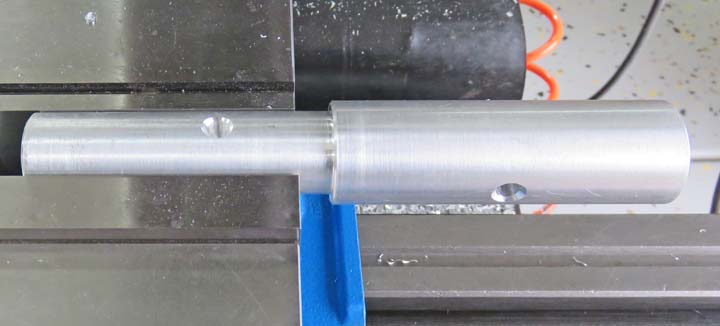
I've also added a 1/4" diameter hole in the tab. This
hole will hold a key-ring that will attach to my flag. I think this
should work good for this and if it wears out, I'll replace them. You can
also see the 1/4 stainless setscrew that will be used.
|
|
 |
|
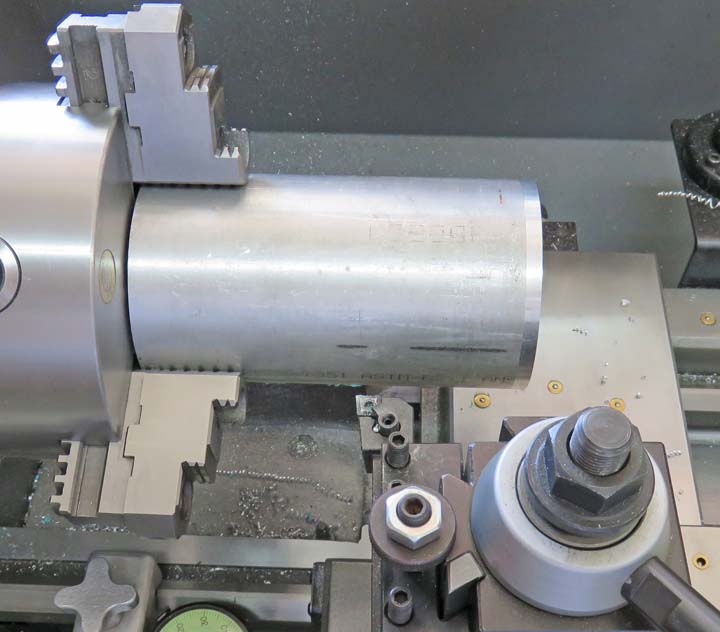
Drilling for Fasteners Here I'm drilling a 1/4" diameter hole through the steel
base and into the aluminum adapter, but not all the way through. This
adapter will go into the large aluminum tube and will be held in place
by a screw as well. Note the gap between the steel and aluminum. This
was planned and is bottomed out inside the steel base.
|
|
 |
Here you can see where I've drilled about halfway through (left side).
This will keep the bottom portion of the pole from moving. The other
hole is to hold the adapter to the larger aluminum tube.
|
|
 |
|
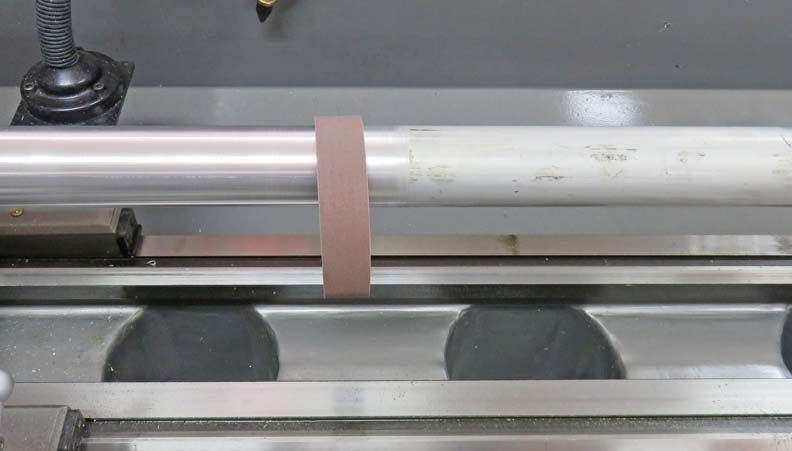
Prepping for Paint
I'm giving the large tubing a light sanding to remove the scale of
the aluminum. This
will help the paint stick to it better.
|
|
 |
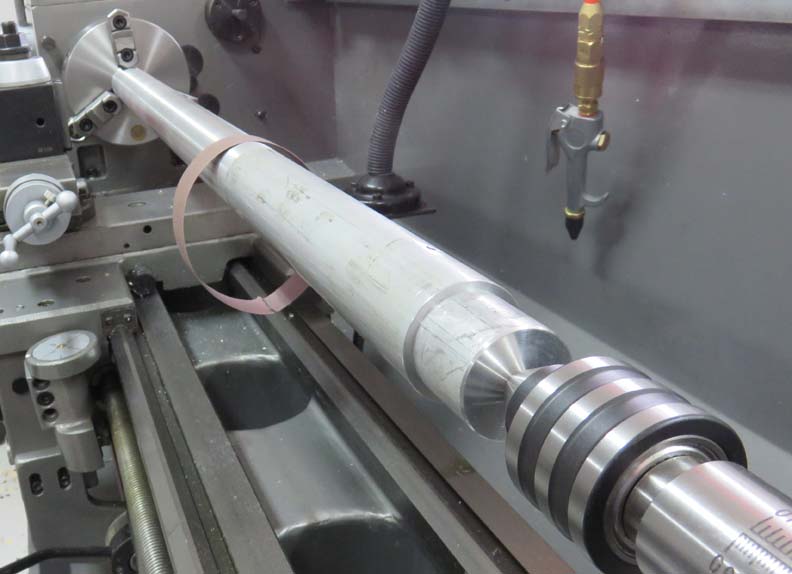
This piece maxed out the capacity of my lathe. Note the adapter in the
end of the tube. My live center is smaller then the tubing I.D. so I
made a small piece to go between the two.
|
|
 |
|
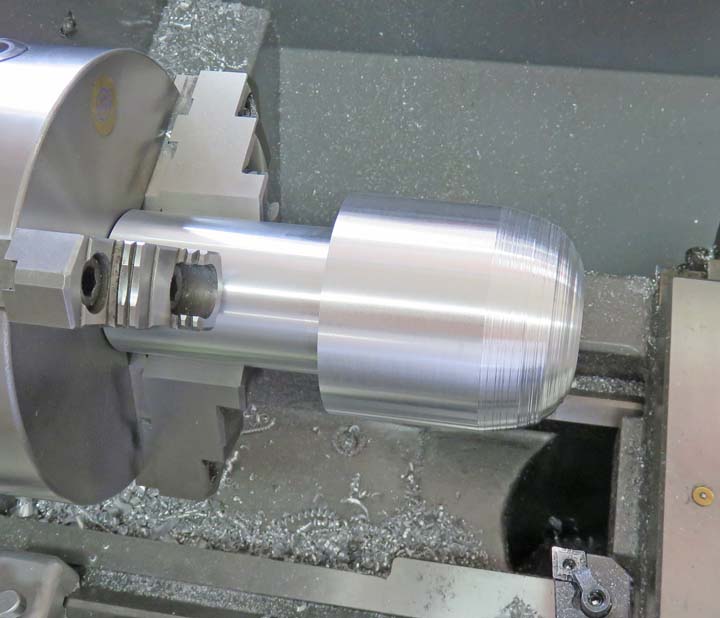
Flag Pole Topper
I've been wondering what I was going to do for the top of the
pole and I finally came up with an idea. I'm going to make a round
piece, or sphere, that will go at the very top of the pole. This will be
made out of aluminum and the piece that you see below is 7 1/4" long X 3
1/2" diameter.
There is something else that I'm going to incorporate
into this piece, a shield or cover that will go over the end of the
pole. The reason for this cover is because after installing the rubber
seal (to keep the water out), it grips the inner steel tube to tight, not
letting it spin like I wanted. I had the right idea with the seal but it
just didn't work out. This way if I cover the end of the pole, say by
about
1/2", this will help keep the rain out.
|
|
 |
|
Notice that I've turned the one end to 2" in diameter,
which has the cover/shield machined at the end (I'll show you later).
I've also started roughing the end by just eyeballing. Yes I have a
plan, so let's see how I'm going to machine a sphere and have it look
nice.
|
|
 |
|
1
2
3
4
5
6
7 |