|
More Machining
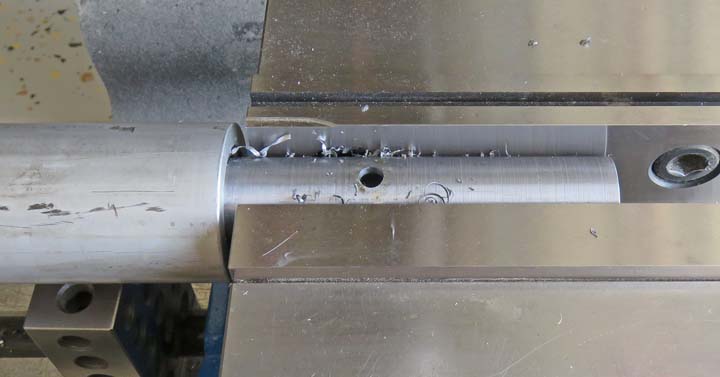
This is a clearance hole for the 1/4" screw to pass through.
|
|
 |
|
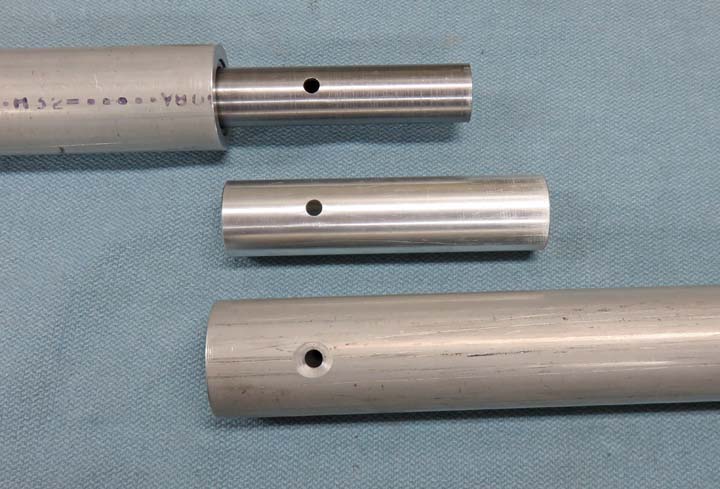
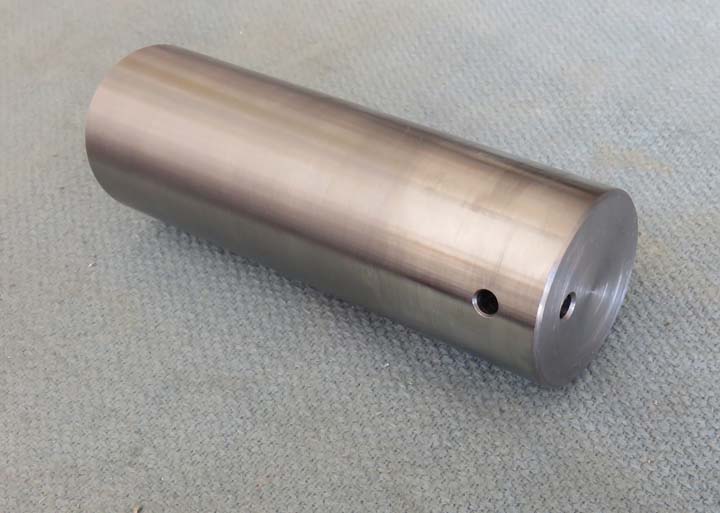
This should give you a better idea of what
I'm doing. The 1/4" hole is positioned so I have a small amount of
clearance between the two larger tubes. This way the outer tube on the
upper section can spin. Notice the large chamfer on the lower tube, this
is for a flat head screw.
|
|
 |
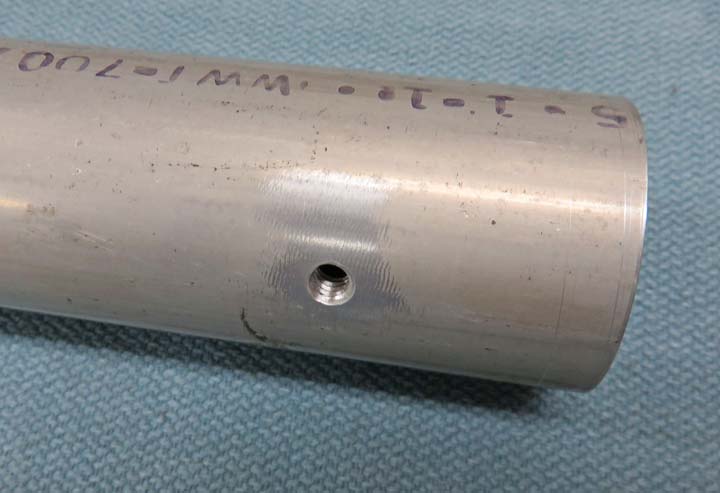
This is the opposite end of the chamfered hole. I drilled and tapped
1/4-20 threads on this side.
|
|
 |
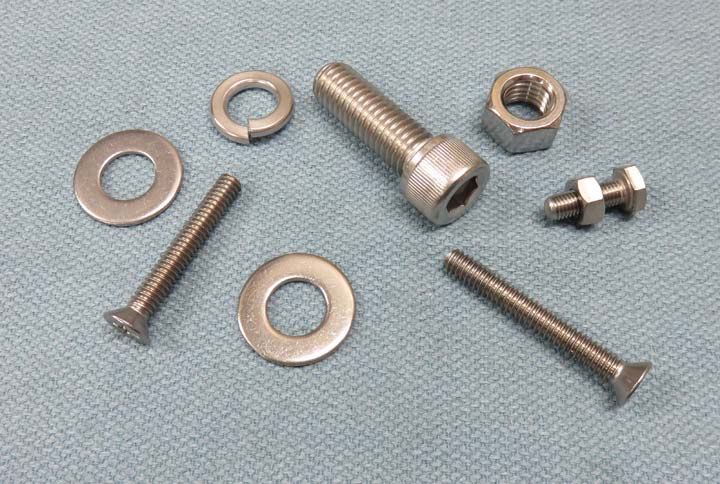
Here are some of the stainless hardware that I'll be using. And after
making all of the parts that I'll need, another trip to the hardware
store will be needed for some more stainless fasteners.
|
|
 |
|
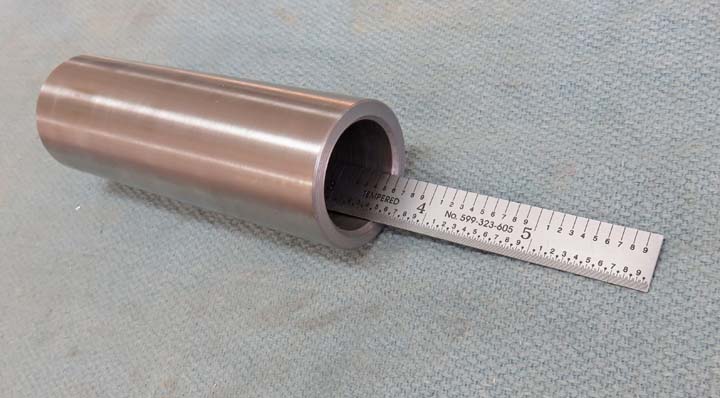
This piece looks similar to the aluminum spacer that I
made earlier. However, this piece is made out of steel
and will be getting welded to another piece that goes to the flagpole
base. As you can see by my scale, I've bored it 3 1/2" deep. The
opposite end is 1/2" thick so I can weld without worrying about burning
through.
|
|
 |
Here is the opposite end from the part above. I'm drilling a drain hole
water can run out.
|
|
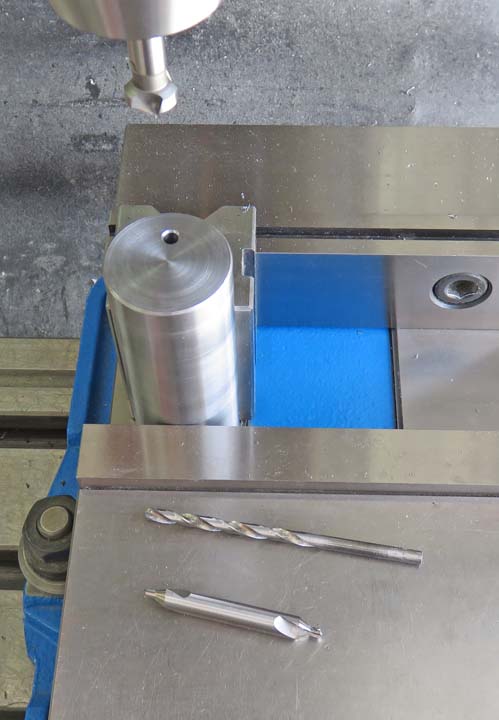 |
Actually, the hole on the bottom will get welded over so I drilled a
cross-hole that will be pointed towards the ground. Just looking ahead
here.
|
|
 |
|
This piece will get welded to the round part above. The
holes are 1/8" diameter and will have pins in them when I'm finished.
The pins are so I can 'clock' the flagpole at the angle of my choice.
And these pins will go into a mating part that I made a couple of years
ago that I'll show you later. The left end will have a radius (scribed
line) and the
other will be tapered to fit my piece above.
|
|
 |
|
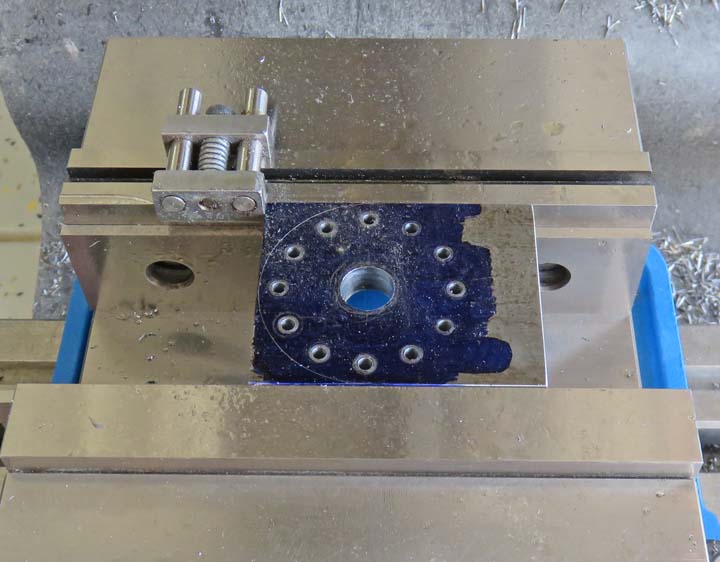
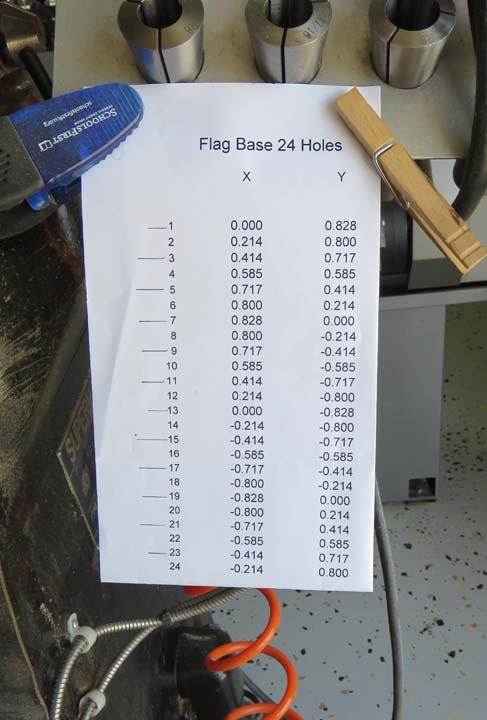
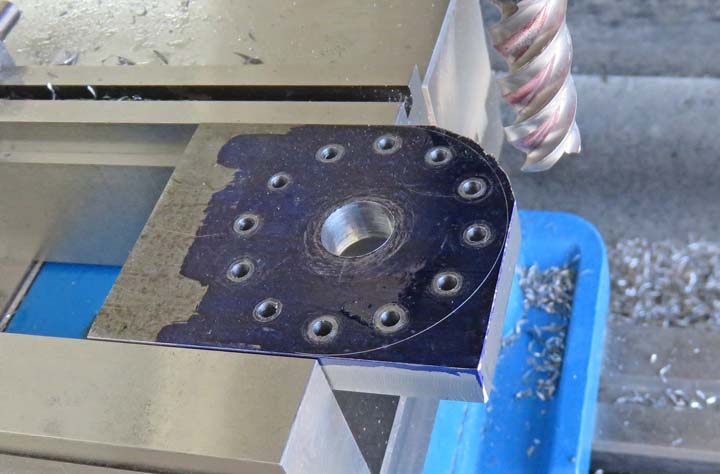
The paper that you see below has the coordinates for my
base (that I made awhile ago) that has 24 holes in it. But I only needed to use half of them for
the above part. Note the lines at every other location equaling my 12
holes. It's a good thing I saved this paper because it came in handy.
|
|
 |
|
This part is made out of 3/8" thick steel. I'm
roughing away some material here to make it easier to sand later. All
you do is move both X and Y handles at the same time, staying away from
your line while machining.
|
|
 |
|
1
2
3
4
5
6
7 |