|
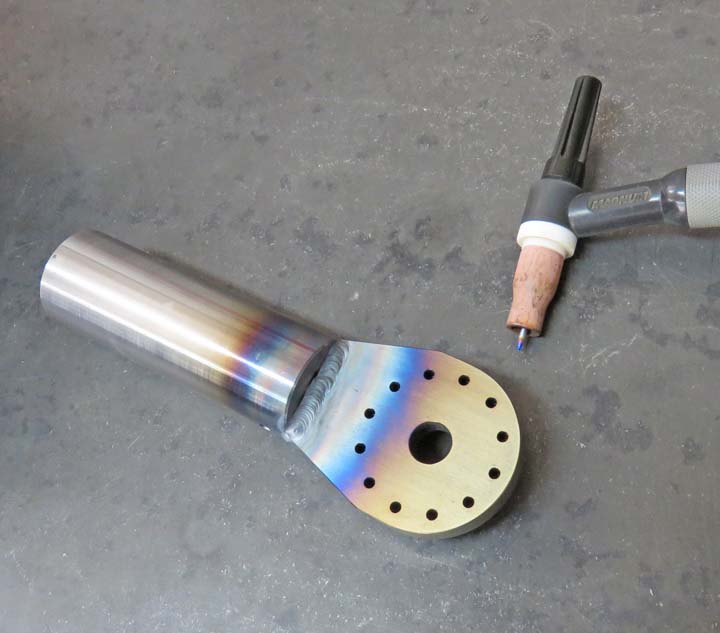
Welding
This weld is critical because it
has to take the entire weight of the flagpole, along with the stress of
the wind as well. Remember, the length of the pole when finished will be
six feet long. That's a long heavy lever that my weld has to endure. If
it fails, I'll just weld it again..
|
|
 |
|
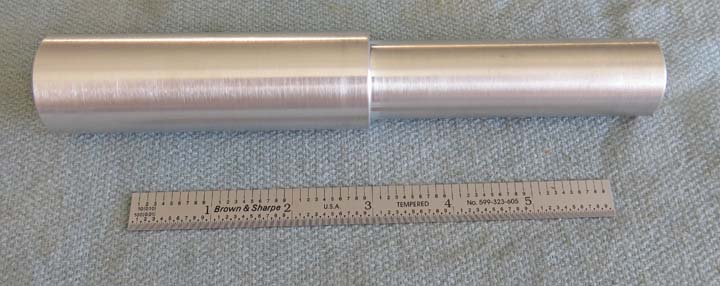
More Machining
This aluminum piece will stick out of the bottom pole
and insert into the above piece. The smaller diameter is one inch and is
four inches long. The larger part will go into the large tubing and is 1
1/4" diameter X five inches long.
|
|
 |
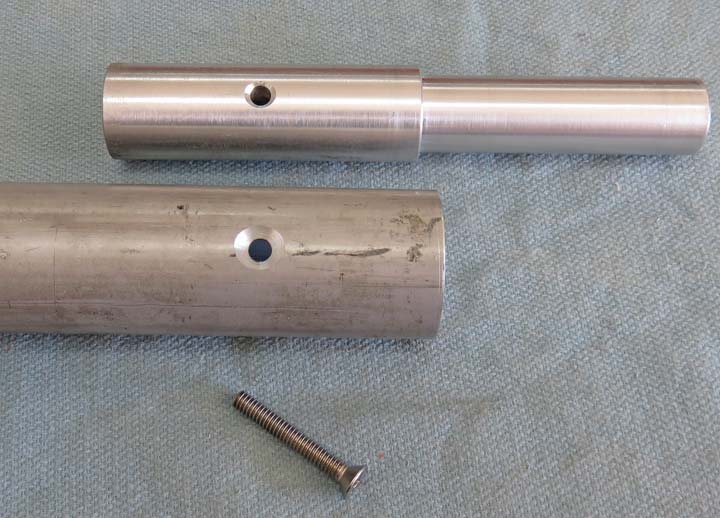
I'll use the same method to fasten this piece to the large tube as I did
before.
|
|
 |
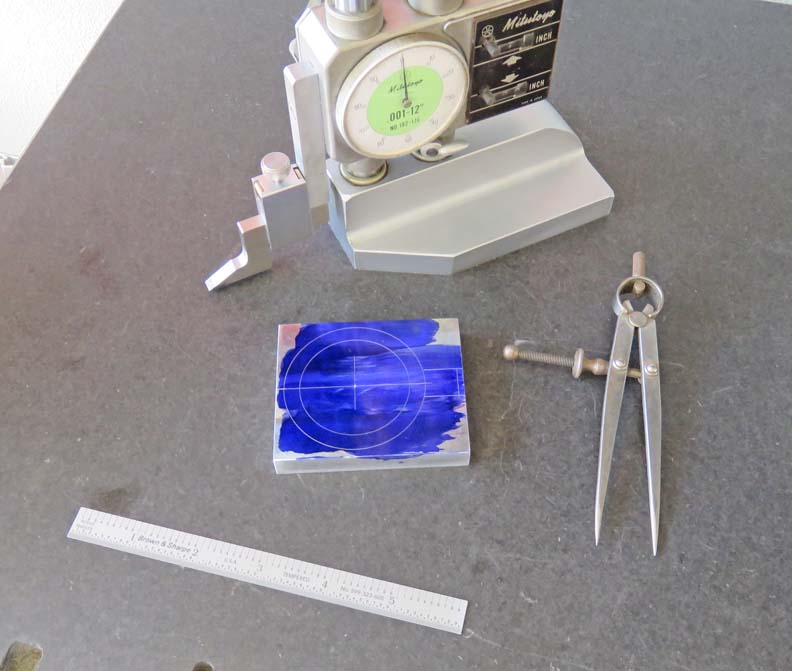
What I'm making here are brackets to hold the flag on with. These will
fit over the large tube and are 1/2" thick aluminum.
|
|
 |
|
Here I have one of the parts laid out and I'm getting ready to bore out
the center. Also note the tab on the right side. This tab will be 1/2"
square and have a 1/4" hole through it. This hole will be for a spring
clip that will join the flag to this bracket.
|
|
 |
The size of the hole is slightly larger than the O.D. of the large tube so it slides
over it easily.
|
|
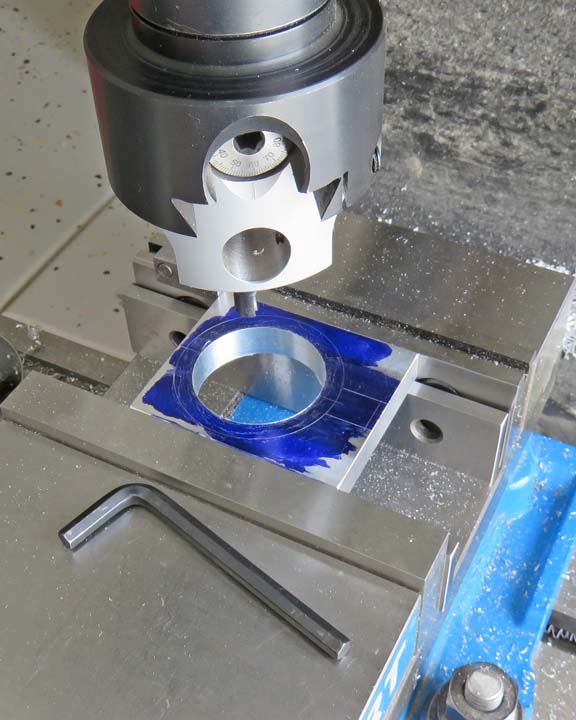 |
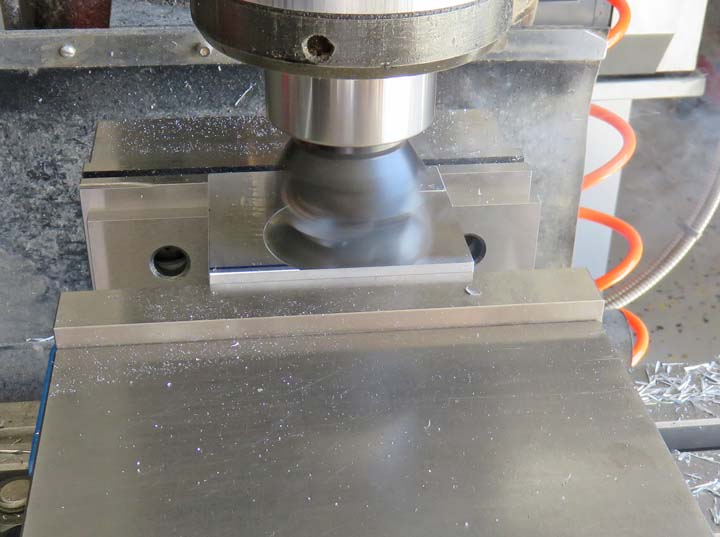
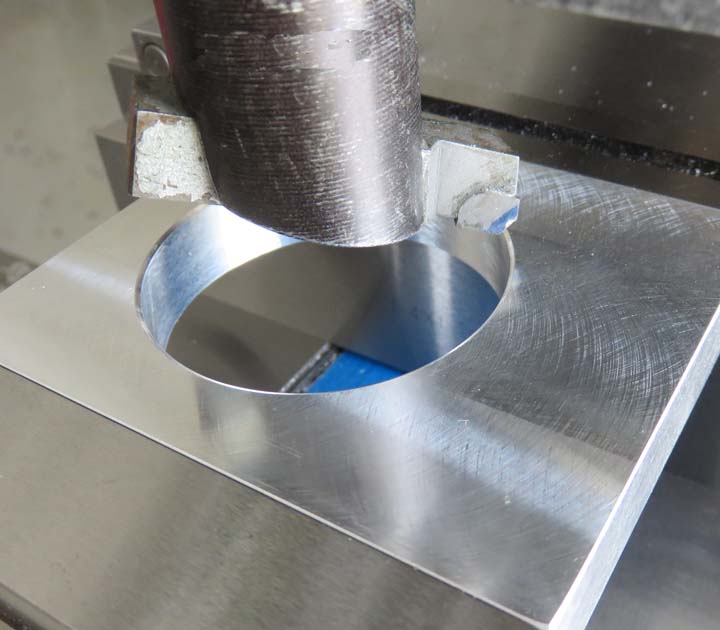
I'm using my fly-cutter to chamfer the hole here. This was the easy part,
time to make the outer part round now.
|
|
 |
|
Making Tooling
To machine the outside of the brackets I'll need some
tooling. Now normally I'd make a round spud that would fit inside of the bore
that I just machined, bolt that spud to a flat base and that would work
great to locate my part. However, I didn't have a piece large enough for
a spud so I
went with plan B.
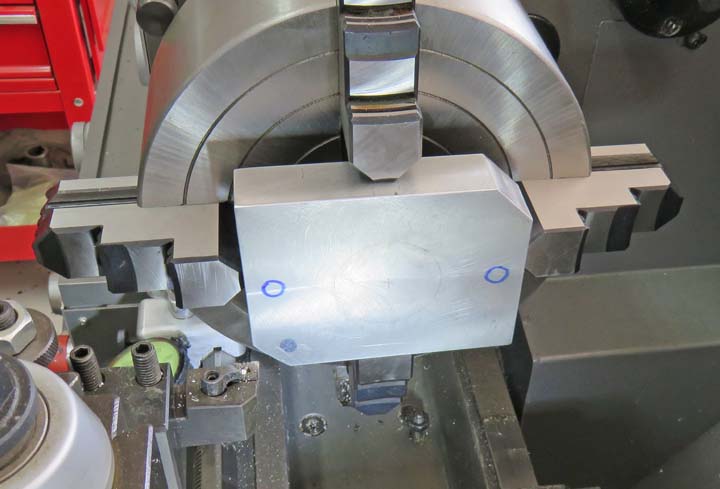
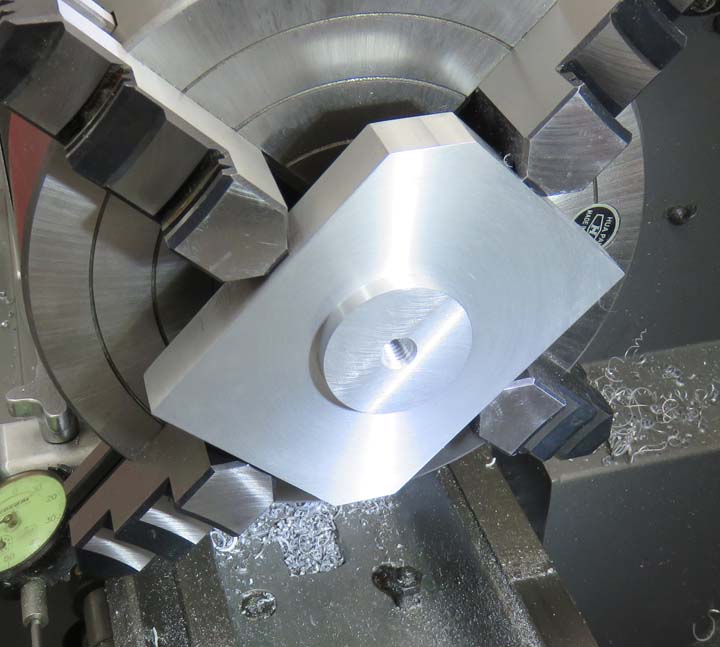
What I came up with was to use a one inch thick piece of
aluminum and cut a spud from the center of it using my lathe with a four jaw chuck. Note the faint pencil line that will represent the spud in the center.
Then I'll drill and counterbore the two outer holes for some 3/8" bolts.
|
|
 |
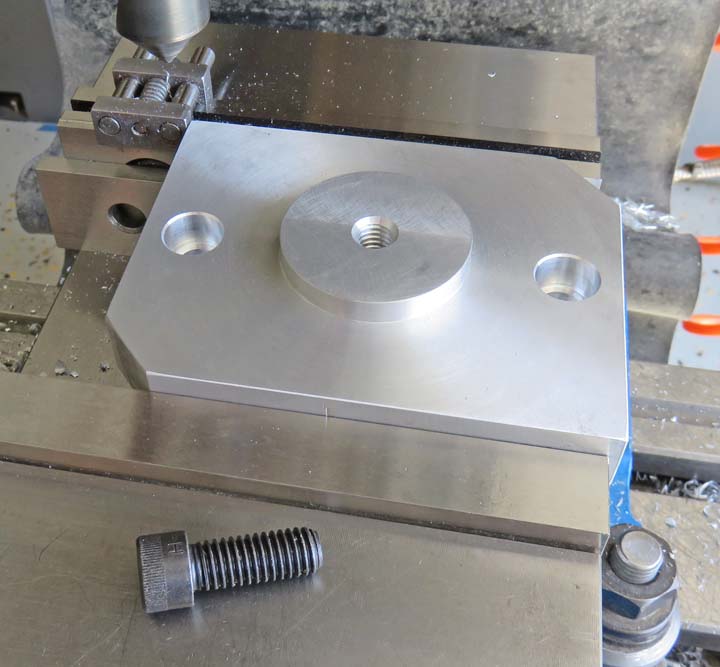
This didn't take long and now I have my spud for locating my bracket. I also tapped a 3/16-18
thread in the center so I could use a bolt to hold the bracket down
with.
|
|
 |
And there we go, my tooling is complete and ready to be bolted down to
my rotary table.
|
|
 |
|
1
2
3
4
5
6
7 |