|
My daughter Angela and her husband Matt are building
another
Escape Room and they wanted me to build a couple of things for
them. My project this time is a over-sized electrical switch, called a
'blade switch'. Once you see some of the pictures you'll know what I'm
talking about, but for now just know that I'm building a box to mount it
on first.
This new room is going to be called
"Operation Save Christmas"
and should be a lot of fun and it will be on the easier side as well,
which means fun for the whole family.
Wood Working
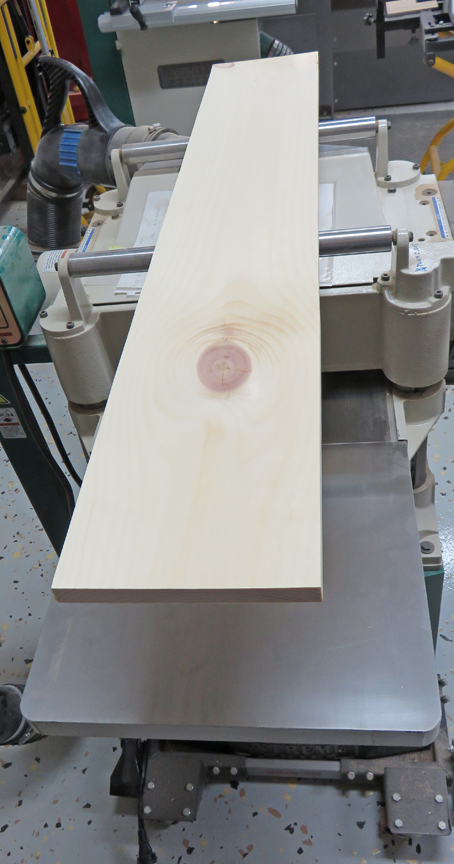
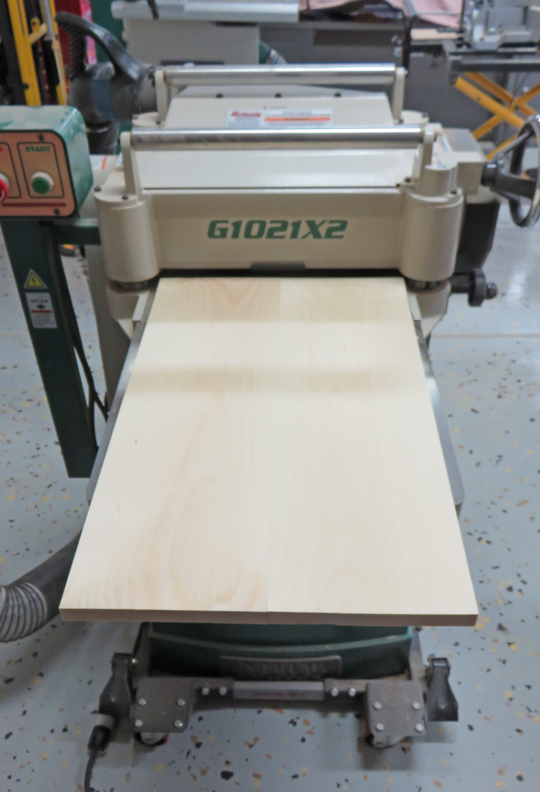
I'm getting ready to run some pine through my thickness
planer which is what the box will be made of. The size of the box will
be 24" X 14" X 3" deep.
|
|
 |
Once I had both sides cleaned up I jointed
both edges in preparation for gluing some pieces together.
|
|
 |
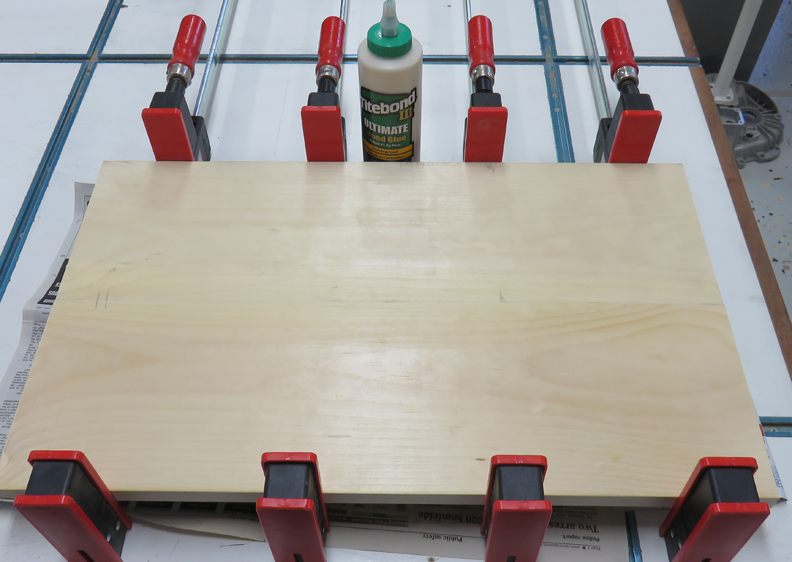
Here I'm using my parallel clamps to hold my pieces together.
|
|
 |
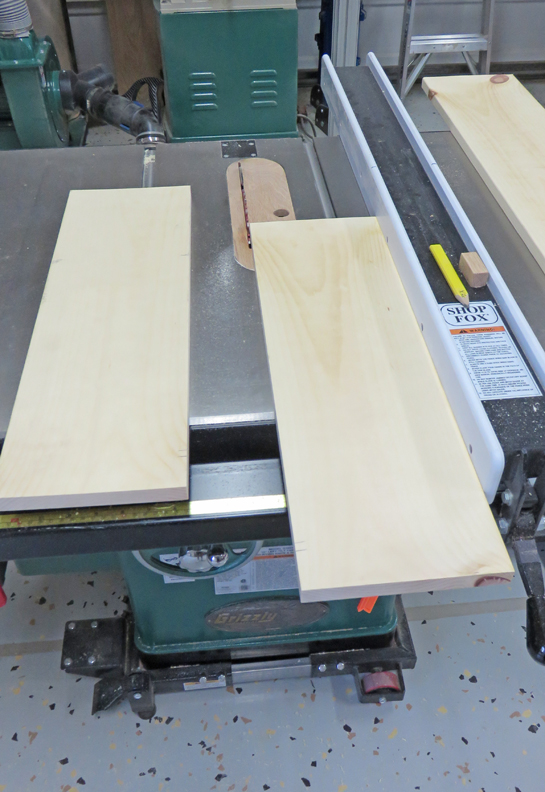
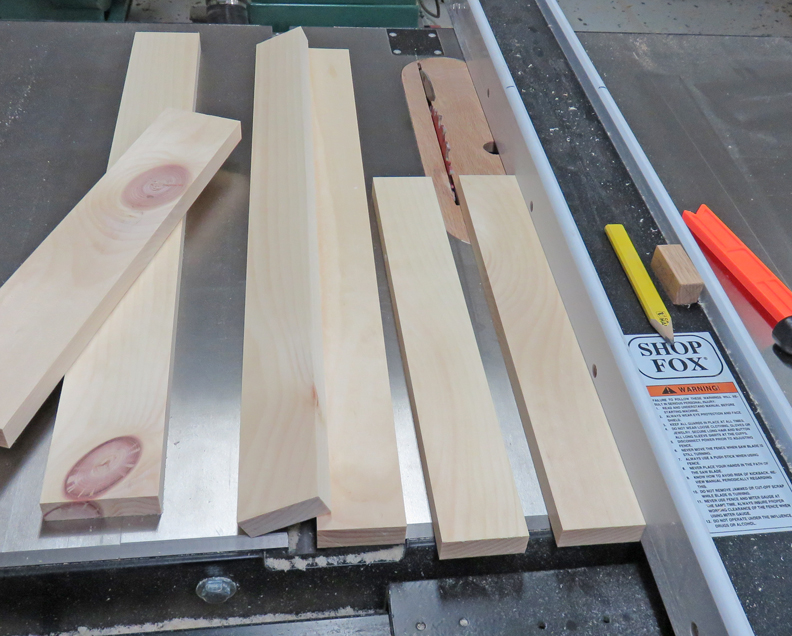
While I was waiting for the glue to dry I kept busy with the sides of
the box, cutting them to size on my table saw.
|
|
 |
The next day I ran the front of the box back through my thickness planer
to clean up both sides.
|
|
 |
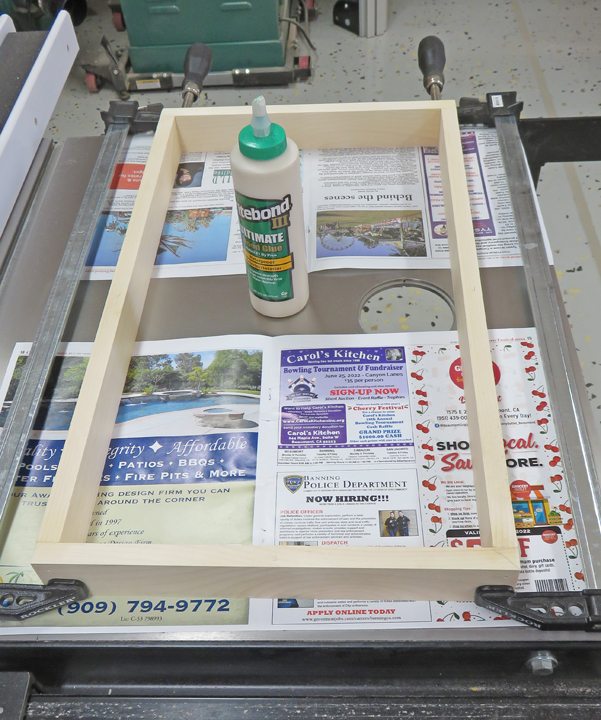
Next I assembled the sides of the box using glue and brad nails.
|
|
 |
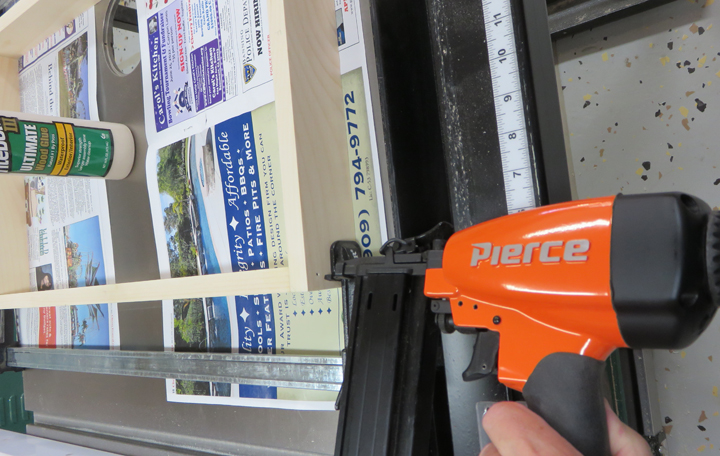
Here I'm shooting two 18 gage brad nails per corner to hold it while the glue
dries.
|
|
 |
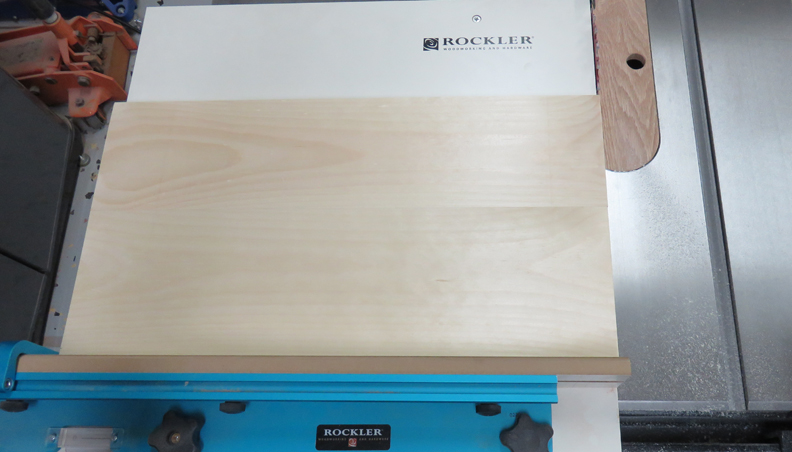
Here I'm using my cross-cut sled on my table saw to square the ends of
the box.
|
|
 |
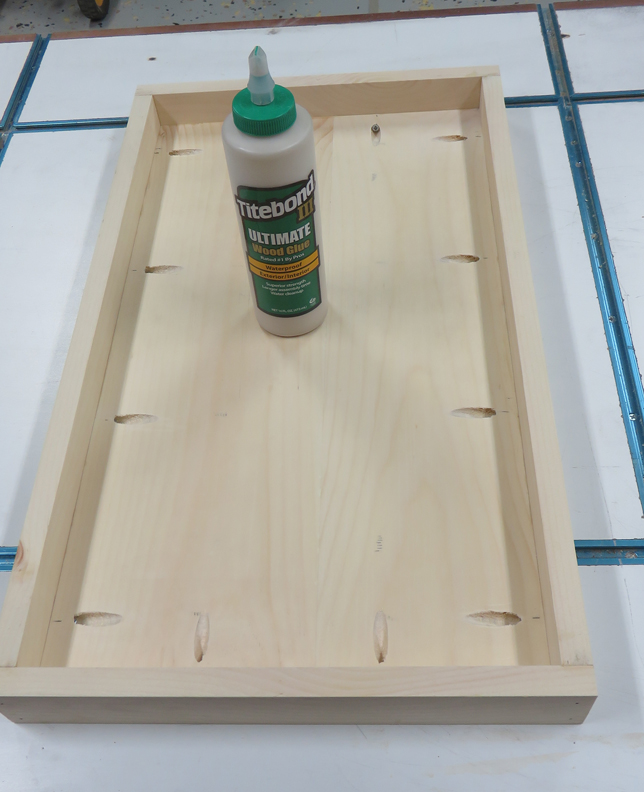
Now it's time to attach the sides of the box to the front and for that
I'm using pocket hole screws and glue.
|
|
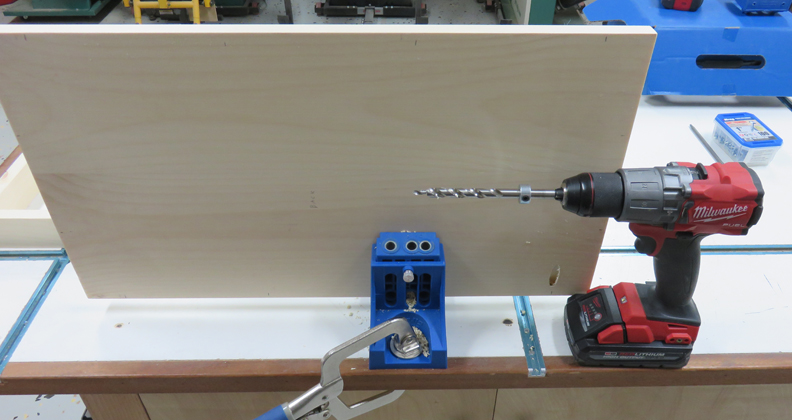 |
Pocket hole screws work really good and everything goes together fast.
|
|
 |
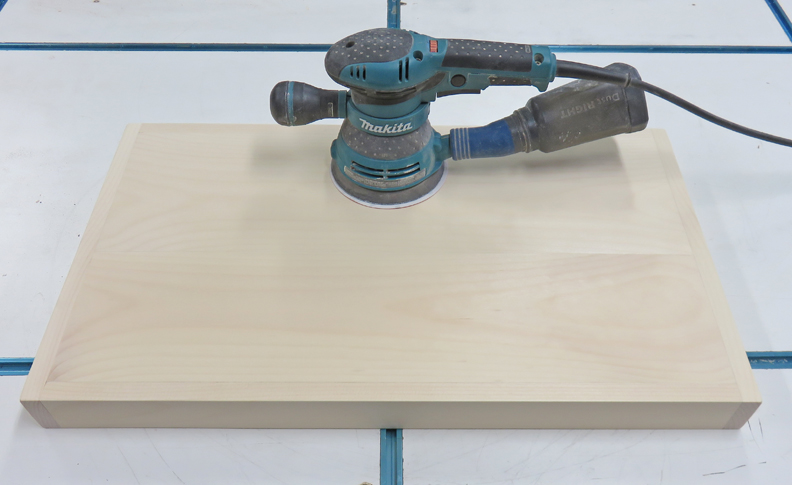
The next step was to sand the top and sides. I used 80 grit and then
stepped down to 180 grit. After the sanding was done it was time to set
this piece aside and start on the switch.
|
 |
|
1
2
3
4
5
6 |