|
Working With Brass Continued
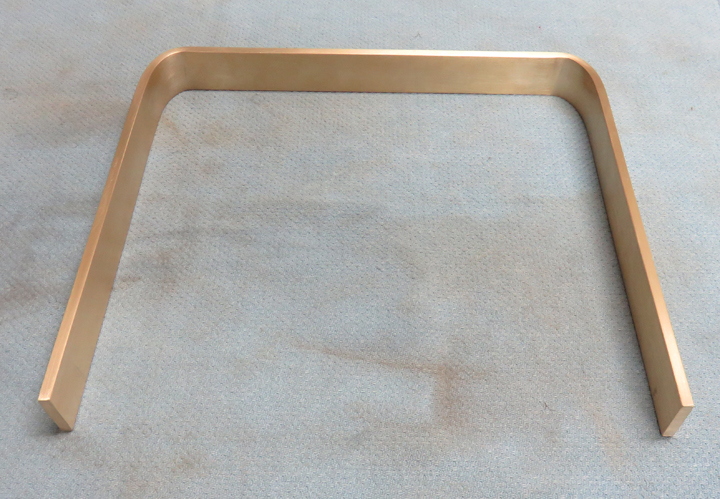
I'm getting ready to layout the contacts for the handle below. The
contacts that I'll use are the angled pieces that I just machined on the
previous page.
|
|
 |
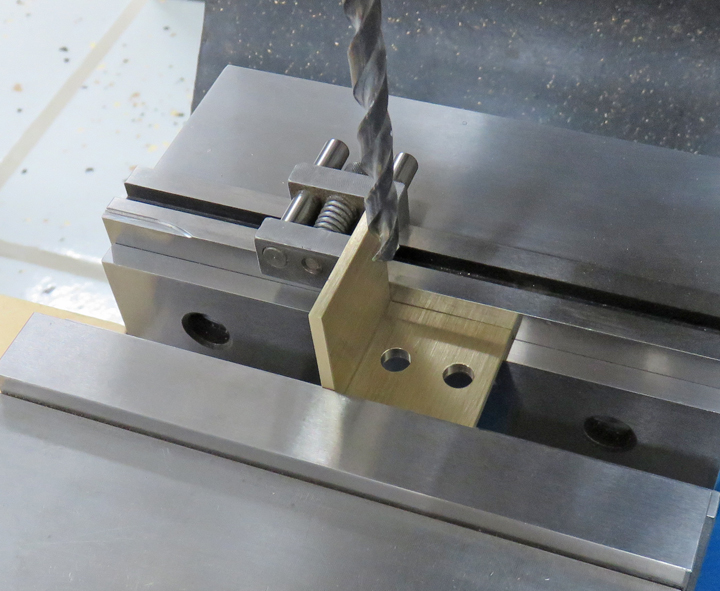
I'm drilling some oversize holes to use
with some 1/4-28 hex head bolts. These bolts will hold the angled pieces
(contacts) to my wooden box.
|
|
 |
|
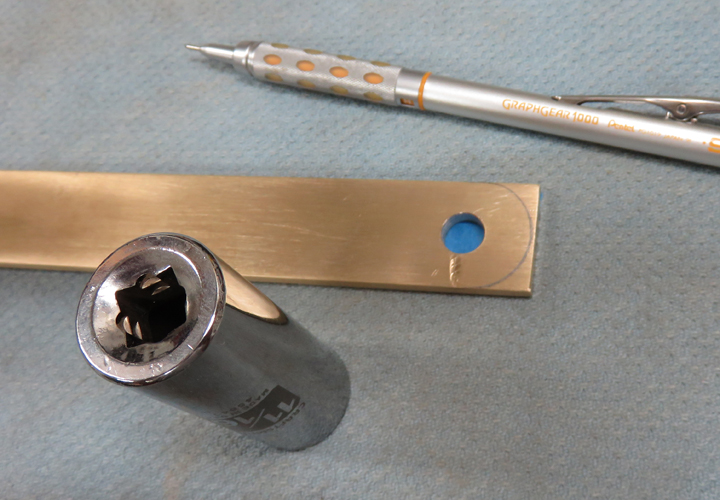
One end of the handle will need to be hinged so I'm
drilling some 3/8" diameter holes in the contacts that will used with 5/16"
shoulder bolts. This may sound like a typo but hang in there and it will
all become clear soon.
|
|
 |
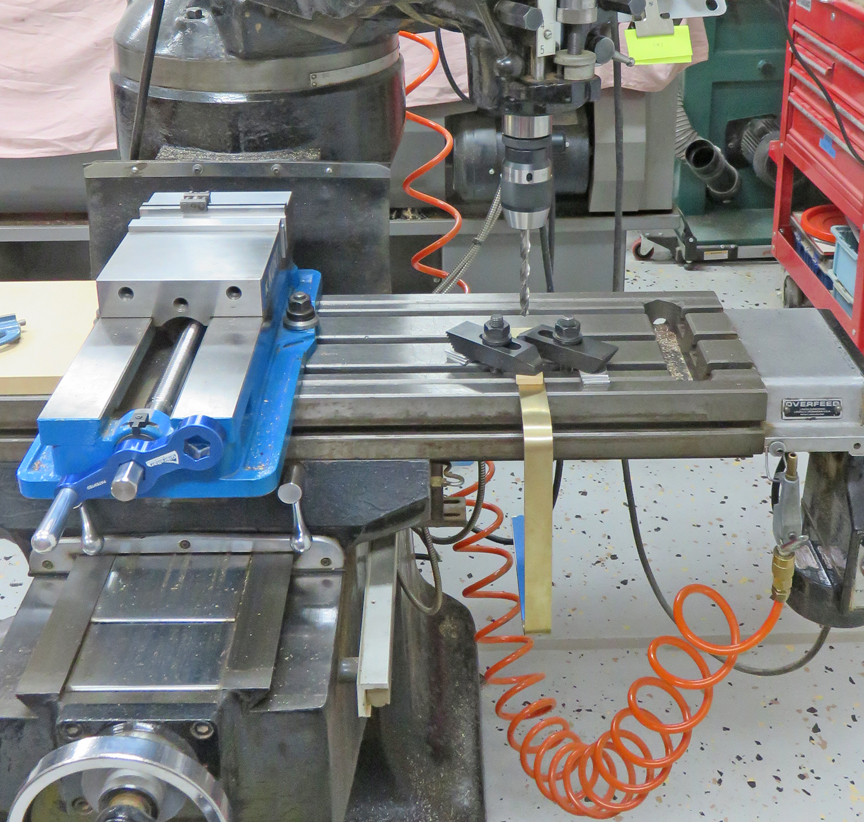
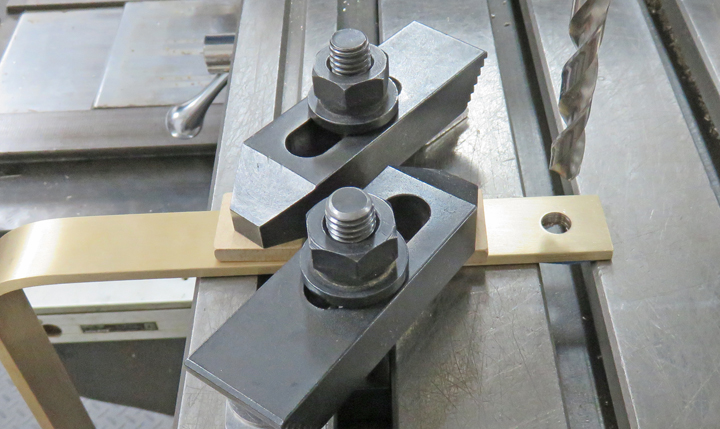
To drill the same size 3/8" hole in the handle, I had to swing the head
on my milling machine to one side. Then I clamped the handle to the
table while using the tables T slots to drill into.
|
|
 |
|
This was an easy setup and was necessary so the holes
were
perpendicular to the surface. Could I have drilled this hole while it
was being held in my bench vise using a hand drill? Sure, but doing it
on the mill ensures the hole to be round and in the right location.
|
|
 |
Here I'm laying out a radius so the handle will pivot from top to
bottom. I used my belt sander and sanded to the line. Quick and easy!
|
|
 |
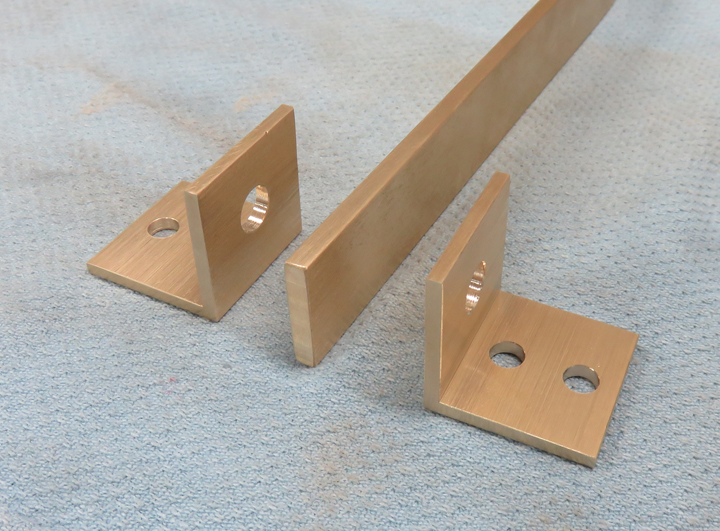
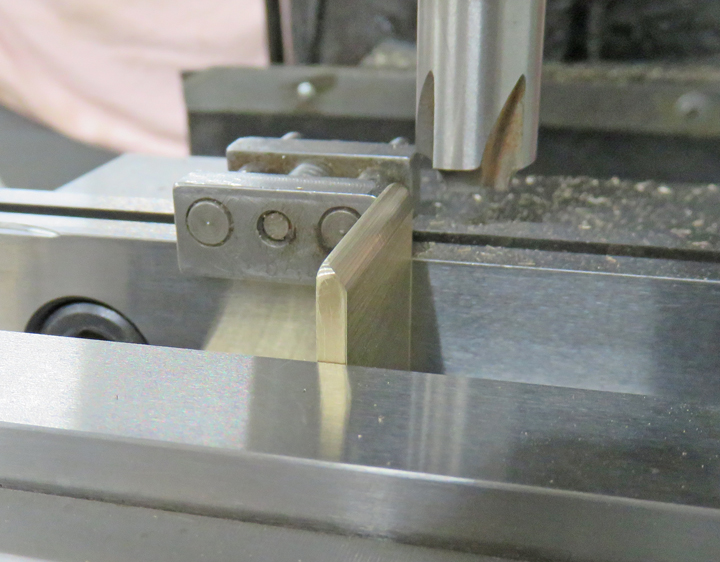
I'm putting a 1/8" radius on the contacts which will be at the top of the
switch. This way when the handle is getting ready to enter the upper
contacts it will help to guide it in.
|
|
 |
|
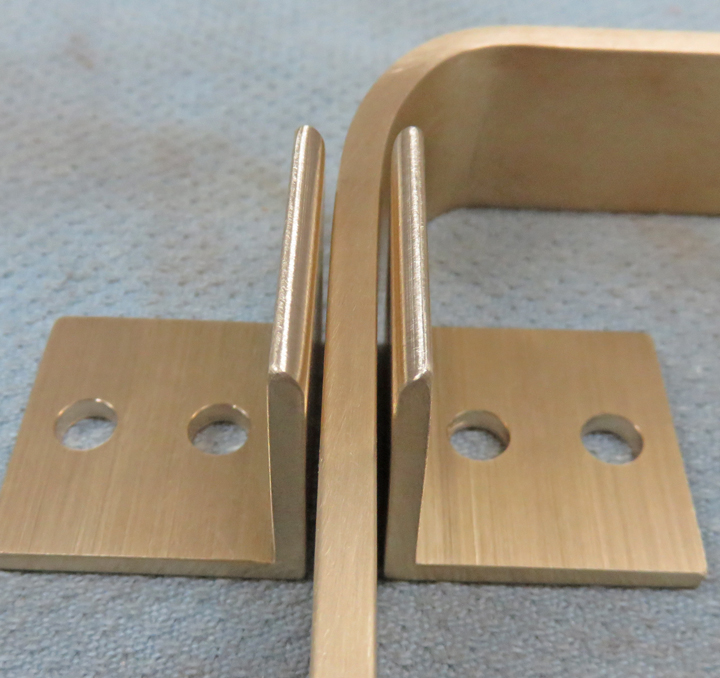
This should help give you a better idea of what I'm
talking about. One more thing, see how the handle is resting on the blue
towel along with the contacts? This got me thinking, because this is
what it might look like once everything is bolted to the wooden box.
However, this isn't ideal because that means the handle will constantly
come in contact with the box and might eventually put a mark on it or
put a dent in it. Well, we can't have that so let's make sure that
doesn't happen.
|
|
 |
|
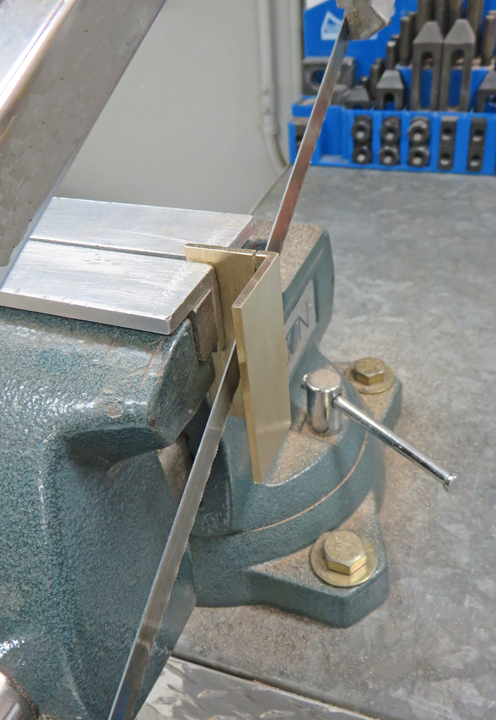
What I needed was a piece that would go underneath the
two upper contacts so the handle would rest on metal in place of the wood
box.
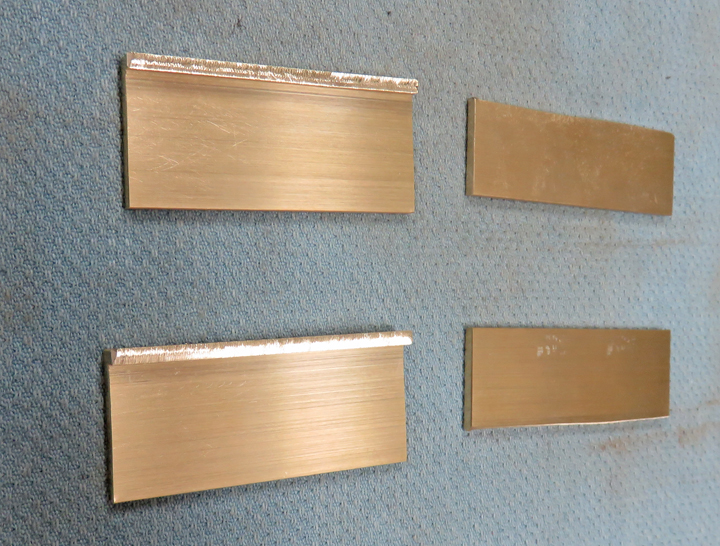
What I came up with was to cut a piece of the angle that I would machine
so it would be the same width as the other angle pieces, accentually
becoming a shim.
|
|
 |
I machined the saw cut edges flush with the top surface and drilled four
holes to match the other two contacts. However, I forgot to take a
picture of the finished pieces but I'm sure you get the idea.
|
|
 |
|
1
2
3
4
5
6 |