|
Working With Plastic & Metal Continued
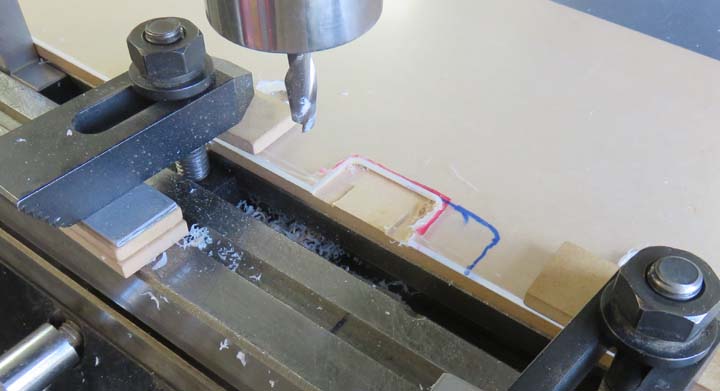
I'm machining a cut-out for the lock mechanism (the arm)
below. The blue lines represent the center of the lock but that's not
where the cut-out needs to be. So I marked the correct area with red,
which is what I'm cutting out.
|
|
 |
|
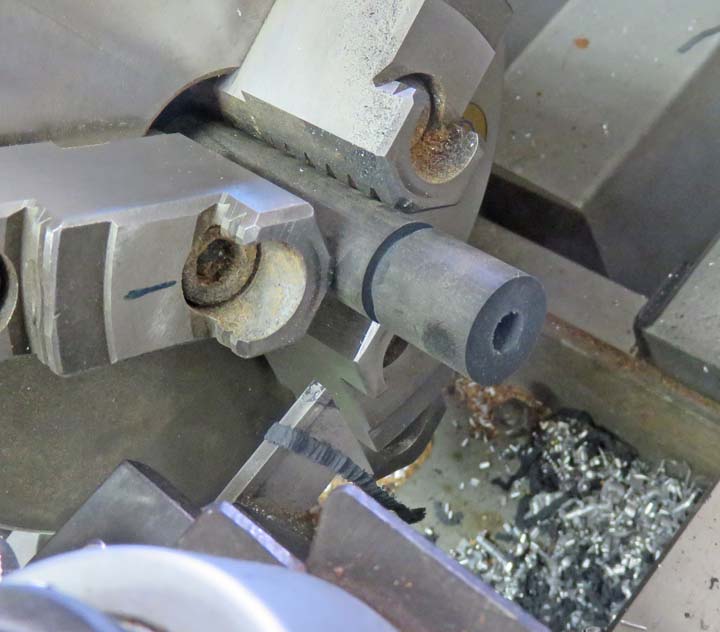
The door is very heavy at 16 lbs. and I don't want
anyone slamming it shut because it would hurt stuff. What I'm doing is
making two rubber bumpers to prevent that from happening. I drilled a
hole all the way through for a #8 screw, then I used a larger drill and
went about 1/4" deep which will act as a counterbore for the screw head.
What I'm doing below is getting ready to cut it off using a parting
tool. The rubber is 3/4" diameter.
|
|
 |
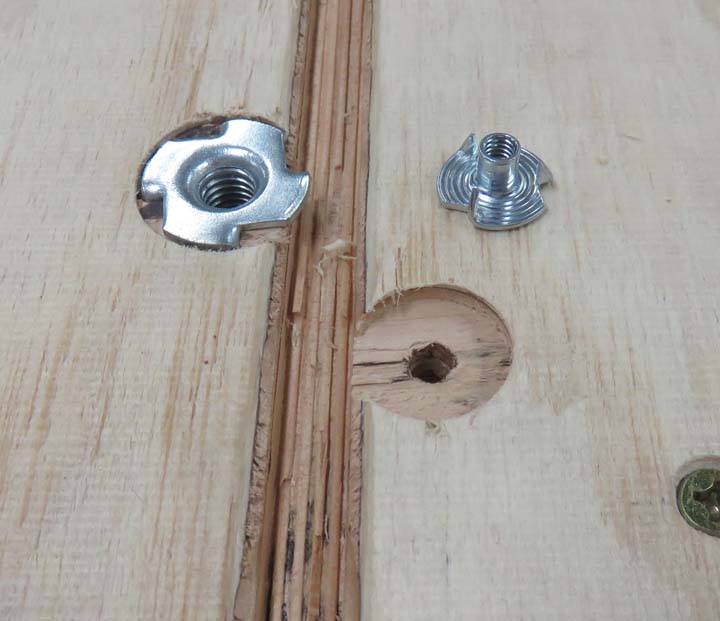
The thread insert on the right is my new one, which has 8-32 threads. I
also counterbored the back of the box like I did for the larger ones.
|
|
 |
|
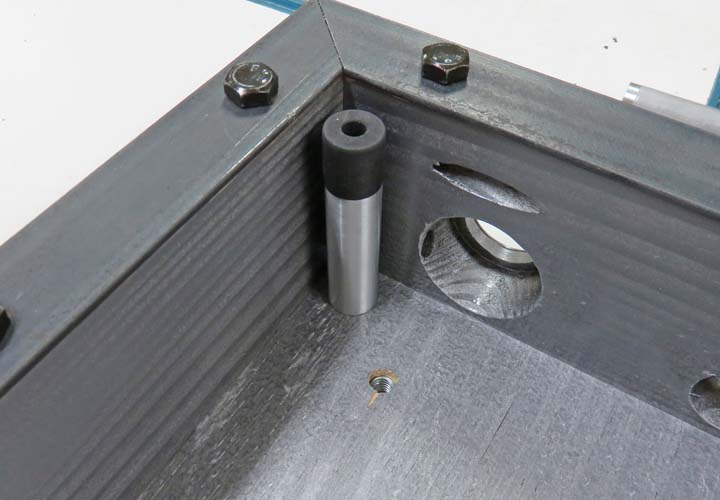
I drilled a clearance hole through that 3/4" diameter
piece of aluminum for my screw to pass through. I also had to make a longer 8-32 screw
for these,
like I did with the stand-offs, which meant welding again. There's one of
these at the top and bottom of the box.
|
|
 |
|
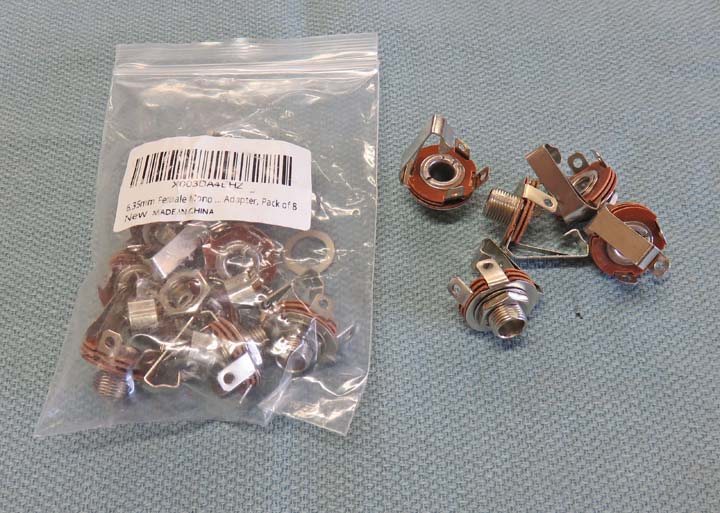
What you see here are 1/4" jacks for audio cable, which
might be used with a microphone or an electric guitar. These will take
the place of changing the wires using a screwdriver, which seems to
create problems. There will still be wires but now the customers will be
able to move the wires by unplugging each one, find the correct spot and
then plug it back in. Nice and simple.
|
|
 |
|
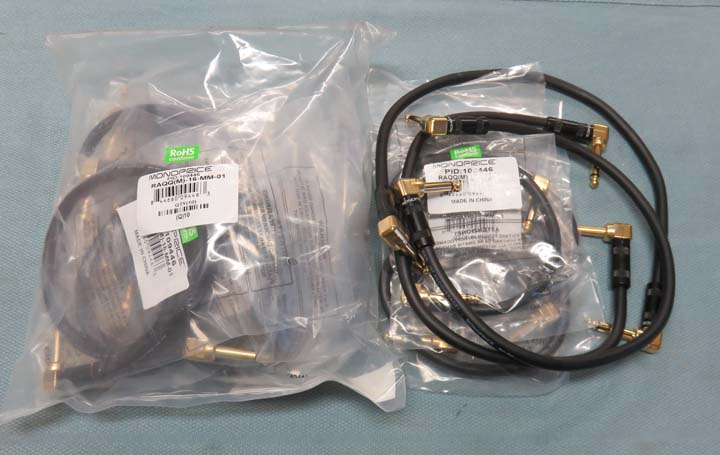
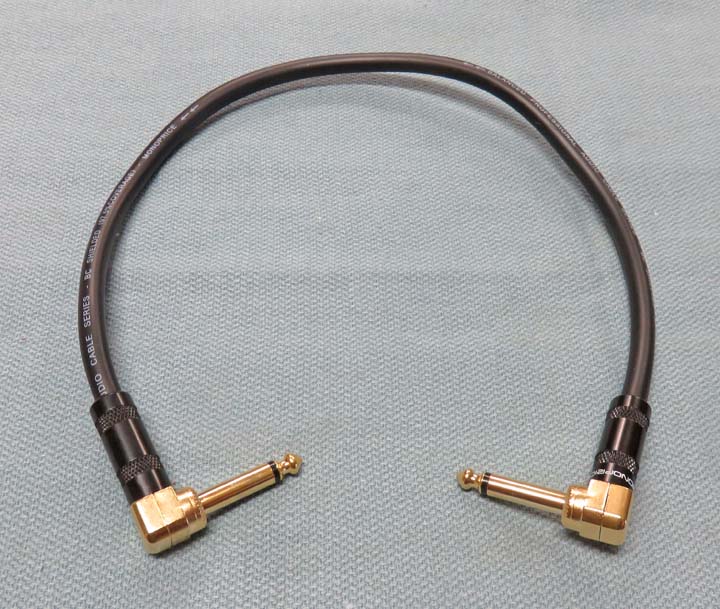
I bought 20 Premier Series 1/4-inch right angle, male to
male, 16AWG audio cable (gold plated) that are 18" long. The 90 degree head
is so they have a low profile, which is important because of the limited
depth of the box and the door needs to be able to shut when they're
attached. I bought these wires from a company called
Monoprice.
|
|
And after looking at them they're very well made and
look like they should last awhile.
|
|
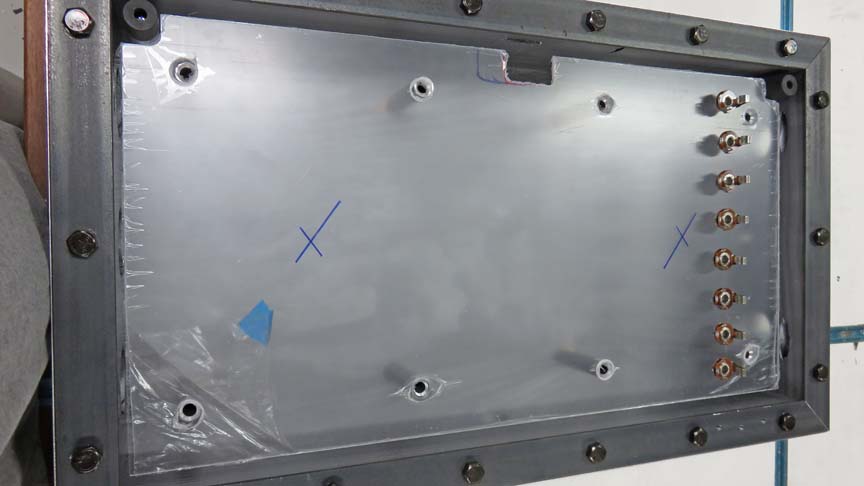
I set some of the jacks at one end (which would be the same on the other
end) and then sent Matt a picture to see if he liked the layout. After
he talked to Angela about it, they decided to do something different.
|
|
 |
|
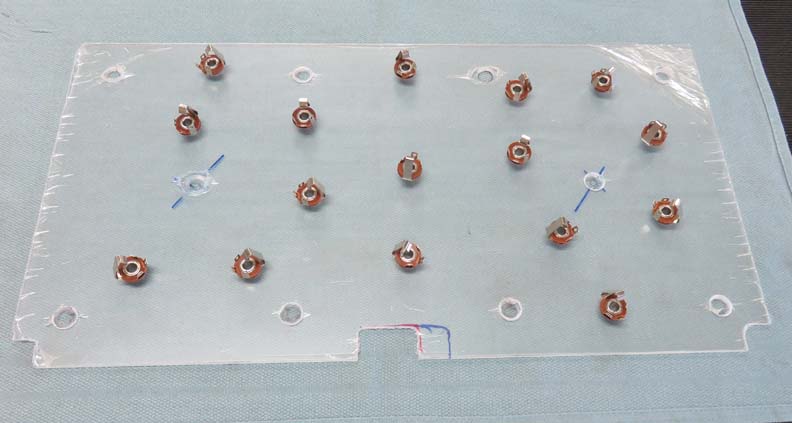
Instead of having the jacks nice and symmetrical, they
wanted them randomly placed throughout the box. I sent them this picture
and they liked it. Also notice the new holes in the plastic for two more
stand-offs. I decided the plastic was too thin for the rough abuse it
was going to encounter and thought it could use a little more support.
|
|
 |
|
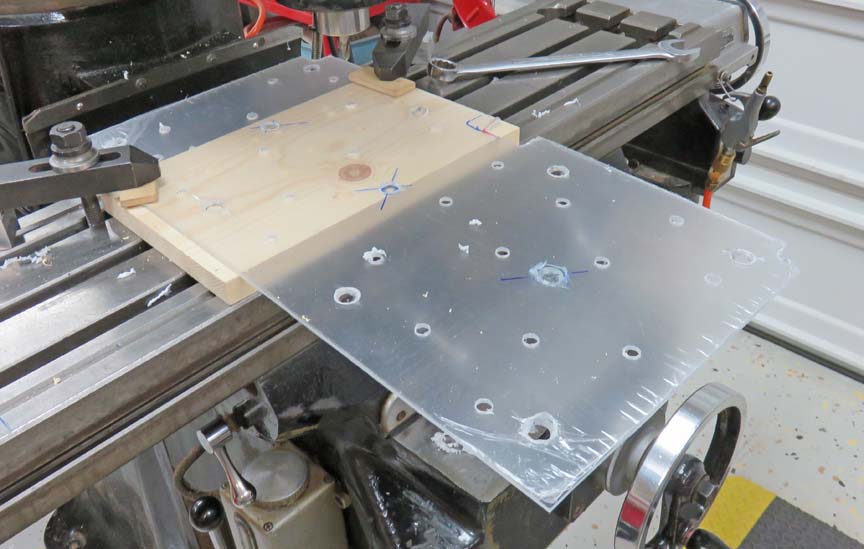
Here I'm putting in all my holes for the jacks. I used a
scrap piece of wood under the plastic so the holes would come out nice
and clean. Oh, and now I have one more hole for one more stand-off in
the center. This is because I didn't expect there would be any of the
jacks placed other than the ends, but I was wrong.
|
|
 |
|
1
2
3
4
5
6
7
8
9 |