|
Working With Plastic & Metal Continued
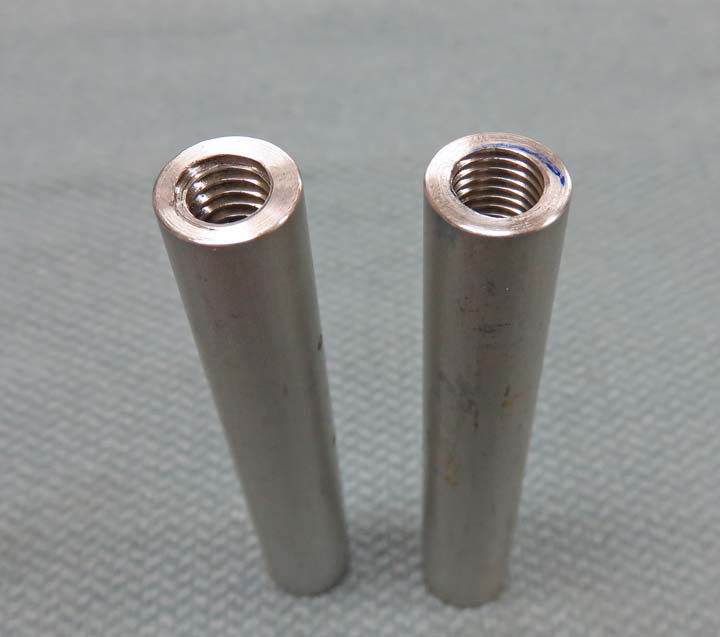
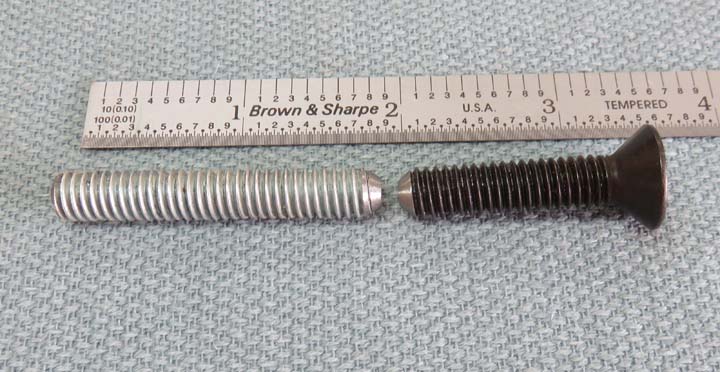
Here you can see the different 5/16 threads that I'll be using. I
also had to chamfer the ends that were against the clear plastic because
the flathead screws wouldn't tighten otherwise (not shown).
|
|
 |
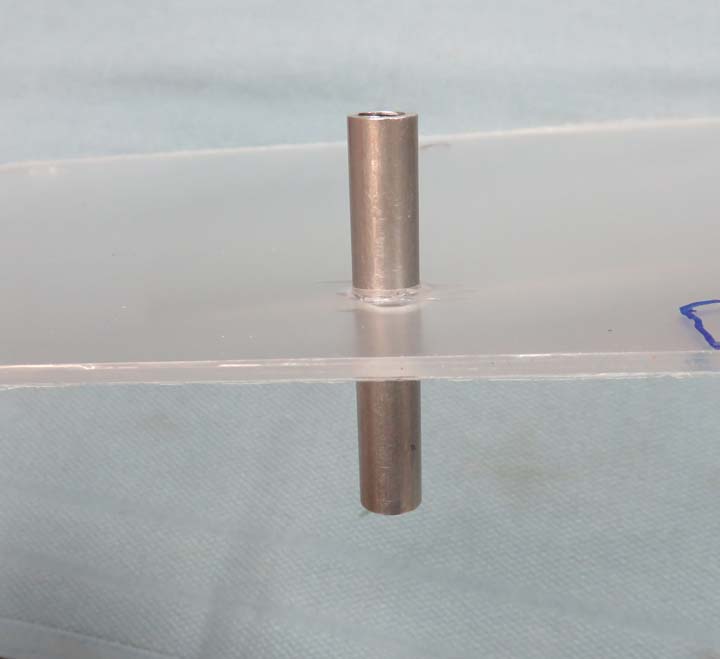
| OOPS!
I quickly found out that when I chamfered the plastic
for my flathead screws that my stand-offs weren't going to work. Once I
had the flathead screws sitting flush with the surface of the plastic,
the hole size was much larger than I anticipated. The stand-offs should
sit against the plastic, not go through it. If the plastic was just a
little thicker, this wouldn't have happened. So now what?
|
|
 |
|
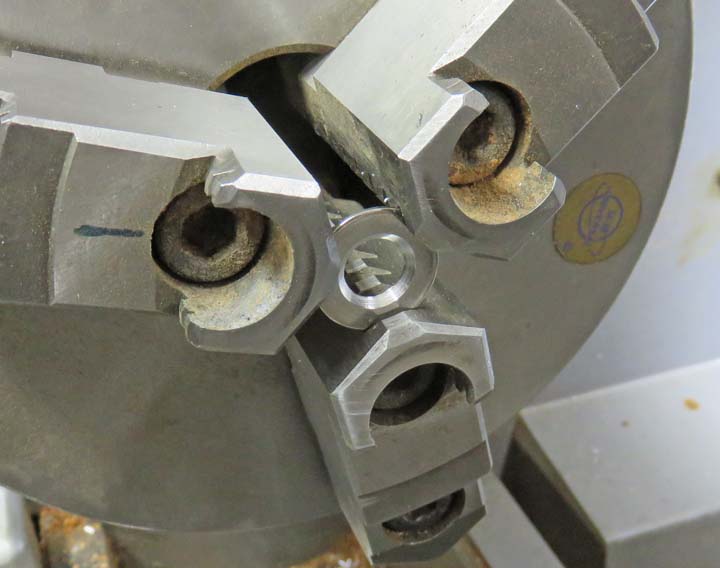
I decided to try using some washers by machining a
chamfer in them. Now the stand-off can rest on the underside of the
washer without going through the plastic. Well that worked and the
stand-offs are good to go in that regard. However, while I was
tightening the bolts, the stand-offs wanted to spin. Right then I knew
that all the work I had done on the stand-offs up to this point was
useless.
Time to figure out something else.
|
|
 |
|
Plan B
I came up with another idea, but this time it should
work. This will be a two-fold change: first, I decided to use bolts that would go all the way through
this time. And second, I'm going to make some new larger diameter
stand-offs. This way there is no way the stand-offs
would be able to spin or move in anyway.
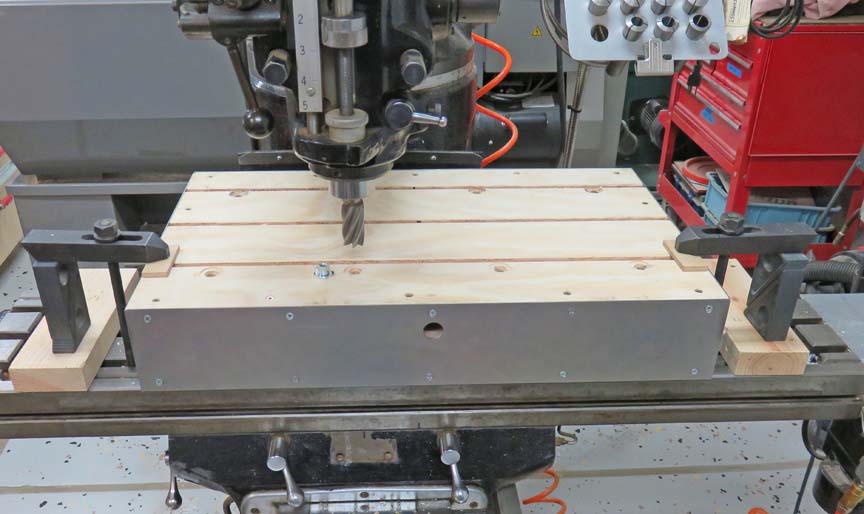
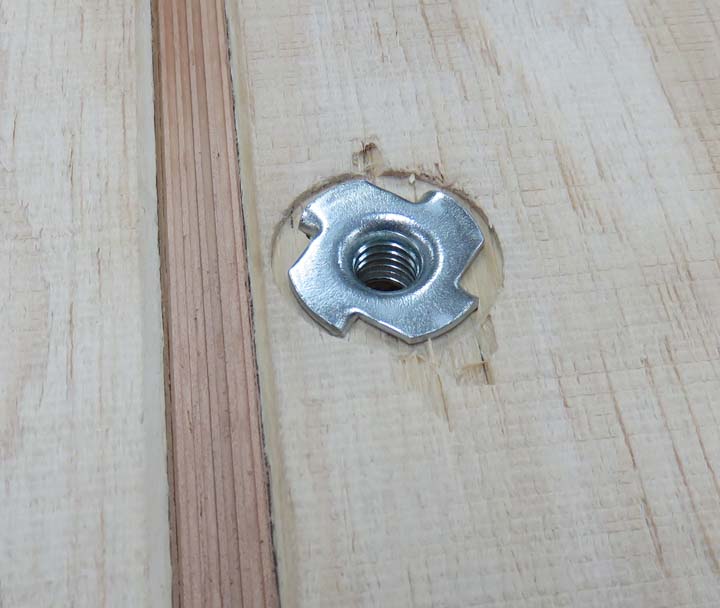
What I'm doing below is counter boring for some threaded
wood inserts. And I'll use all of the original holes that I used before.
|
|
 |
|
These threaded inserts would normally stick out from the surface,
which is fine in some applacations, but I
wanted them all to sit flush with the back of the box. This way the box
will sit against the wall correctly.
|
|
 |
This extra step didn't take long, and I should have done this at the
beginning.
|
|
 |
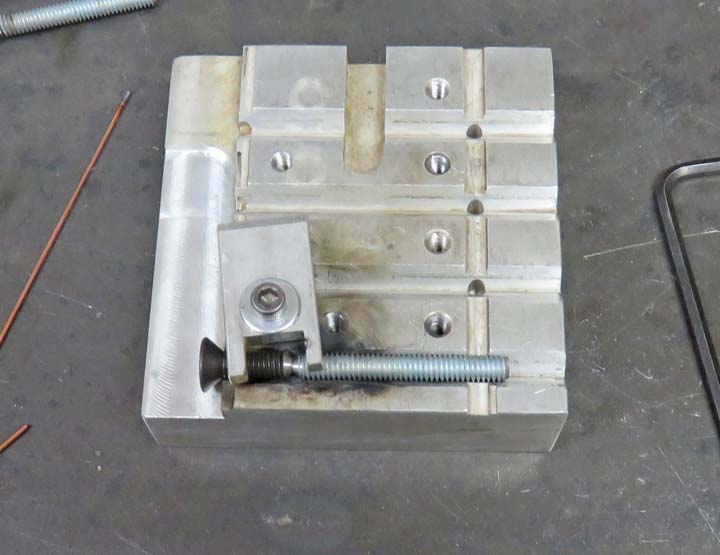
I also decided to use my original bolts, but that means I'll need to
lengthen them all. I bought some 5/16-18 all-thread and I'll weld the
two pieces together.
|
|
 |
I fired up my TIG welder and started welding.
|
|
 |
|
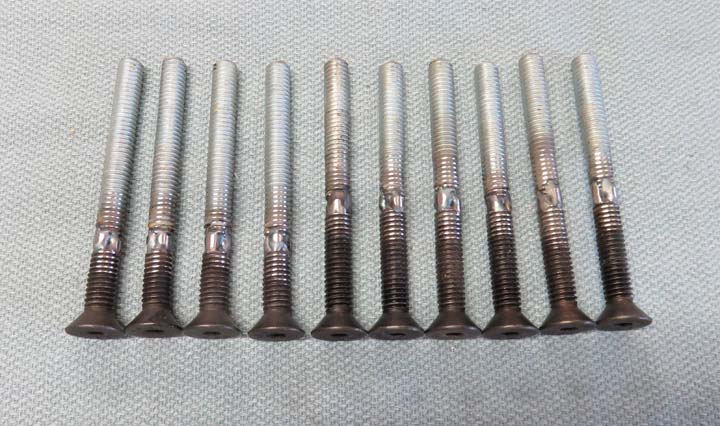
After welding all the bolts, I used my belt sander and
sanded down all the welds. A keen eye will notice that I have 10 bolts
now in place of the original eight that I stated with. I stated looking
at where each bolt was placed and decided that I could use a little more
stability towards the middle. I mean, while I was welding, why not do a
couple more just in case?
|
|
 |
|
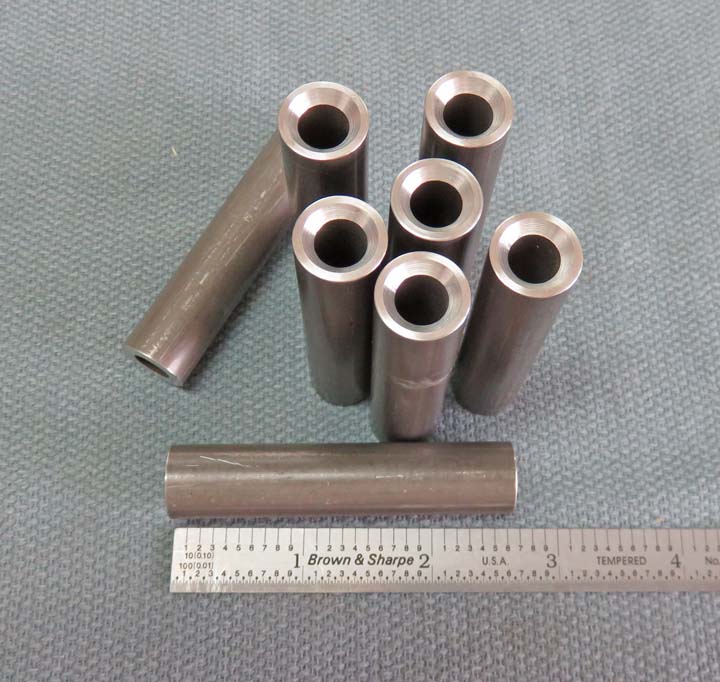
Here is what I was trying to explain earlier about
chamfering the ends of the stand-offs that the bolts will be pass
through. A 5/16 flathead bolt has a large chamfer that protrudes through
the thin plastic and well below it. If I didn't chamfer the stand-offs
then the bolts wouldn't tighten down properly. Also, these new
stand-offs are 9/16" diameter which means they will rest against the
plastic and not go through it (as I shake my head from side to side).
|
|
 |
|
1
2
3
4
5
6
7
8
9 |