|
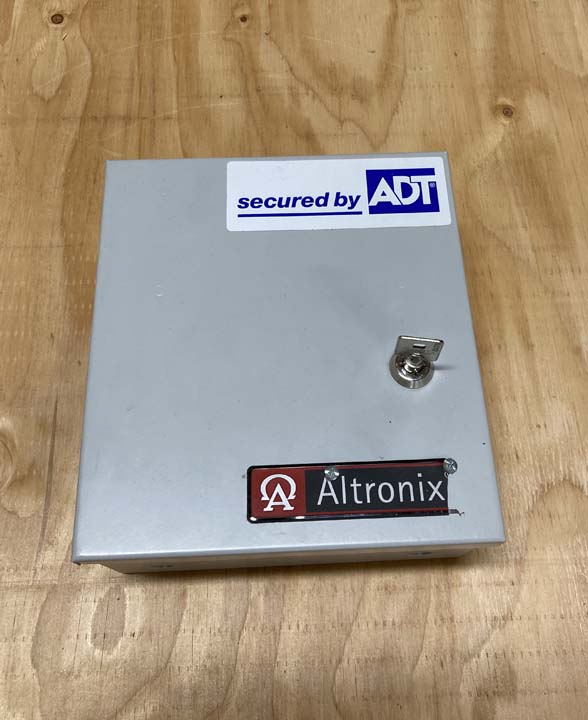
My daughter Angela, and her husband Matt, wanted me to
build an electrical box that would take the place of the one you see below. This
new box would be for their business at
Open Door Escape Games
in a room called,
Lethal Injection. The box that you see here
was fastened to the wall when they moved in their building and was not being
used at that time. But they kept it just in case they might find a use for it
someday. And sure enough they did use it, for about seven months.
However, it wasn't exactly what they wanted, but it was convenient.
Inside this small 7" X 7" box, it had a few wires that their
customers needed to mess with by undoing a wire or two and moving them to
another spot. One thing lead to another and this part of
the game just wasn't working to my daughter's liking. That's where I
come in, they wanted me to make something larger and a little better looking. Something
that would fit the theme of the older look of this game.
They both gave me a direction to go in, along with some
dimensions and just like that, I had a new project.
|
|
 |
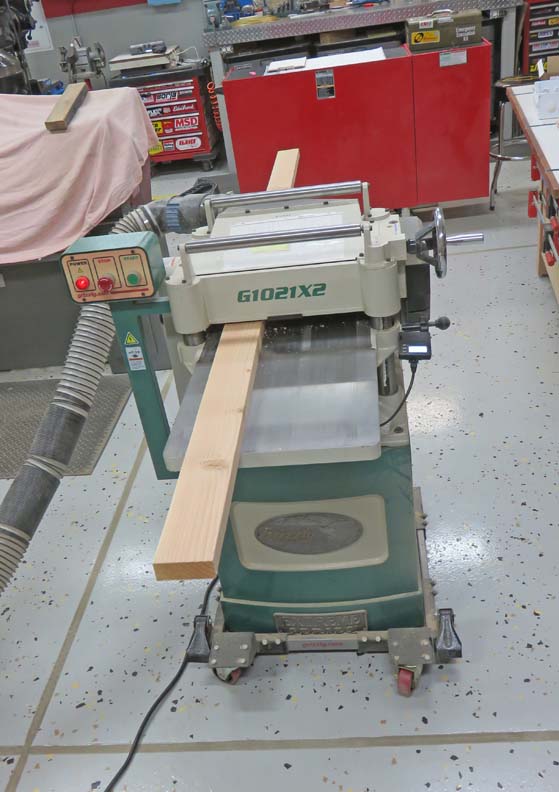
| Working With Wood
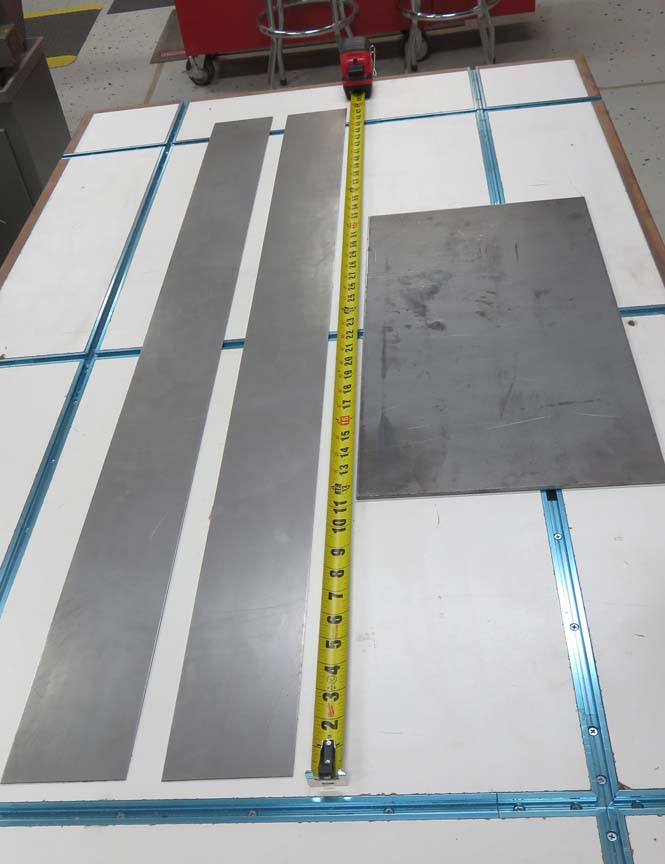
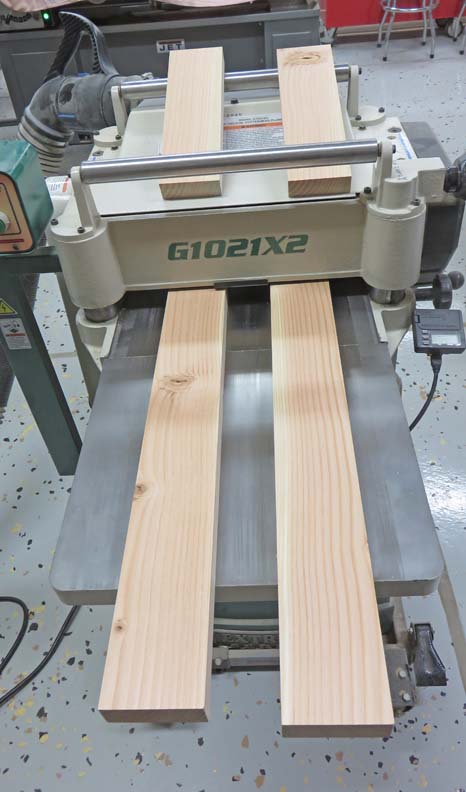
This new box will be 24" X 17" X 4" and will be made out
of wood and metal. Below I'm planing a 2" X 4" so all the surfaces are
nice and clean.
|
|
 |
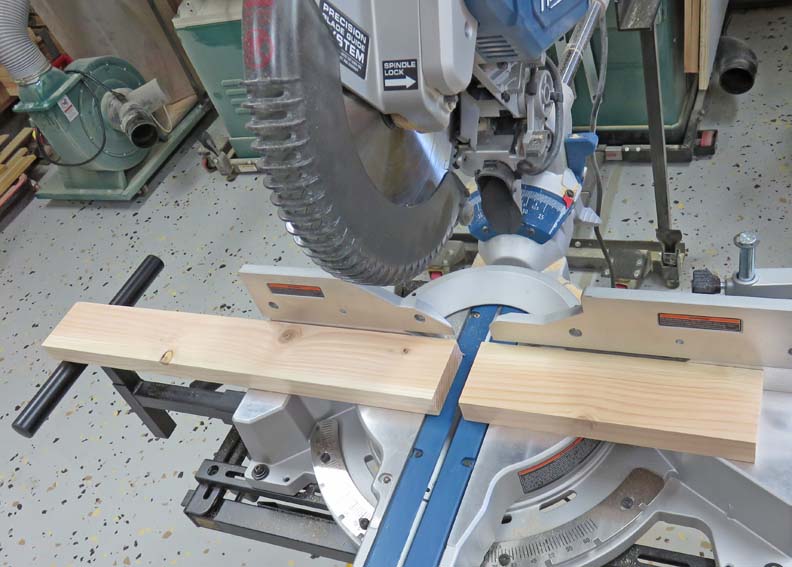
Here I'm cutting my pieces to length.
|
|
 |
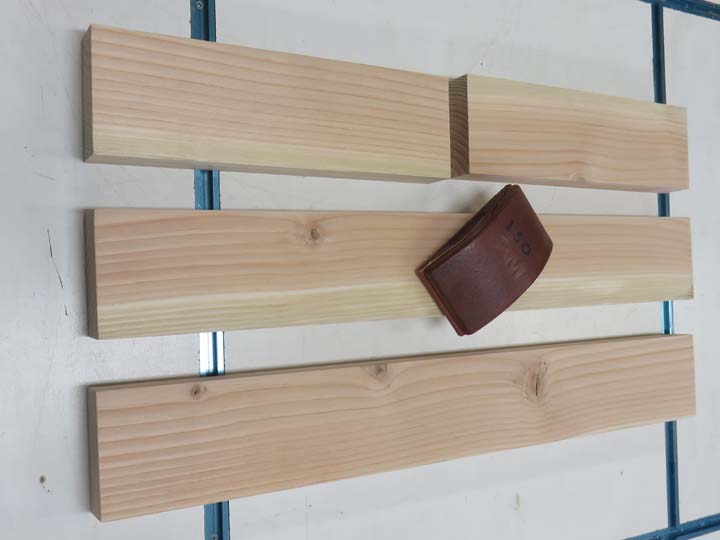
I deburred all the edges and now I'm ready to start on the metal
portion.
|
|
 |
|
Working With Metal
I'm going to cover the outside of the box with some16
gage sheet metal, which I had sheared to 4" wide. The other piece on the
right is for the door and is 21" X 14" X 3/16" thick cold rolled steel.
The reason the door is so thick is because Matt really liked the
thickness of the
two doors we used for the
"Operation Save Christmas"
game. Is it overkill? Yes! But it will work great, should take a beating and look good as
well.
|
|
 |
|
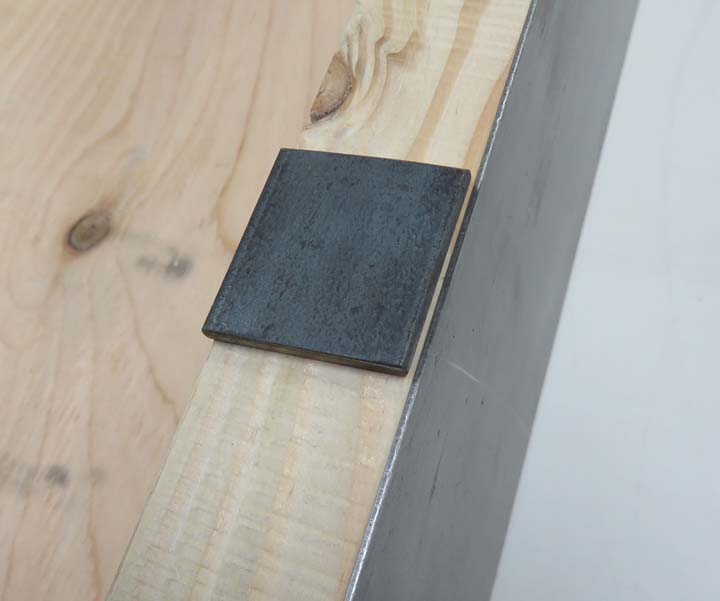
I'm getting ready to start cutting some metal
to length but first I'm making sure that everything is going to line up. What I
mean is, I'm going to use some 1 1/4" X 1/8" flat bar on the face of the
box, which will butt-up against the 4" wide piece. However, I want
to make sure that the flat bar is overhanging into the box slightly when
I'm finished.
|
|
 |
|
Here you can see a sample piece of flat bar, which is in the
perfect position for the amount of overhang. But the distance between
the two pieces of metal are not correct because I want them touching
each other. That means I need to remove a small amount of wood before I
go any farther.
|
|
 |
|
Working With Wood Again
I ran all the wood back through my thickness planer one more time
removing about 1/16" which worked out great.
|
|
 |
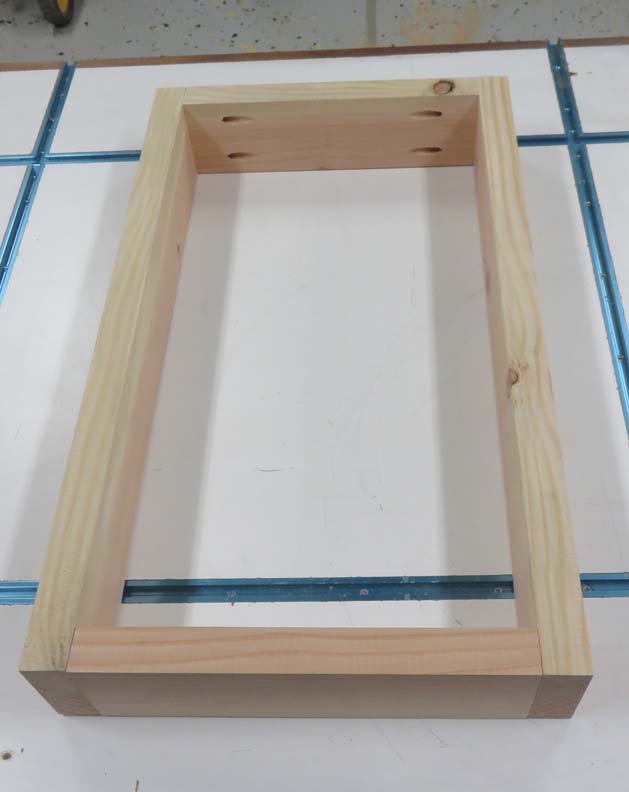
Now it's time to join all the wood pieces together using pocket-hole screws.
This is a very easy way to fasten two pieces of wood together and this
method works very good.
|
|
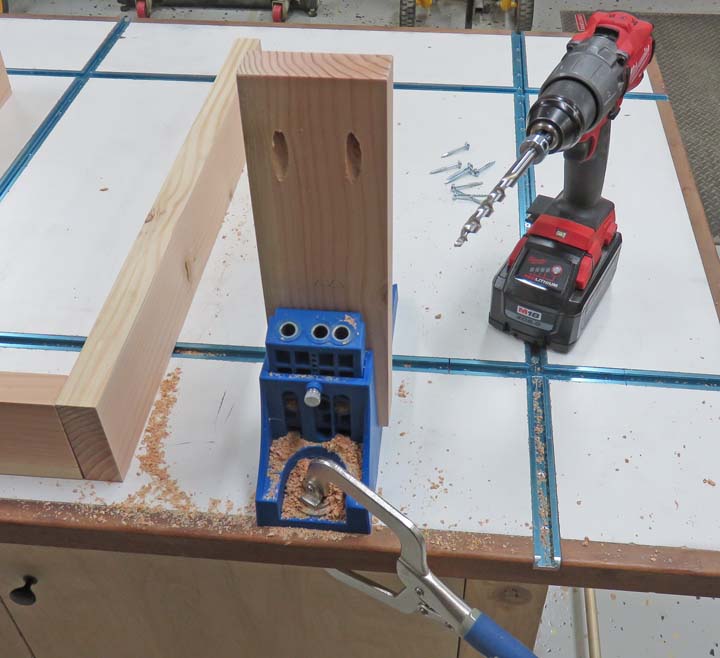 |
And after a few minutes of drilling, I have a frame made. Now it's
time to put some holes in the top, bottom and in one side.
|
|
 |
|
1
2
3
4
5
6
7
8
9 |