Escape Room Boxes  1                                                11-2022


My daughter Angela and her husband Matt are building another Escape Room and they wanted me to build a couple of things for them. If you already read about the Switch project that I built in my previous post, this one bookends that project because they're both in the same room.

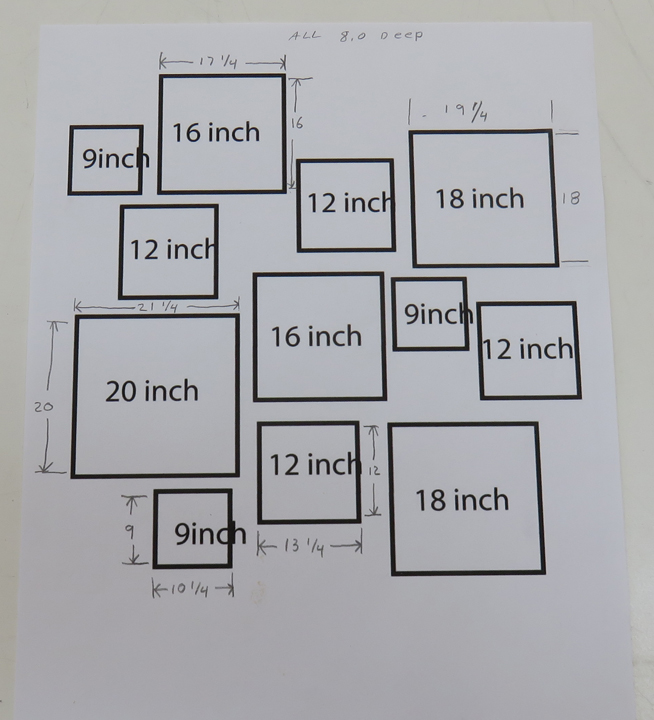
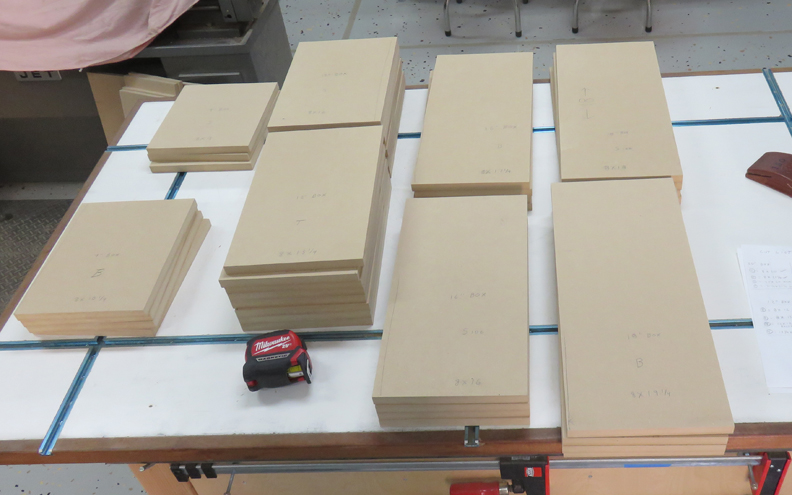
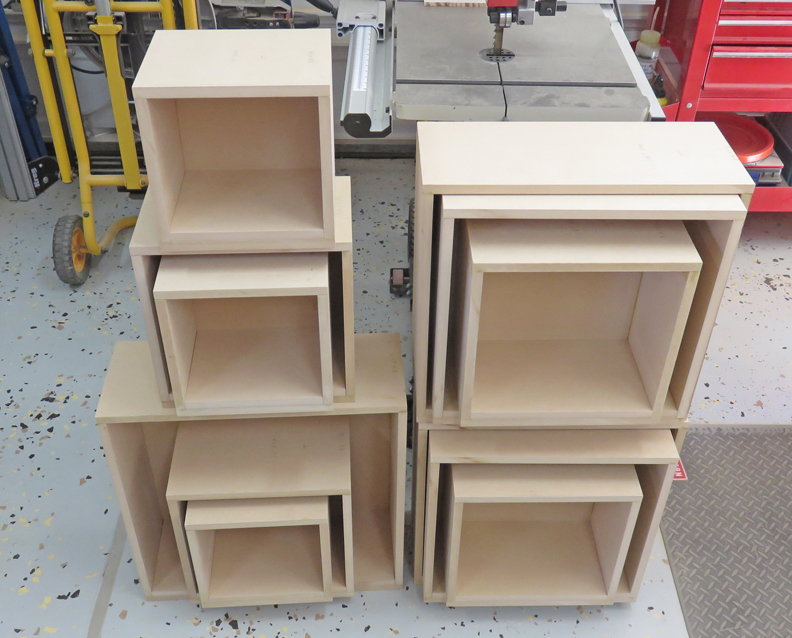
This project is all about the 12 days of Christmas and you can see by the picture below, my daughter Angela has been busy drawing and giving me all the sizes of these boxes that I'll be making. And you can see there 
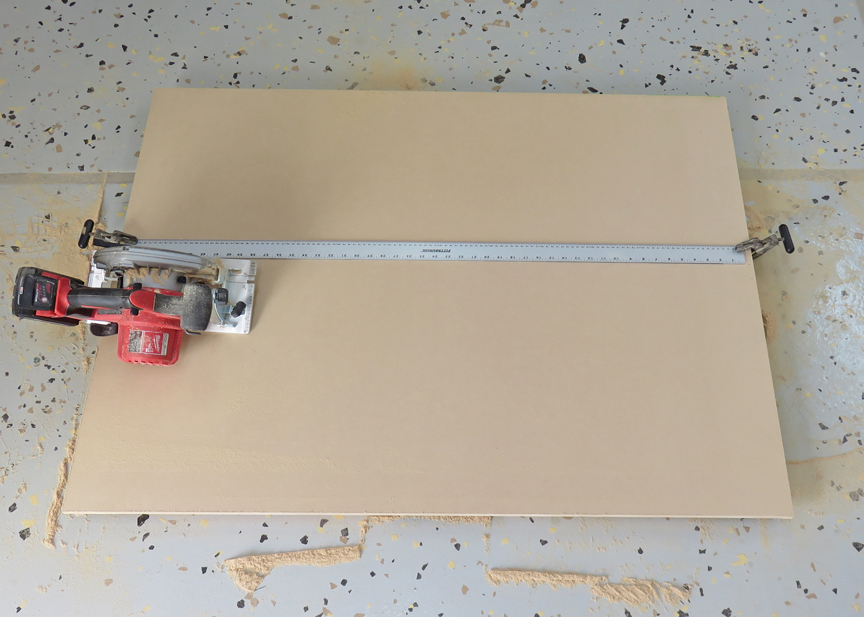
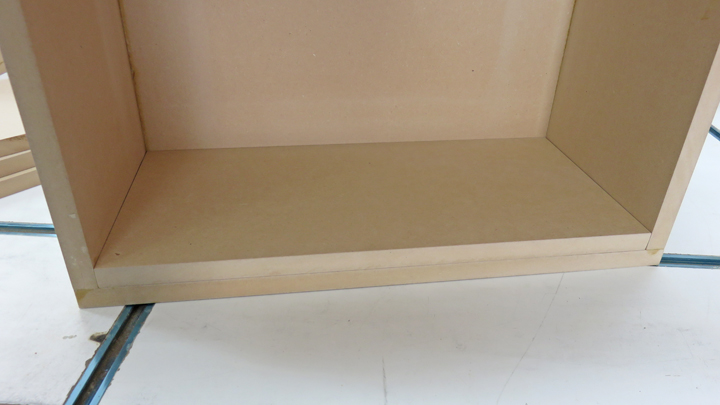
are many sizes, but all the depths will be the same at 8". I've chosen to use 1/2" MDF for the material this time, mainly because it's flat and I don't have to glue pieces together along with running them through my thickness planer. Plus all the boxes will be painted so nobody will know the difference once they're finished.

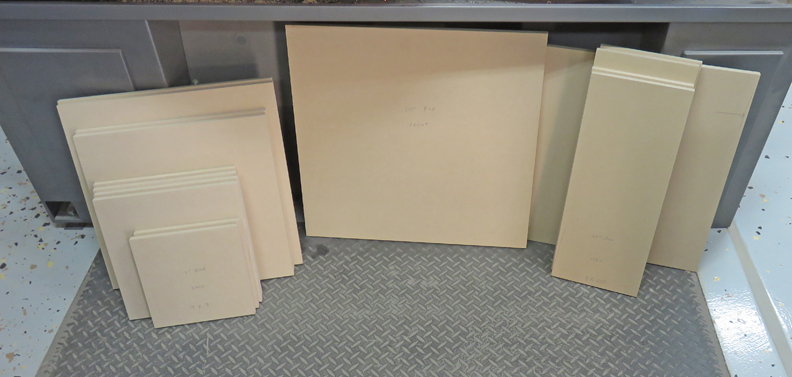
The pattern that you see in the picture below is how they will look once they're attached to the wall and they will all have 
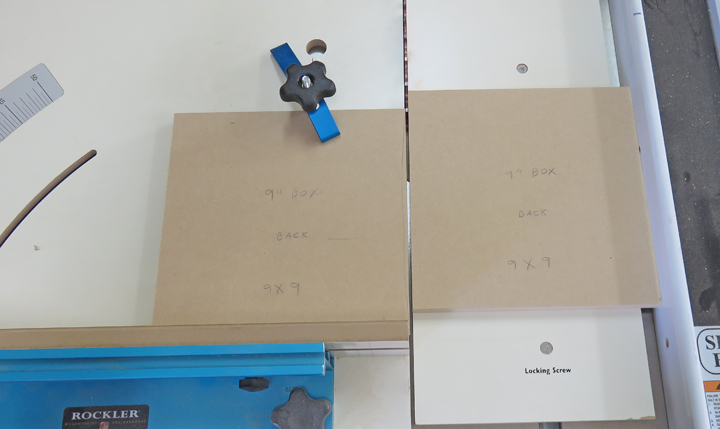
doors on them. Oh one more thing, six of these boxes will have electronics in them. However, I won't tell you which ones so it doesn't spoil the fun if you decide to play the game. Anyhow, let's 
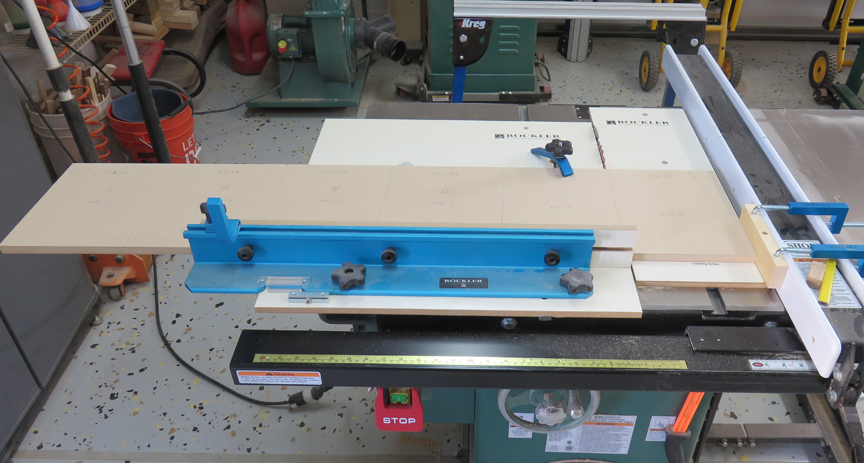
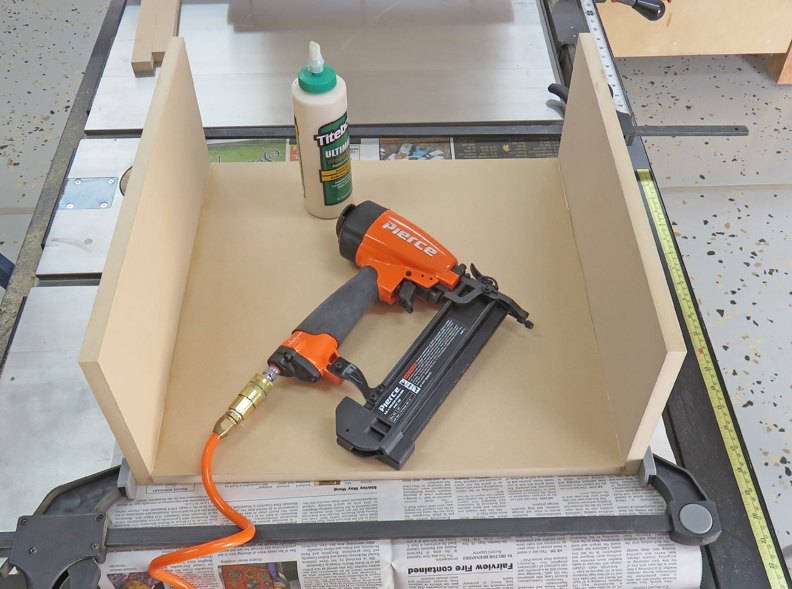
get started building all these boxes because this is a big project.


Working With Wood


I bought three sheets of 1/2" MDF (Medium Density Fiberboard) and each one weighs about 70 pounds. To cut each piece I placed them on floor with 2" X 4s" under them. By using a four foot straight edge clamped to my work piece as a guide, I was able to cut most of my pieces 1/2" oversize. After I had all my pieces rough-cut, I trimmed to size on my tablesaw.


Then I switched over to my crosscut sled and cut them to length.


Here I'm cutting some nine inch pieces to length using my sled.


After an hour or so, I had a stack of boards with most of my sizes cut.


On the ground are the doors along with some larger pieces for the 20" box.


I glued each piece and then used my 18 gauge brad nailer to fasten them together. This worked much faster and better than using clamps for each box.


Once I had all the boxes built, I needed to cut one more piece for each box that would be placed at the bottom. This bottom piece is made out of the same material but I'm using them to hid the electronics.


Some of these pieces had to be cut slightly different than the others, making each piece unique.


A few days later this is what I had. Now I'm ready to start on those bottom pieces and work on the electronics for them.


1     2     3     4     5