|
Working With Wood Continued
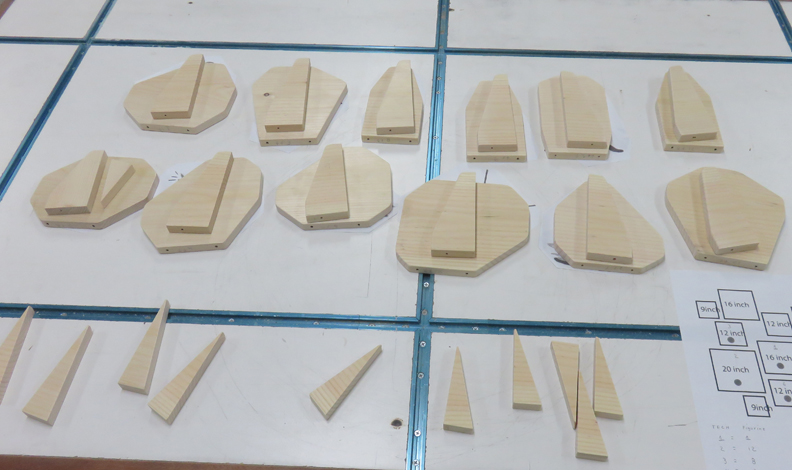
All of the gussets are finished and I ended up with four different
lengths. Also, I have a use for those small triangular cut-off pieces that I'll show
you later.
|
|
 |
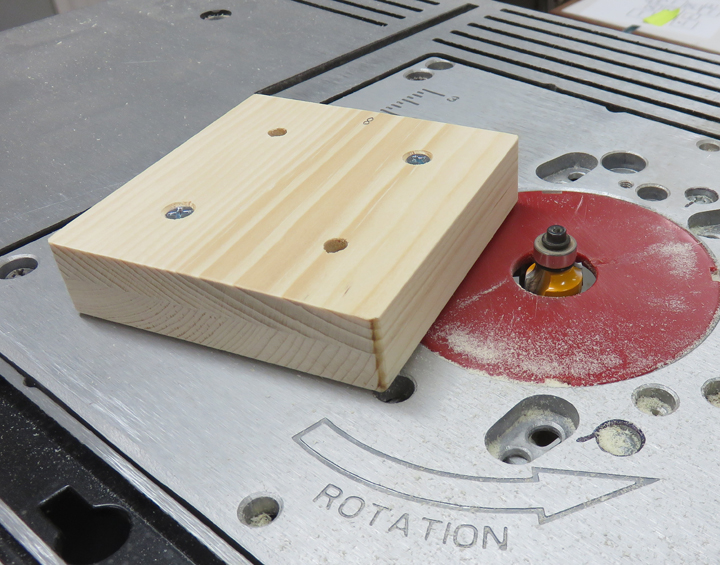
I used a 1/8" roundover bit to soften the
top edges on the bases. This should make them easier to handle.
|
|
 |
|
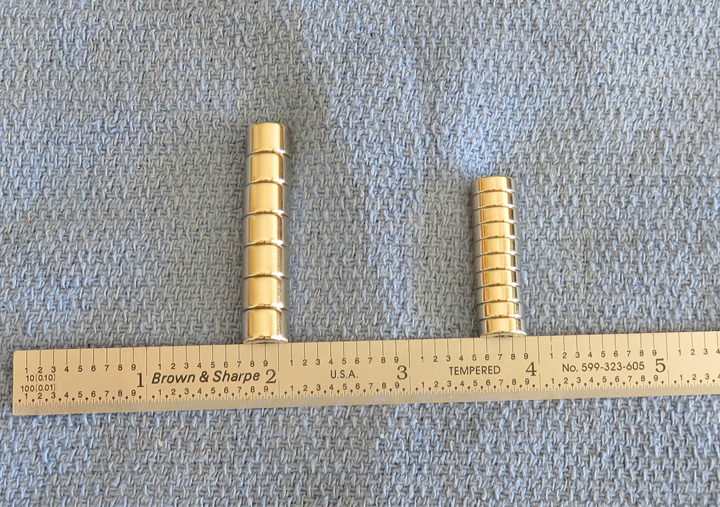
I have two different magnets to experiment with. They
are both 3/8" diameter but one is twice the thickness of the other. The
thinner one is 1/8" thick and they both have a small hole in the center
to mount them with using a #4 screw.
Now these are Neodymium magnets that I bought at
K & J Magnetics which are
extremely strong. K and J Magnetics have all shapes and sizes of
magnets that can be used for all kinds of things. Anyways, I tested both
sizes and liked how the larger ones worked so that's what I'll be using.
|
|
 |
|
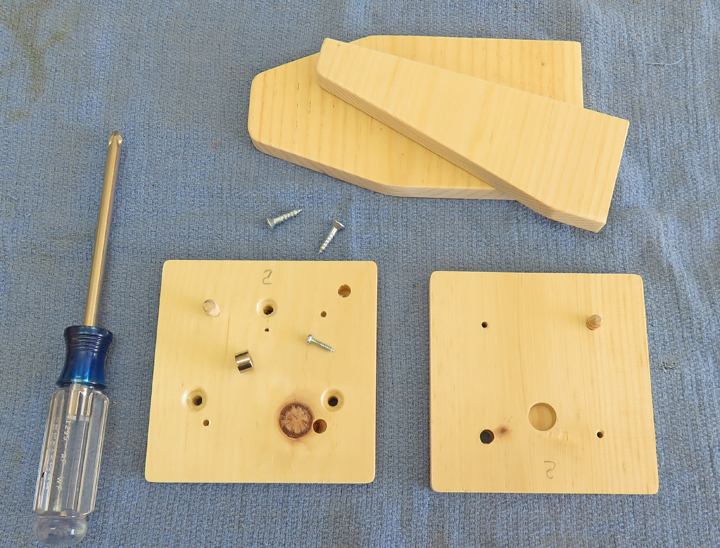
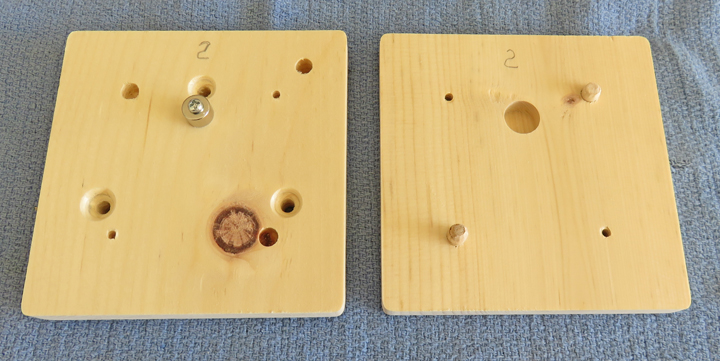
Here are all the pieces to the figurines. If you look
close you can see three holes that have countersinks on the square piece
at the bottom left. Those are the mounting holes for the two wooden
pieces at the top. You'll also see a magnet sitting on the same piece
with a small screw next to it.
|
|
 |
|
Here you can see the magnet is fastened down and will
line up with the pocket on the other piece. Once these pieces are
screwed together (which will make up one base), you won't see
the magnet or even know it's there. Each magnet will be in a different
location so you won't be able to solve the puzzle accidentally. I placed
one at each corner and the other two are towards the center like you see
below, making six combinations total.
|
|
 |
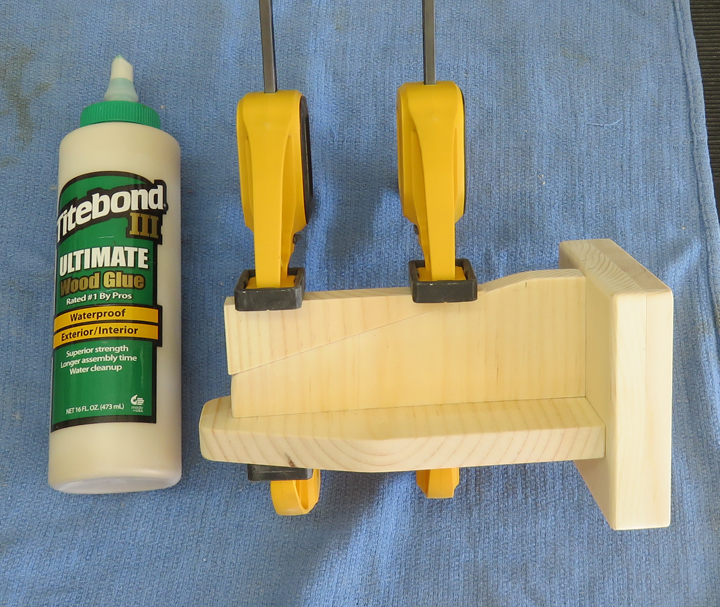
Here I'm gluing these two pieces together using the leftover scrap piece
to help with clamping. But I didn't use any glue between the base and
the these pieces.
|
|
 |
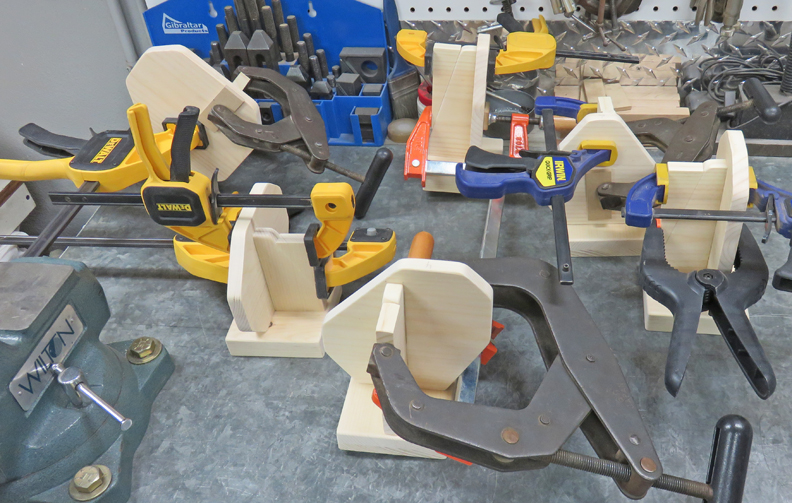
Lots of figurines being glued here.
|
|
 |
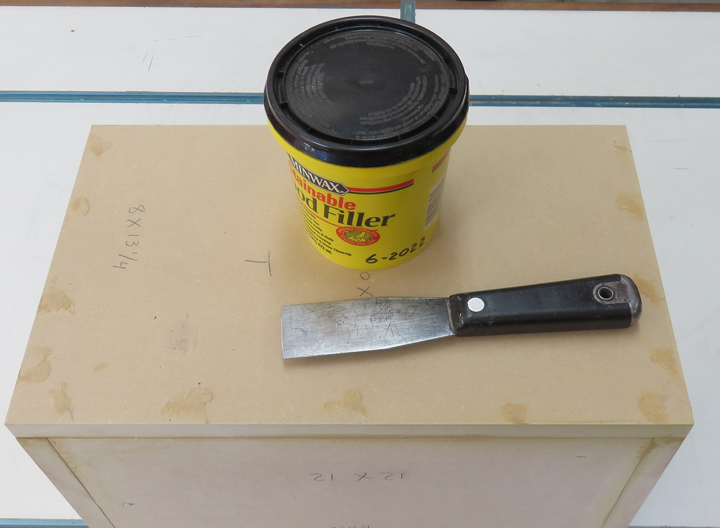
While those figurines are drying, I'm filling the nail holes with wood
filler.
|
|
 |
The next day I sanded all the boxes which went pretty fast.
|
|
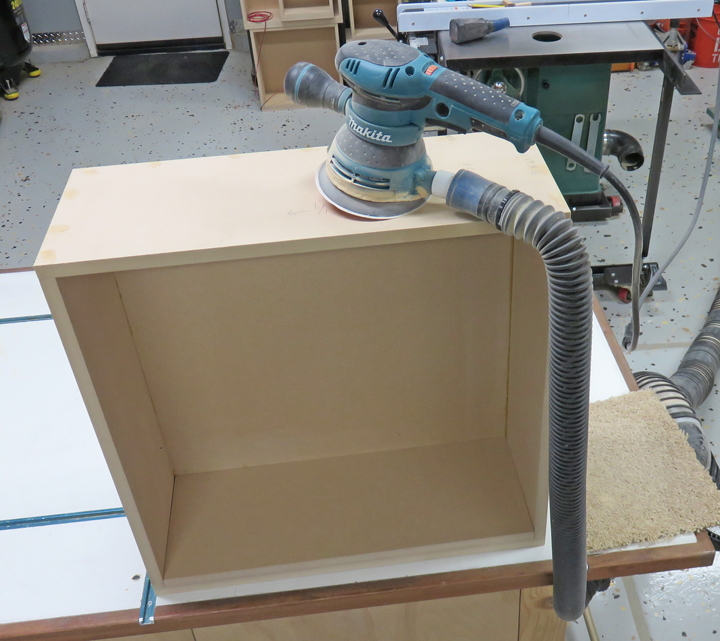 |
I tested all six boxes that had the electronics and everything worked
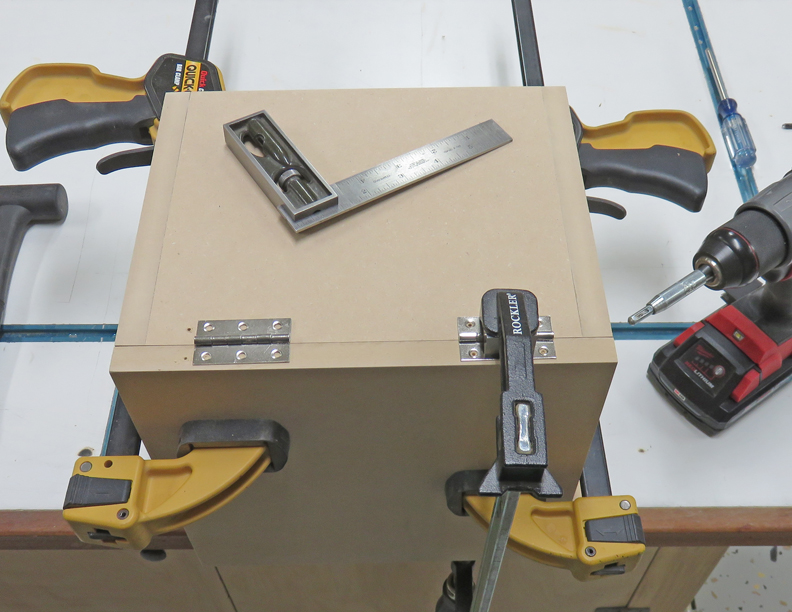
great. Now it's time to attach the hinges and hang the doors.
|
|
 |
|
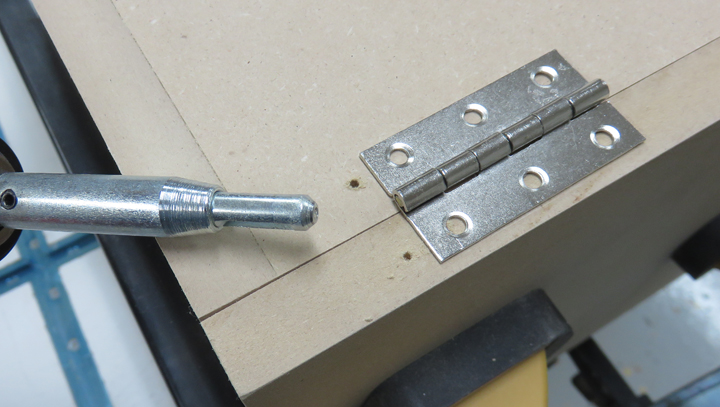
If you've ever had to hit the center of the hole while
mounting hinges but missed it by a small amount, then using these
special drills are for you. These self-centering drills work so good
because they have a chamfer on the end that locates on the hinge making
it almost foolproof. In the above picture you can see I clamped the
hinge which keeps it from moving. Then I drilled the four outer holes,
move the clamp and drill the two center ones. These drills come on in a few
different diameters to accommodate different screw sizes.
Once all the hinges were mounted, I took all the doors
back
off but labeled all of them beforehand. Now it's time to take them to my
daughters business and paint them because she knows what each box color
needs to be.
|
 |
|
1
2
3
4
5 |