|
Working With Wood Continued
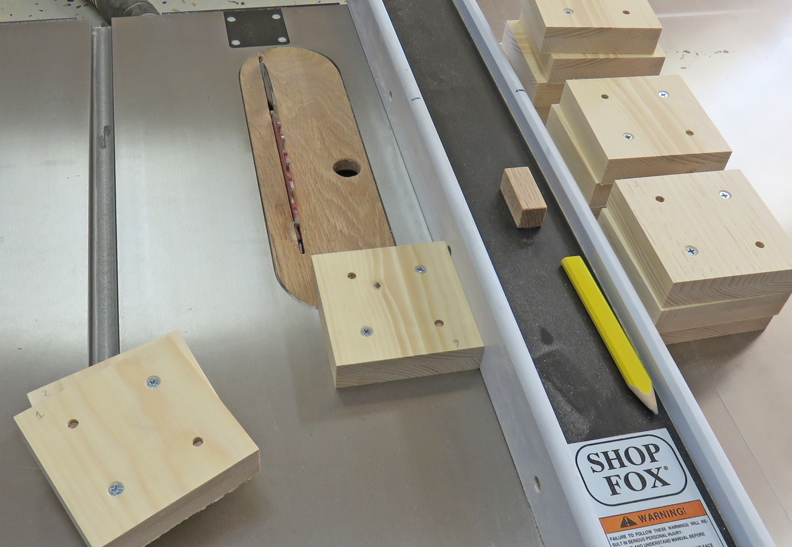
After installing the dowels, I took them all back to the tablesaw and
skimmed each one so the sides all lineup exactly. This will be important
so they look nice once they're painted later.
|
|
 |
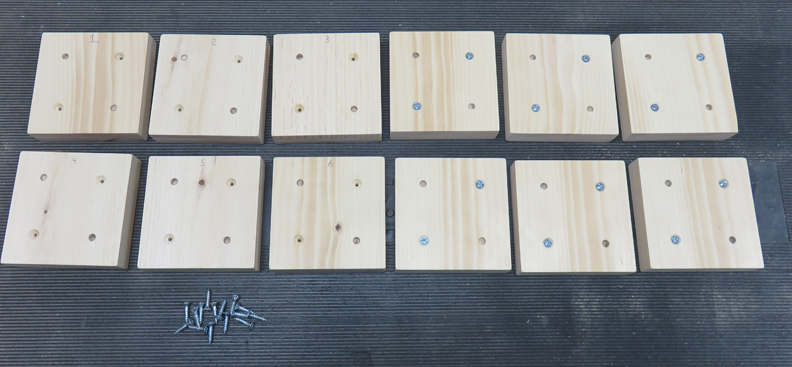
Here you can see all 12 bases for the
figurines. Now it's time to work on a some pieces that will attach to
the bases.
|
|
 |
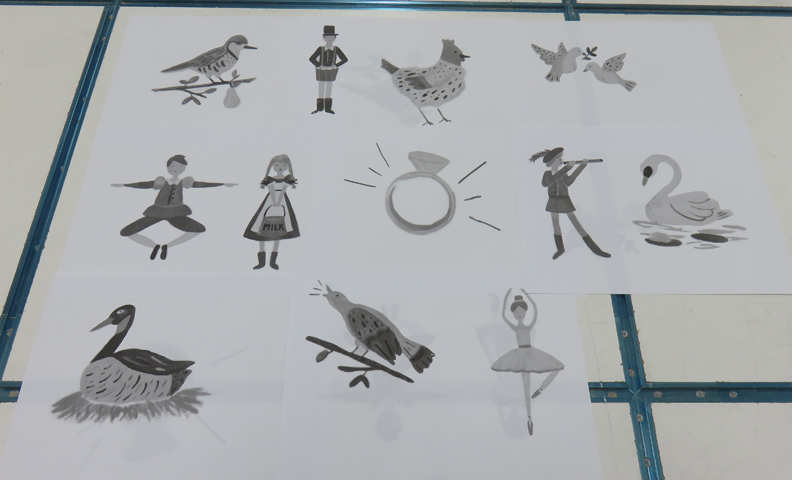
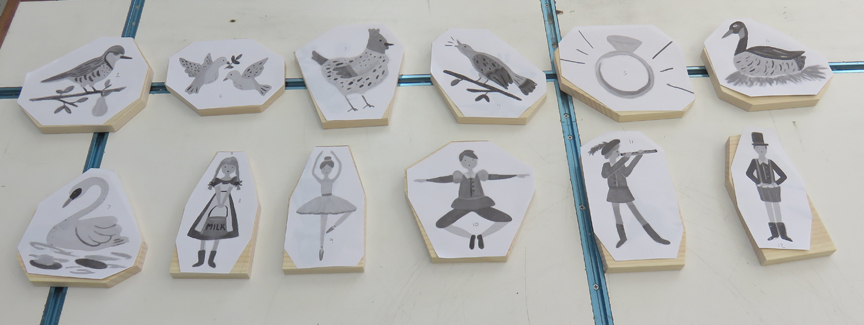
My daughter drew all these figures that represent the 12 days of
Christmas. Then she sent them to me via email and I printed them all
out.
|
|
 |
|
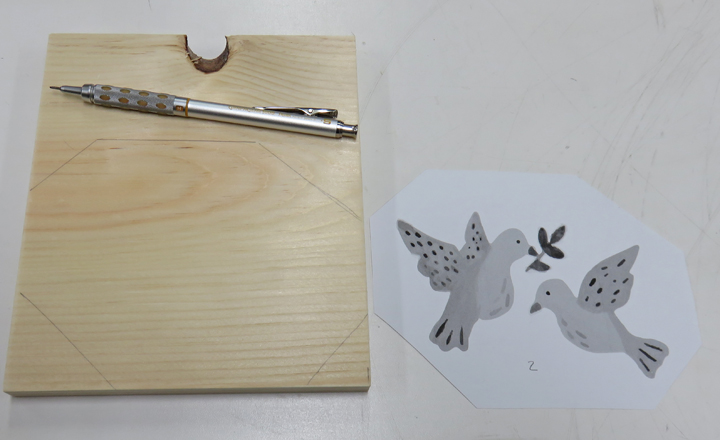
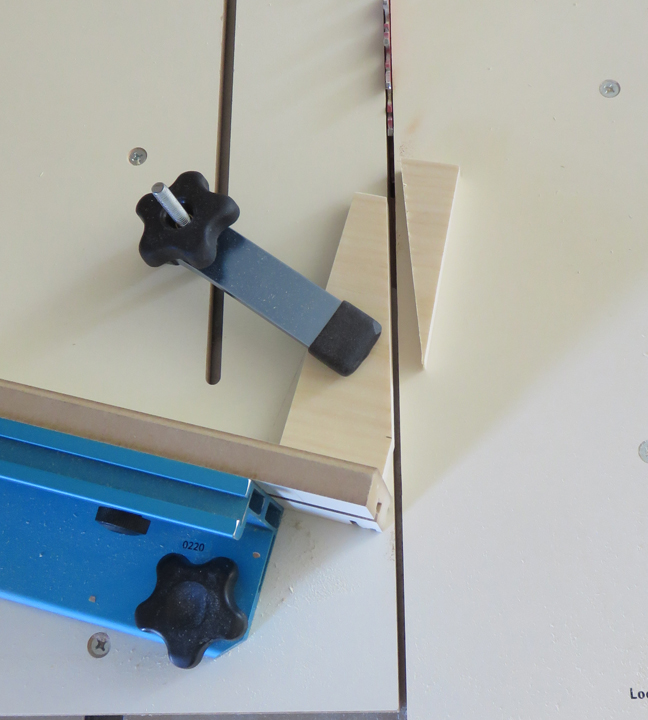
Angela instructed me to cut out the pictures but she
wanted them to have soft edges in place of me cutting right to the line.
As you can see I've traced the paper shape onto my wood piece and then I
cut them all out on my tablesaw. I numbered each one so I didn't get
lost.
|
|
 |
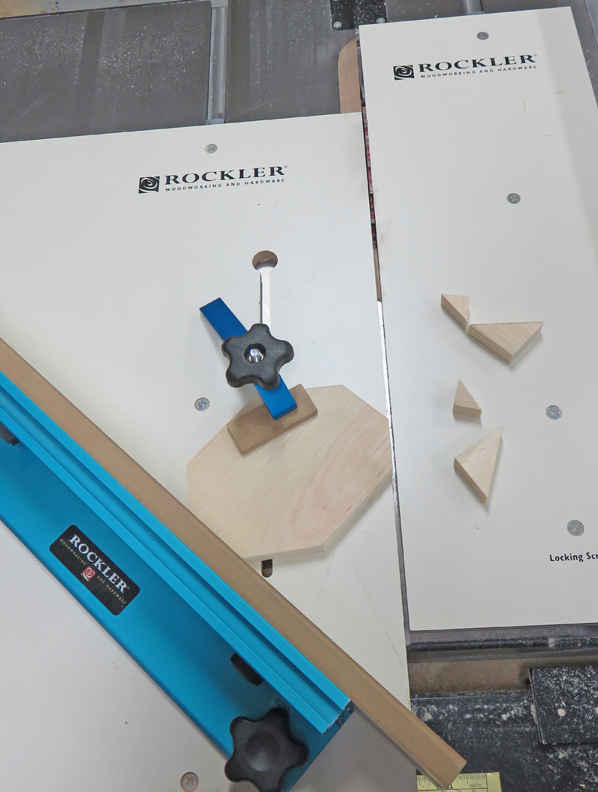
Here you can see I'm trimming one of the edges on my crosscut sled.
|
|
 |
Here is what they look like once I had all the wooden pieces cut. These
pieces will be mounted to the bases.
|
|
 |
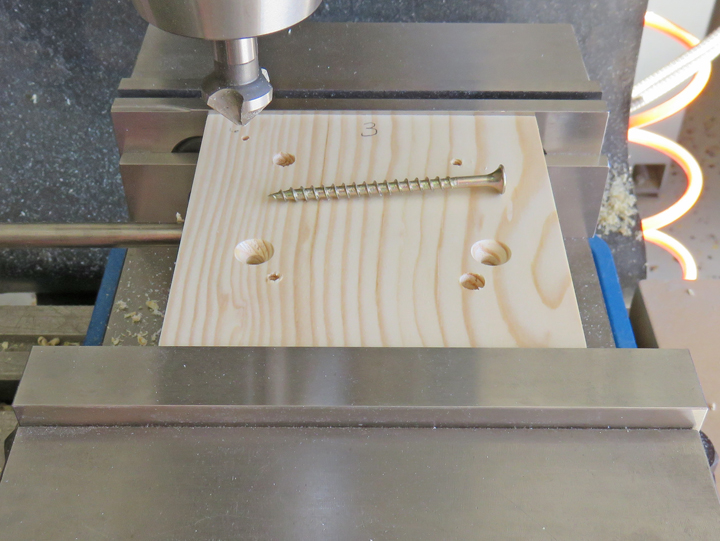
I'm drilling two clearance holes to mount the figurines to my bases. I'm
going to use 2 1/2" long drywall screws to hold these pieces together.
|
|
 |
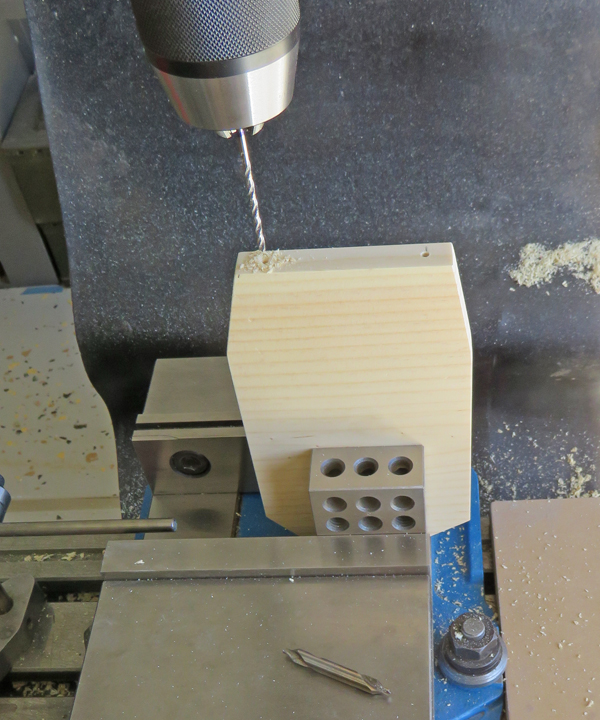
Here I'm drilling pilot holes in the bottom of the figurine pieces for
my drywall screws.
|
|
 |
With so many people that will be handling these figurines I felt the
need to add a gusset to each one. Here I'm cutting them out on my
tablesaw.
|
|
 |
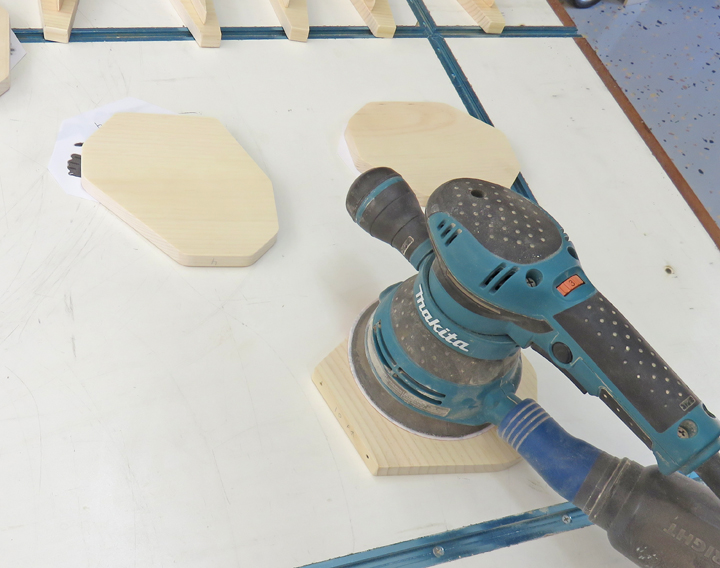
Next I sanded all of the pieces with my DA sander.
|
|
 |
|
1
2
3
4
5 |