|
My daughter Angela, wanted to keep me busy with a
project so she mentioned making some Cornhole boards for her. And once I started
thinking about it, why not make two sets. What I mean is, I needed to buy a full
sheet of plywood anyways and this second set would make a nice birthday
present for our son Tony.
Now Tony's birthday is in the middle of August so I had
some time and Angela didn't give me a timeframe so off to the hardware
store I went. I bought some 1" X 4" pine along with 1/2" plywood
(good
both sides). I've seen Cornhole boards put together using 2 X 4's but
those can get heavy, hence the reason for the smaller lumber. And Angela suggested fastening both halves together
using some hinges that come apart so using lighter material will be
helpful. With that being said, let's get started.
|
|
 |
| Making Boxes
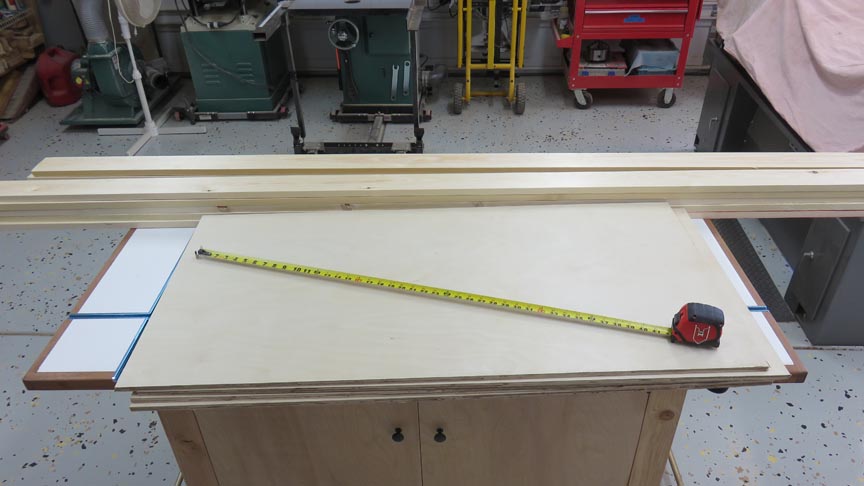
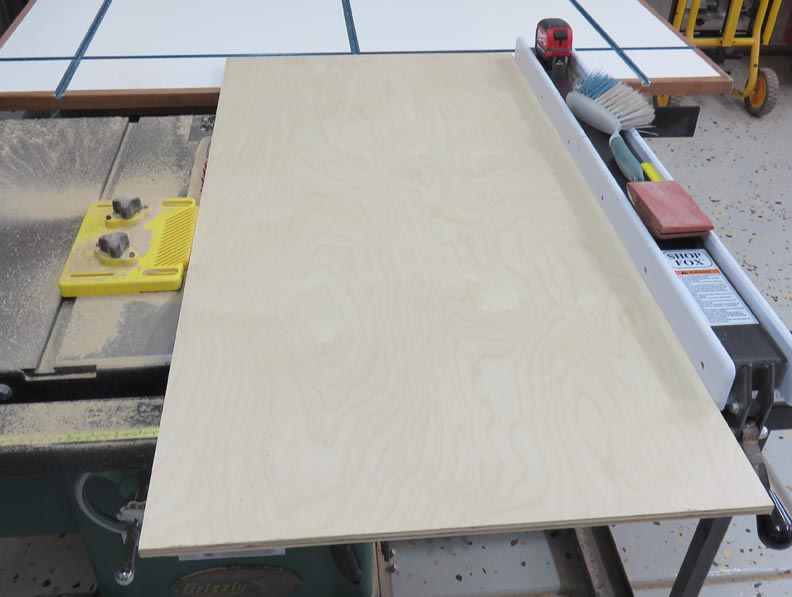
I had the guy at the hardware store cut my plywood down
the middle, both directions leaving me with four pieces measuring 2 feet
by four feet. Well.....that was the plan but all four were pieces were
different sizes. Once I was home cut them all the same on my table saw.
Each piece was about 3/8" short of my desired dimension but that's no
big deal.
|
|
 |
|
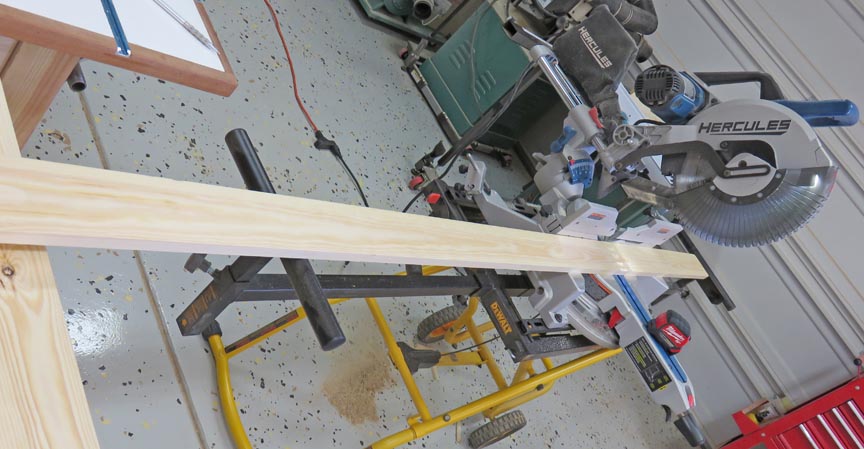
Here I'm using my miter saw to cut all the 1 X 4 pine. A
quick note about this material: I had a really hard time picking out
some decent lumber. I went through about 30 pieces and each one is 16
feet long. After a few minutes I had a huge pile on the hardware store's
floor of junky wood and only a couple of nice pieces that I liked.
Eventually I ended up with five pieces I could live with and had them
cut them in half for easier transport. If you're wondering how
those cuts ended up? They weren't in the middle either (as I shake my
from side to side).
|
|
 |
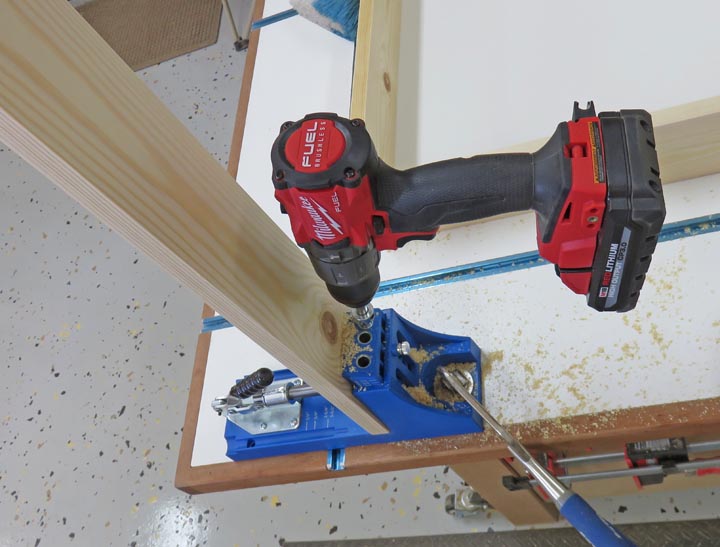
I'm using my Pocket hole jig to join the box together. This unit makes
life very easy and it's quick too.
|
|
 |
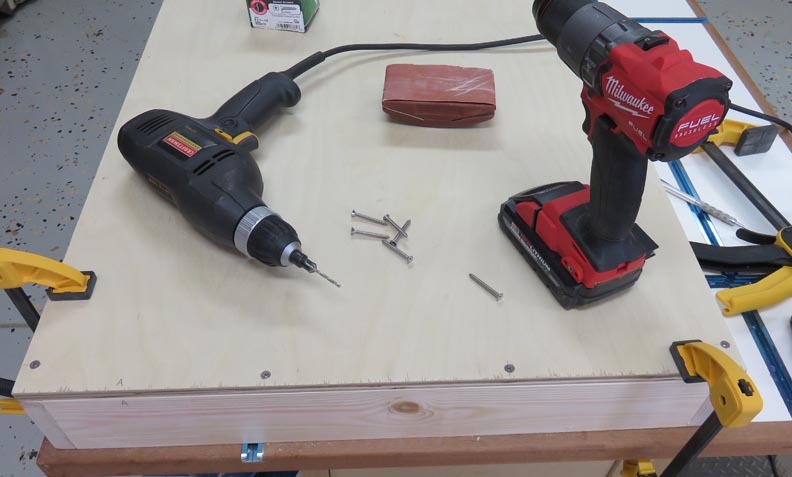
After a few minutes of drilling, I was ready to assembly the box. I
added cross bracing in the center to stiffen up the boxes.
|
|
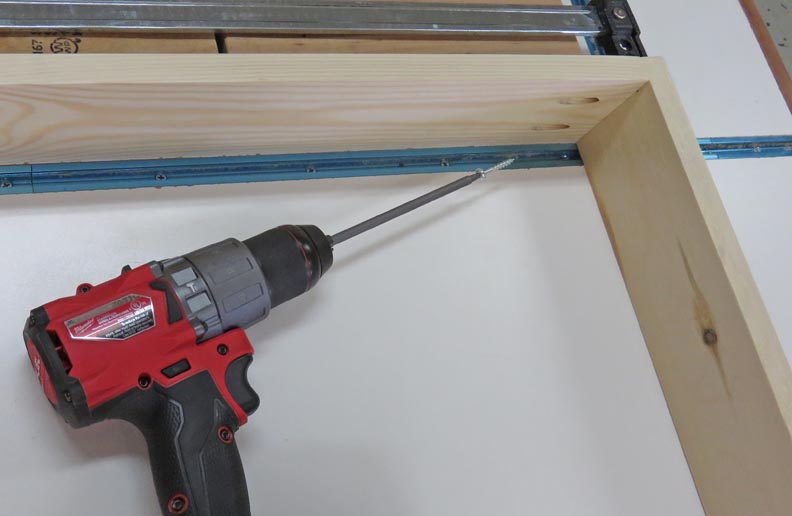 |
To keep things moving along, I'm using my corded drill along with my
cordless. One drills the pilot holes and chamfers and the other drives
the screws.
|
|
 |
|
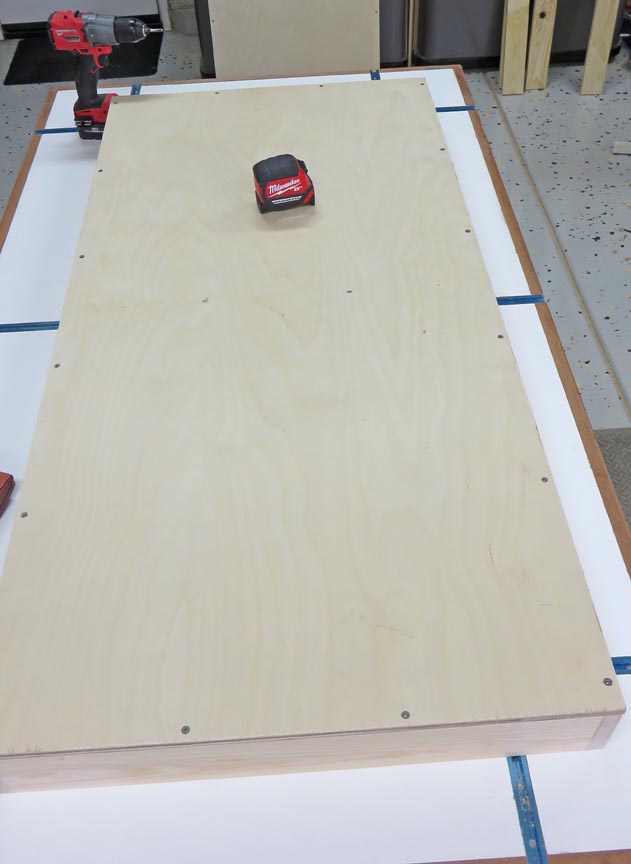
The basic box is finished and now it's time to add some legs.
Update: Angela wants her boards to have a Dodger's
theme. That's fine but this will be a challenge now because I thought she would be going
with a vinyl wrap. Now I told Tony's wife about this website
The Cornhole Stop before
I started because they have a lot of choices of vinyl wraps to pick
from. However, Angela didn't find anything to her liking at that site
but did find something else a few days later.
What Angela came across was a picture that she liked and
sent that to me. After looking at this new theme that she picked out, those two screws in the middle
of the boards are going to be a problem now. I wished I'd known this
earlier so I could plan around them. Now it will be time to get
creative.
|
|
 |
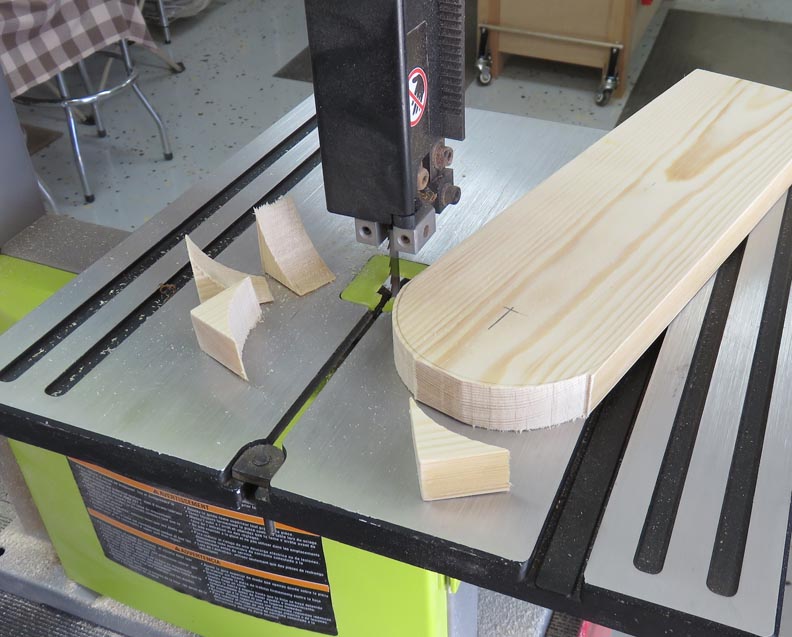
I cut some pieces longer than I needed and will trim the length later.
Here I'm using my bandsaw to cut near my layout line.
|
|
 |
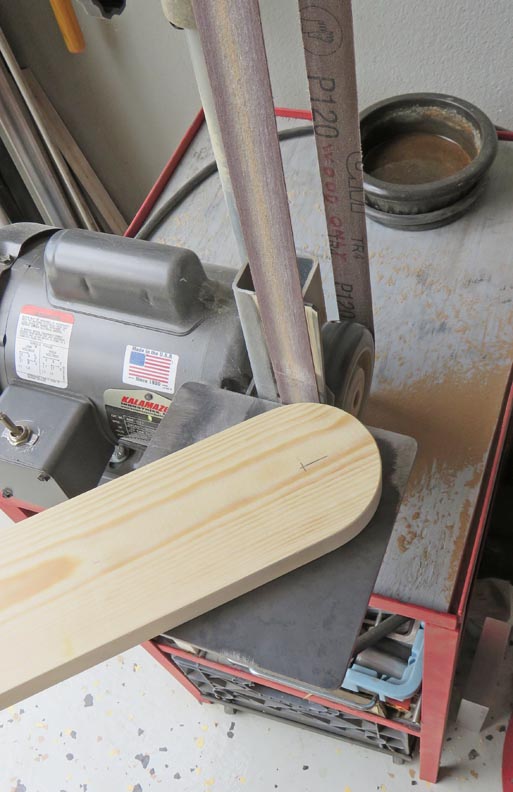
Then I used my belt sander and sanded up to the line.
|
|
 |
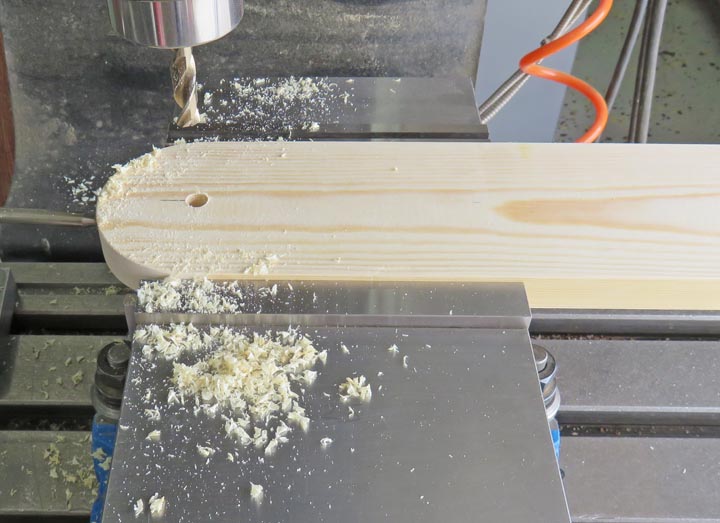
Here I'm using my milling machine to put some pivot holes in each leg.
If you look close, you can see my work stop to the left because I have
eight legs to do.
|
|
 |
|
1
2
3
4
5
6
7 |