|
Making Boxes Continued
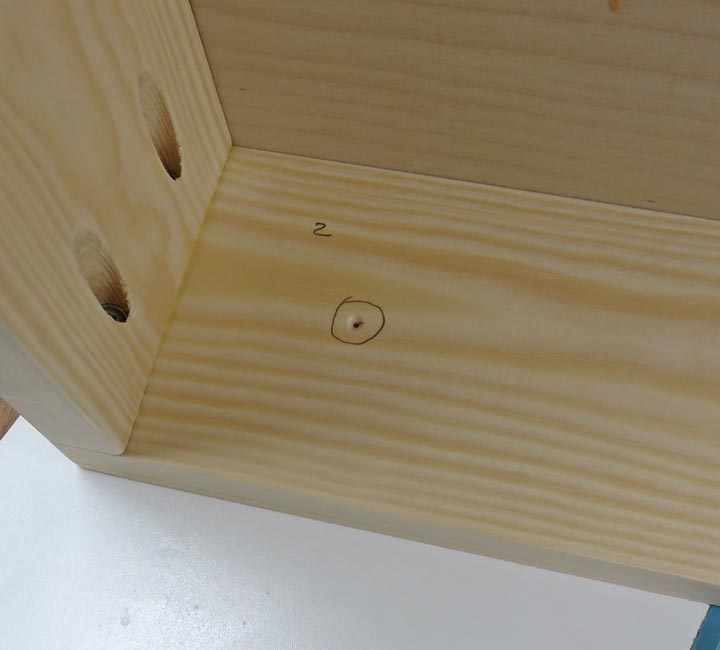
What you see below is my transfer punch in the hole of
the leg. A transfer punch has a point, centered at one end. With one tap
of the hammer it produces a small indentation, which is where I'll need to
drill a hole for a 3/8" bolt.
|
|
 |
|
This method is something that I've used
for years in the metal working industry but works equally well on wood. Now
I like to use a small drill first, say 3/32" or 1/8" to pickup my
location and then step-up to my final size. This way the larger drill
will follow the hole much better.
|
|
 |
|
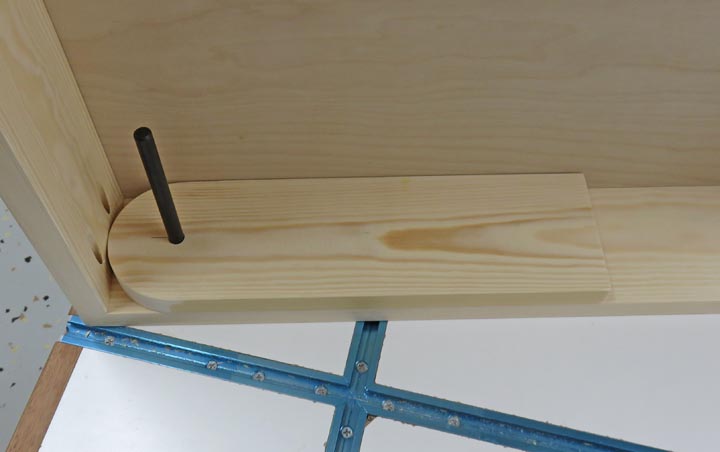
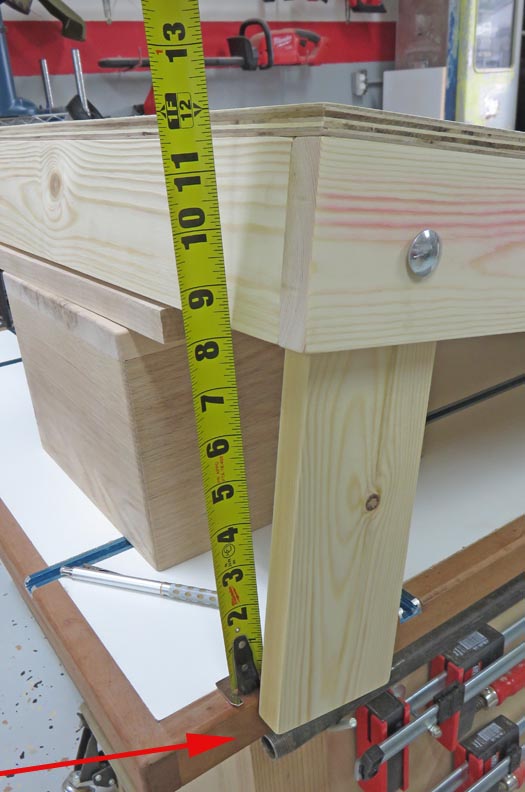
I'm getting ready to cut the legs to length here. The
top of the playing surface needs to be 12" from the ground so I placed
some scrap wood under the boards to help me here. Notice the leg is below the tables surface (arrow). All the legs will need to
trimmed at an angle but also need to end up long enough to have the game
boards at 12" high.
|
|
 |
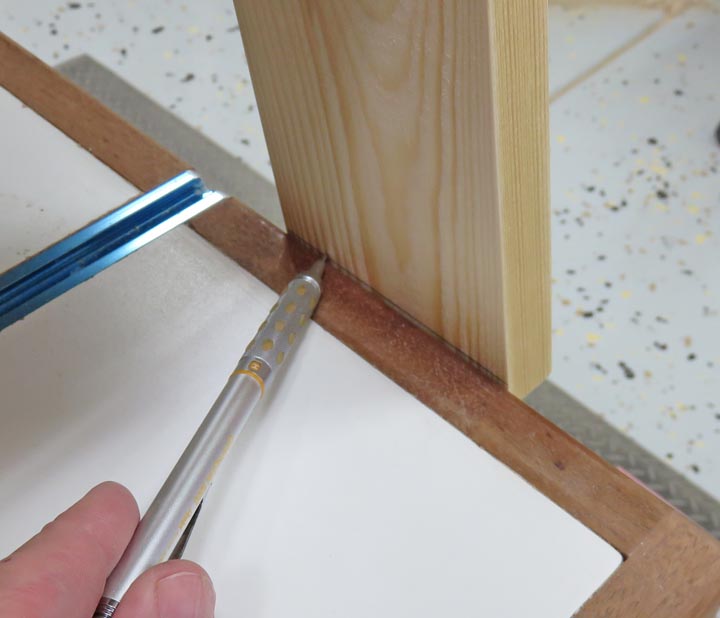
What I did was draw a line using my mobile workbench as my guide.
|
|
 |
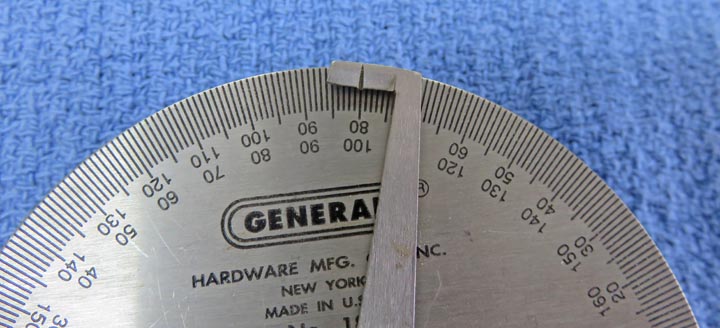
Then I used my protractor to find my angle.
|
|
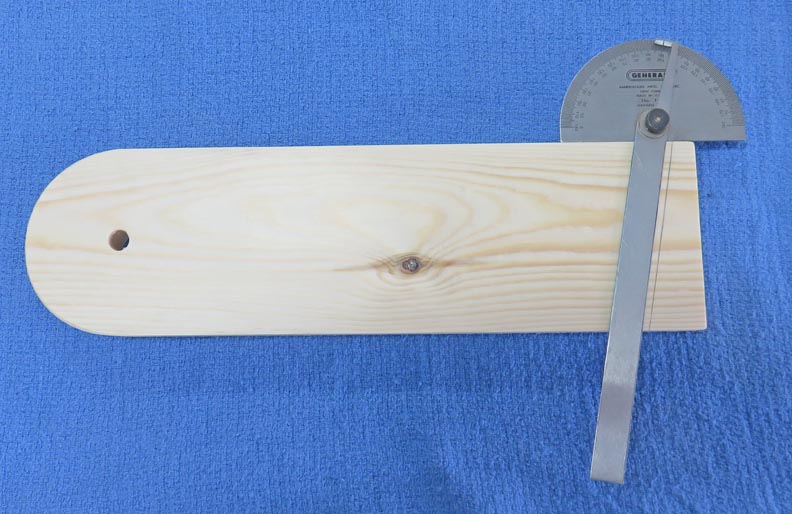 |
Looks like it's close to 10 degrees.
|
|
 |
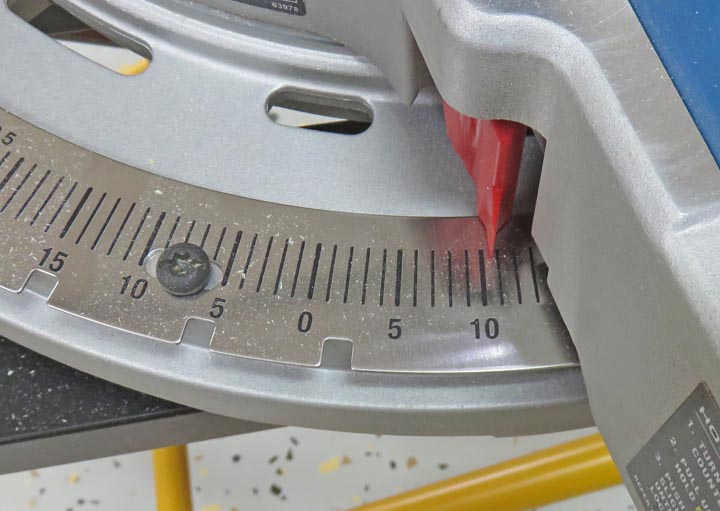
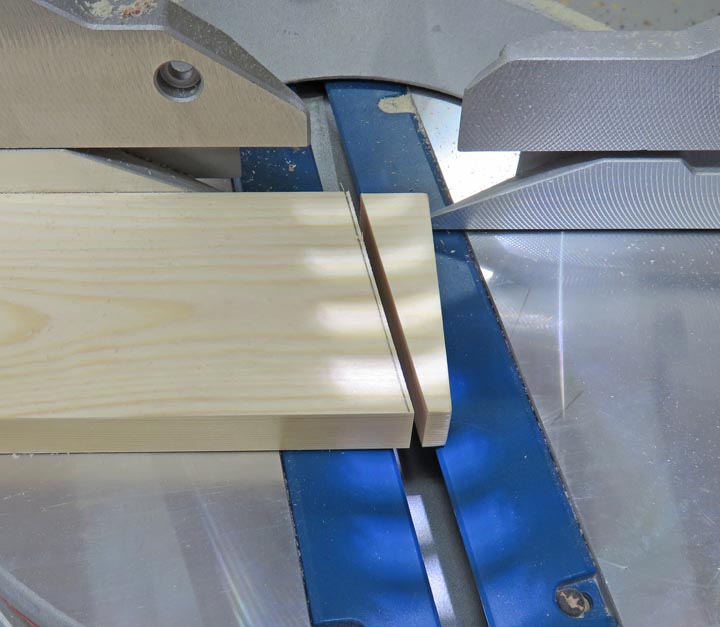
Here I've set my angle on my miter saw and then did a test cut.
|
|
 |
Everything looked good so my next cut was right on the line.
|
|
 |
|
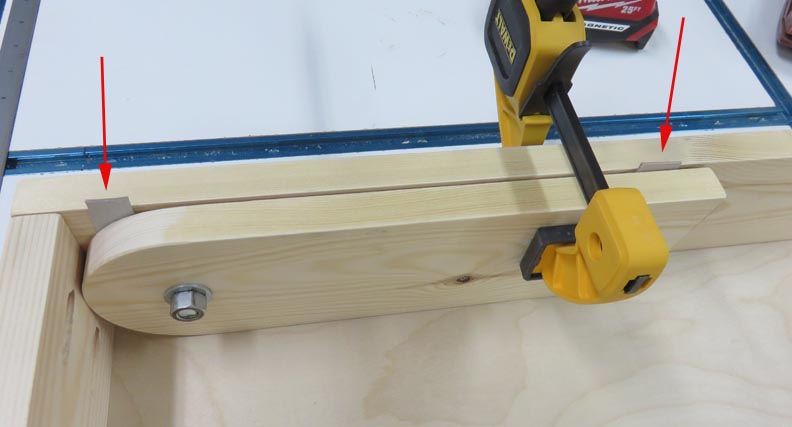
Once all the legs were cut to length, I was ready to add
a cross brace to each leg. What I'm doing here is adding some shims to each
end (arrows) to make sure everything fits once I have paint on them.
|
|
 |
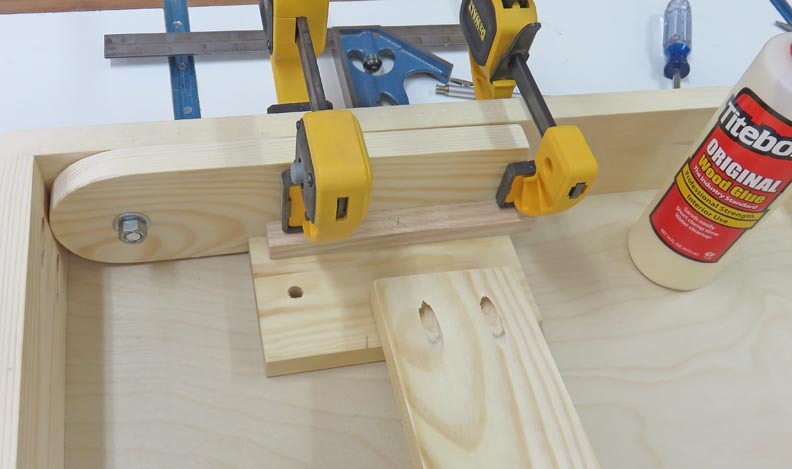
To make sure the cross brace is centered, I'm using shims again. I'm
also using glue on the ends to make sure nothing comes loose. Speaking
of glue, I used glue while I built the boxes as well.
|
|
 |
|
1
2
3
4
5
6
7 |