|
Hardware
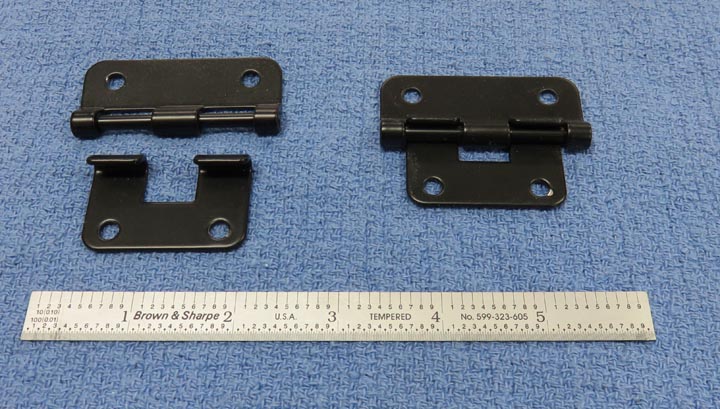
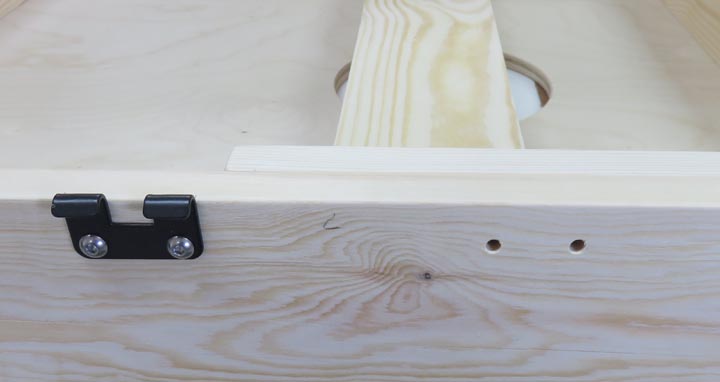
My daughter wanted a way to carry both boxes at the same time and I
found these hinges that will make that happen. Once these open-up to 90
degrees, they separate.
|
|
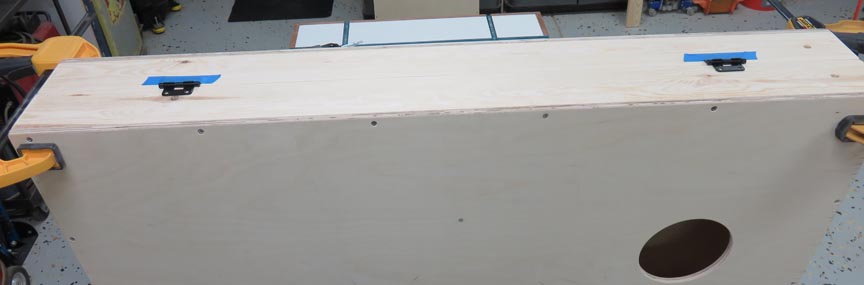
Here I'm laying out the hinges so they're evenly spaced. The blue tape
is acting as my clamps to keep them from moving.
|
|
 |
|
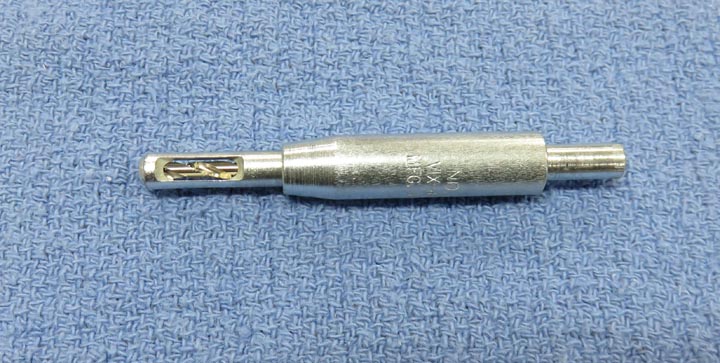
This is a self-centering drill and they come in really
handy while installing hinges. If you look close the nose has an angle that
matches flat head screws that hold the hinges in place. The cut-out
section around drill is spring loaded which makes this a very easy tool
to use. These are called
Vix Bits and come in
various sizes. I bought a three piece set which should work for most of
my needs.
|
|
 |
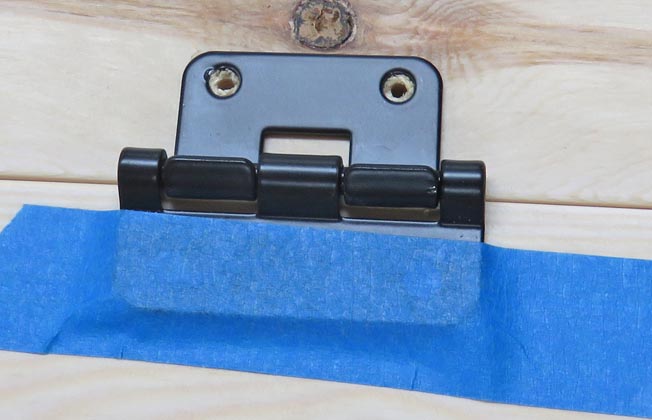
To use the Vix Bits you place the end into the countersink angle on
the hinge, which centers it and then drill your pilot hole.
|
|
 |
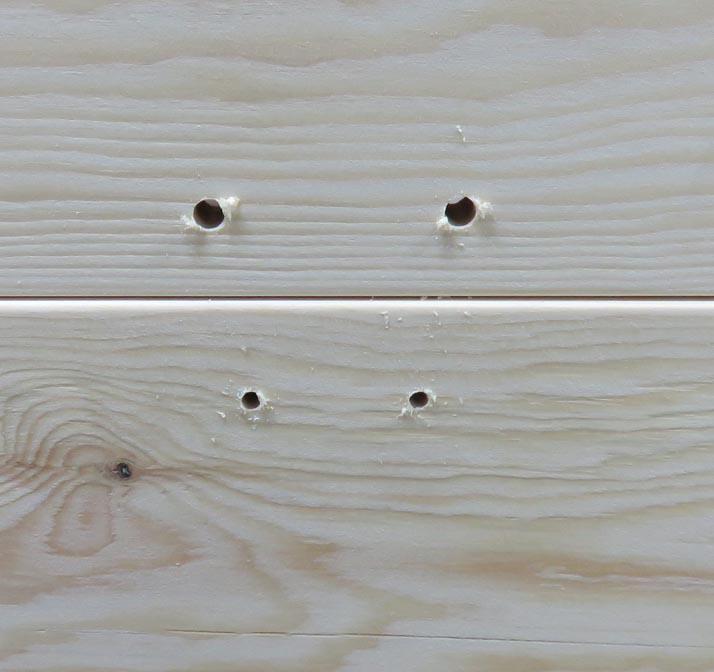
Now this hole wasn't my target size, I just wanted the hole in the right
location. Next I used a 3/16" drill and opened all the holes because
I'll be using # 10 screws. And as you can see the top holes are finished
and then I moved to the bottom ones.
|
|
 |
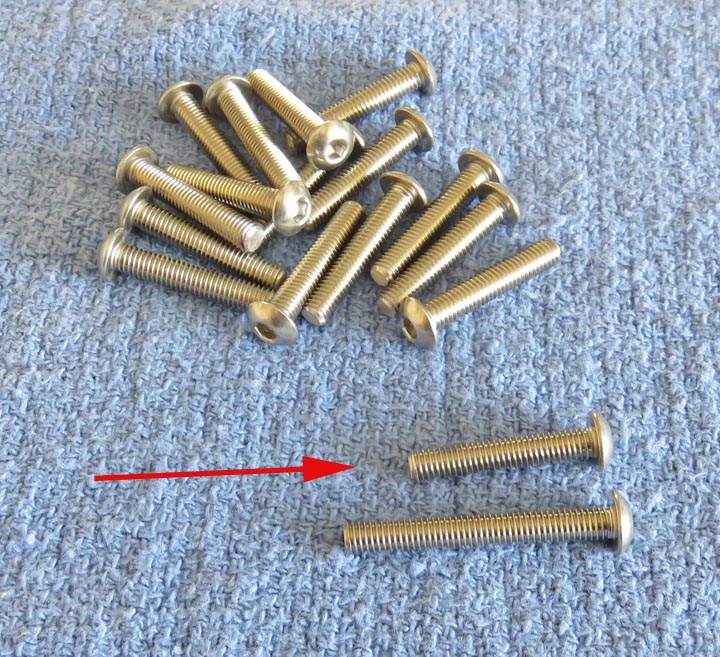
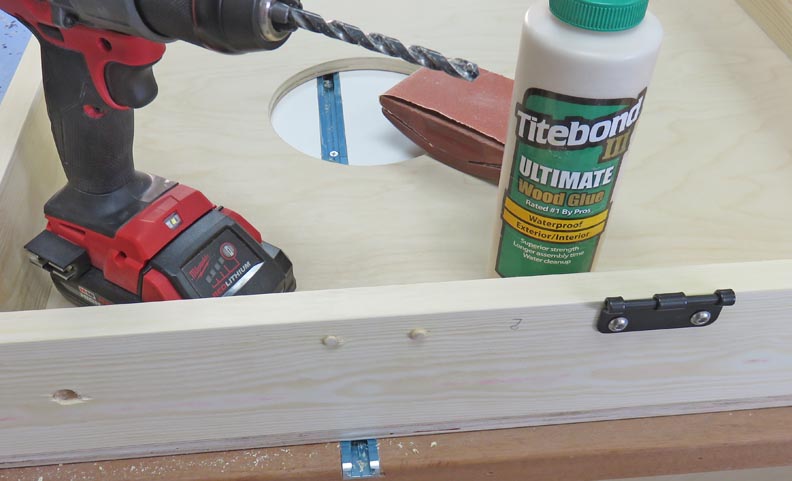
I'm using stainless steel hardware for all the fasteners but I had to
cut them down by about 1/2". Note the one next to the arrow vs the one
below it. I'll be using washers and nuts on the inside.
|
|
 |
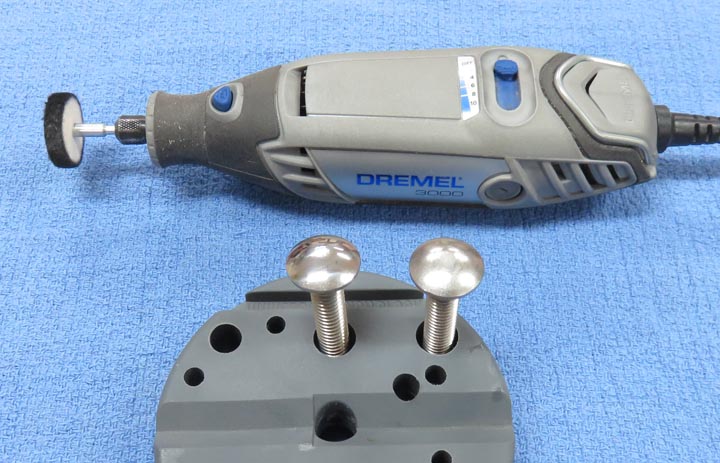
I used my Dremel to polish all the stainless fasteners. Why? Why not!!
|
|
|
Opps!
While I was working on these hinges I suddenly had a
thought...a bad thought. See those holes on the right? Well the hardware
that holds on the hinges are going to get in the way of the movable
legs. I didn't have the legs installed while I was drilling these holes
and completely forgot about the placement of them. Out of sight, out of
mind...
|
|
 |
I decided to use 1/4" dowels to fix the holes that I drilled in the wrong
place. This will work fine and they won't be seen either because I'll be
painting this surface later.
|
|
 |
The next day I sanded them down (both sides) and I'm good to go again.
|
|
 |
|
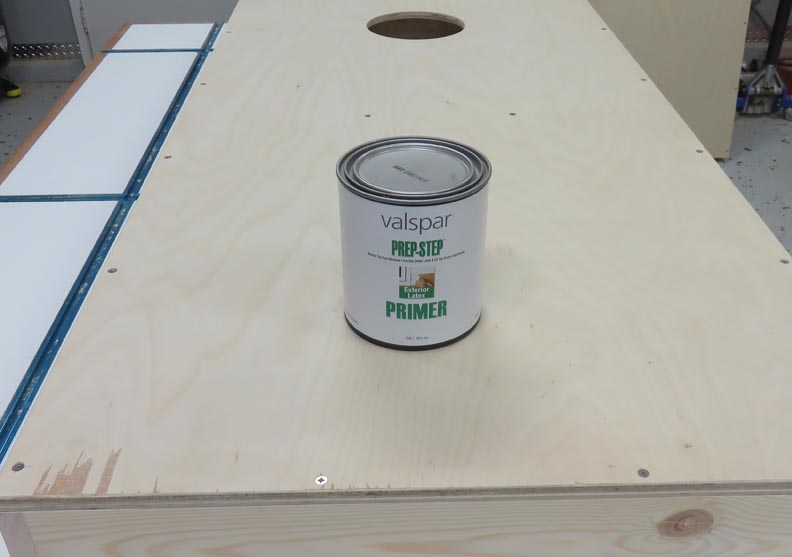
Final Details
I'm going to use some primer to fill some of the bad
areas on the top surface. Now this is a multi-step process because it
takes a few coats so it has enough build-up to fill in the low spots.
Speaking of bad spots, look at the bottom left corner. This is the top
surface that has chipped away after it was cut at the hardware store.
|
|
 |
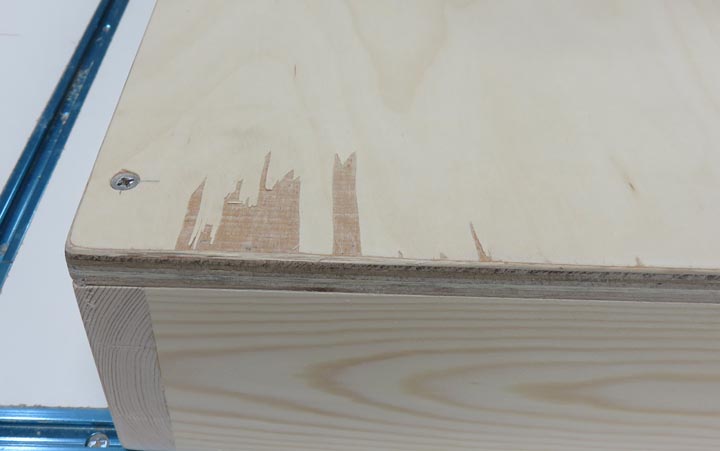
Here is a close-up of that bad area. Good thing there aren't too many of
these because it's time consuming to fix.
|
|
 |
|
1
2
3
4
5
6
7 |