|
Glue Continued
I then used the pencil to help center the paper on the
wood. However, this
didn't work as well as I wanted for some of them because two were off-center. Then I used a plastic putty knife to remove all the air trapped
underneath by working back-and-forth.
|
|
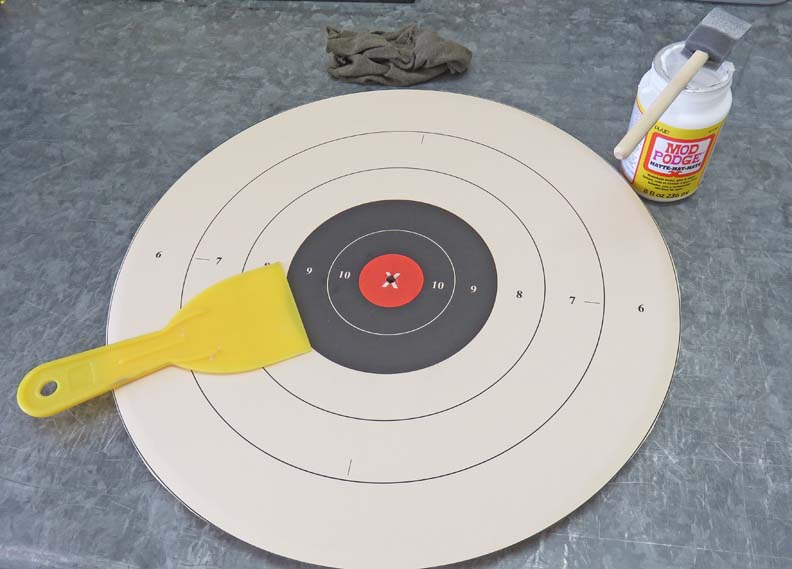 |
I also put a coat of glue on the face as
well. I did this mostly to protect the outer surface.
|
|
 |
|
Machining
What you see below is a test piece that I did before I
glued the real ones above. This way I had an idea of what to expect when
it came time to machine the clock faces. As you can see I've drilled a
hole and did some machining to see how the paper reacts to some
different cutters. I was pleasantly surprised to see that the paper
didn't tear and now it's time to make some grooves.
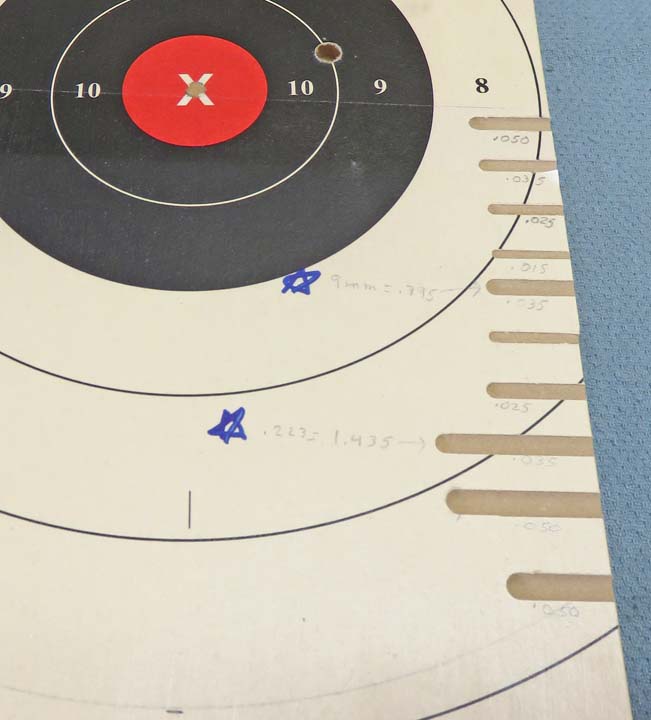
I used a 3/8" diameter ball end mill to machine some
grooves at different depths, to get an idea of what works and what
didn't work for me. The grooves are where the bullets will go and I'll
glue them on with epoxy. Notice the blue stars, this is what I decided
to use for length and depth for each caliber. The depth is .035" for
both but the length will vary depending on which bullet I'm working
with.
|
|
 |
|
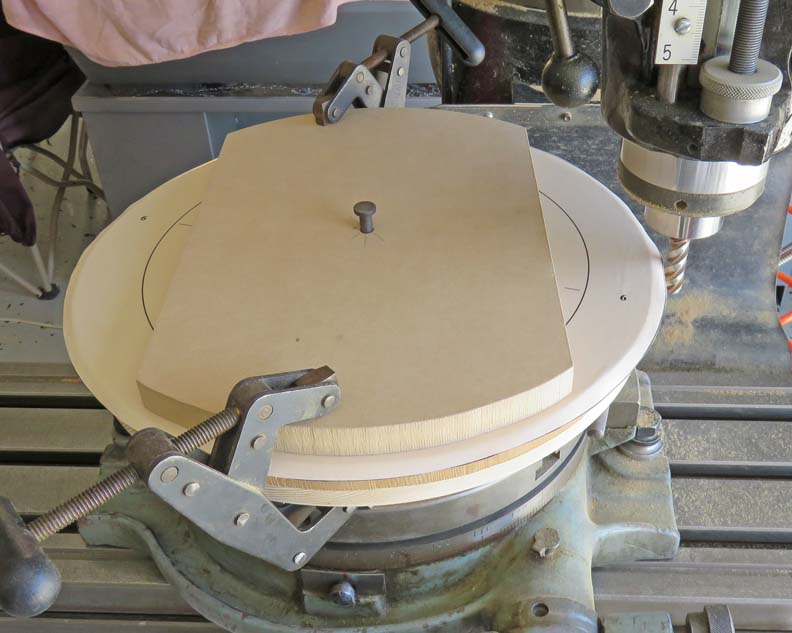
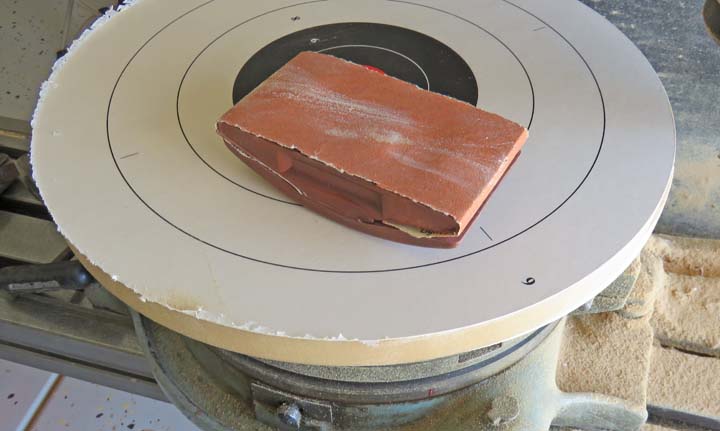
Here I'm machining the O.D. of the clock to 14". With only six clocks to
make, I just used Kant Twist clamps to hold them down along with the aid of a scrap
piece of MDF. This worked great and it went fast but I did have to stop,
move the clamps and then start machining again.
|
|
 |
The end mill I used to cut the O.D. did tear the paper a small amount
but that didn't hurt anything. The Mod Podge glue did it's job and all I
had to do was use my sanding block to dress up the outer surface.
|
|
 |
|
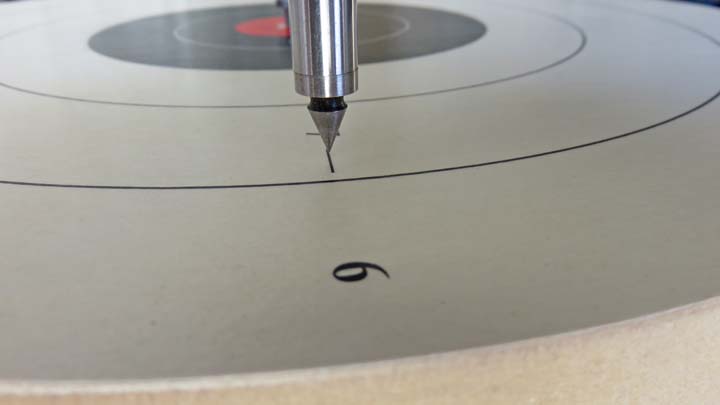
Now it's time to machine the grooves. And to make sure I
had the clock face lined up correctly, I used the two reference lines
that were printed on them. I used my center-finder to pickup the lines
and then zeroed out my rotary table. Side note: this spot will be at the
three o'clock position.
|
|
 |
|
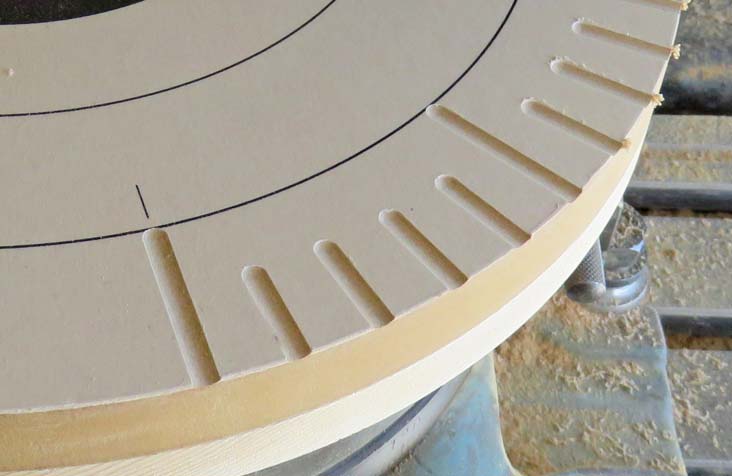
I'm using a smaller wood clamp to machine the grooves with.
This way I only have to stop, move the clamps but two times. Notice I
have one long groove and then four short grooves. Long equals hours and
short equals minutes. If I messed up and made one of those short grooves
long by accident, I'd have a scrap piece.
|
|
 |
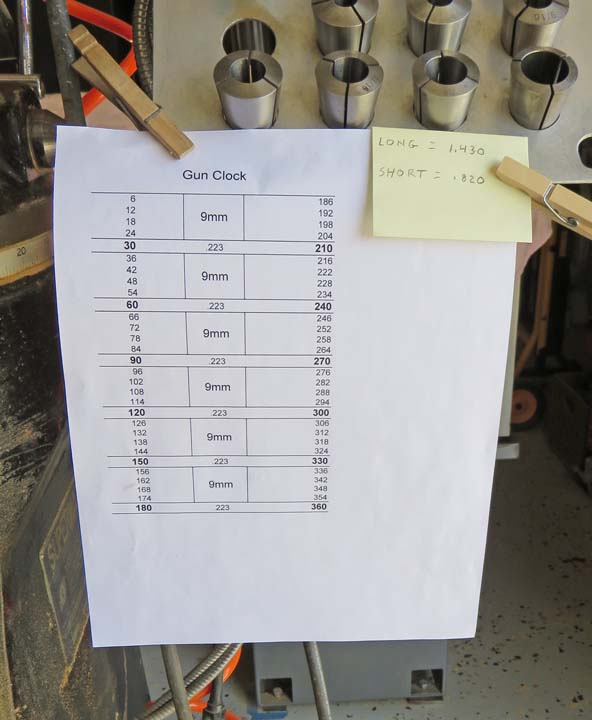
Here is my cheat-sheet for all of the grooves. There are 60 grooves
total and each one is six degrees apart. I made each hour on my sheet
bold along with the type of ammo (.223) to help me with things. And I
have my lengths at the top-right. Whatever works....
|
|
 |
Here is a close-up of some of the grooves. And it only takes a few
minutes with some handheld sandpaper to deburr them all.
|
|
 |
|
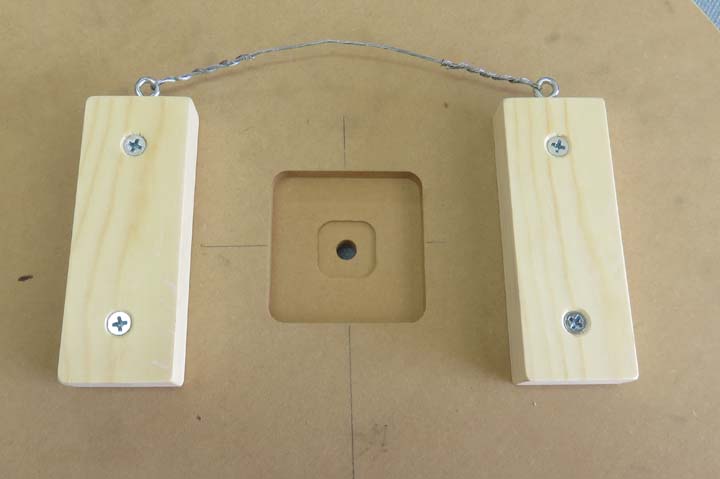
Final Touches
Once all the grooves were finished, I screwed these blocks on and then
attached the hanging hardware.
|
|
 |
|
1
2
3
4
5
6
7 |