|
Clocks Continued
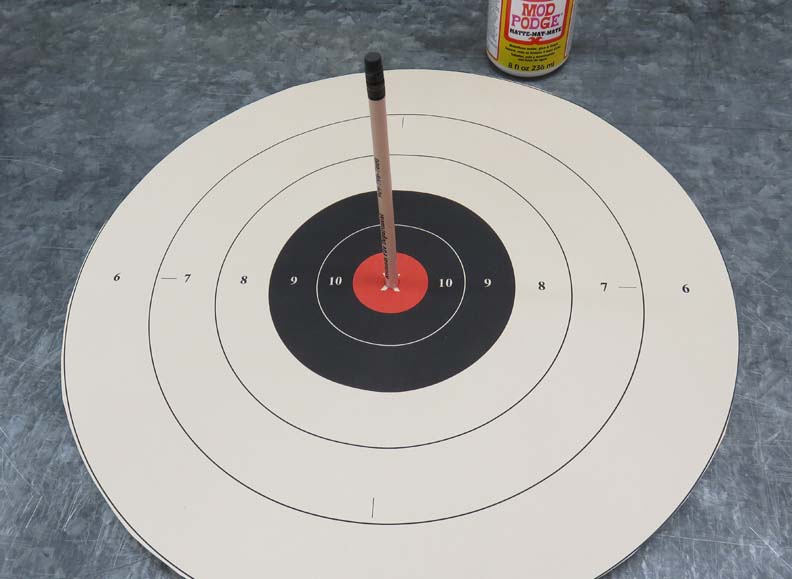
I mentioned earlier that you'll only see the O.D. of the
clock (wood part). That's because I'm going to use this target for the
clock face. And as you can see it's really big, but that doesn't matter
because I'm interested in the center more than anything.
|
|
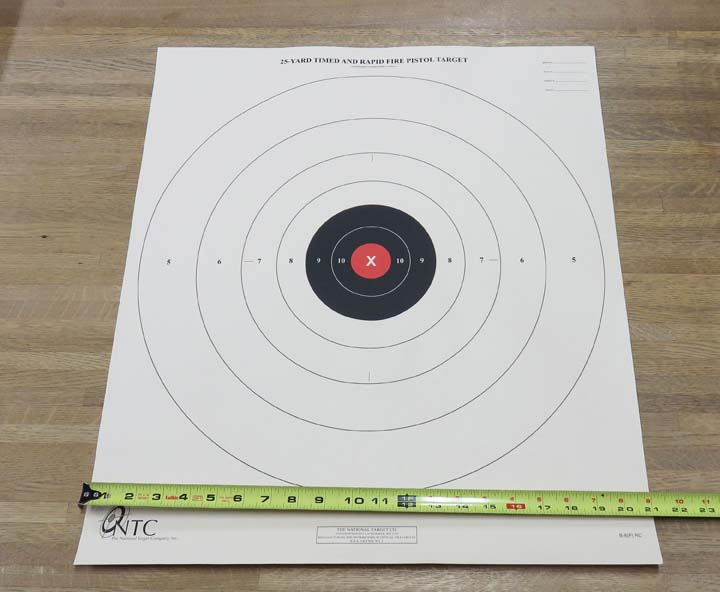 |
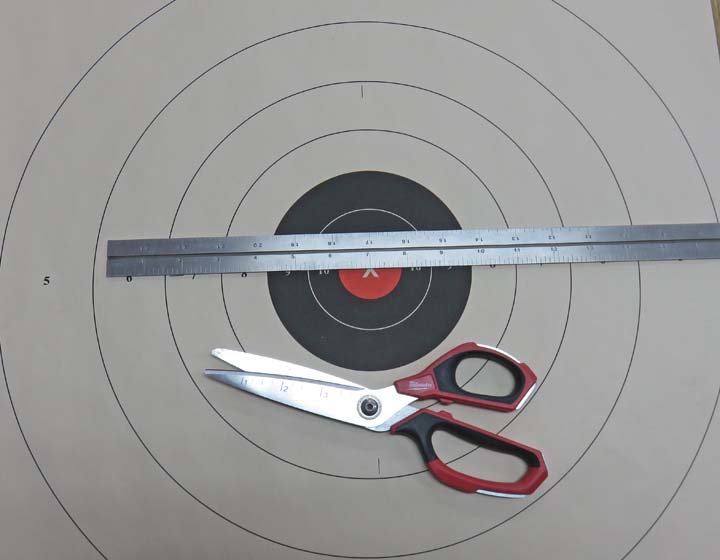
I plan on cutting on the line between the
number five and six, which will be just over 14".
|
|
 |
Here is the target cutout and ready to be attached to my wooden piece.
|
|
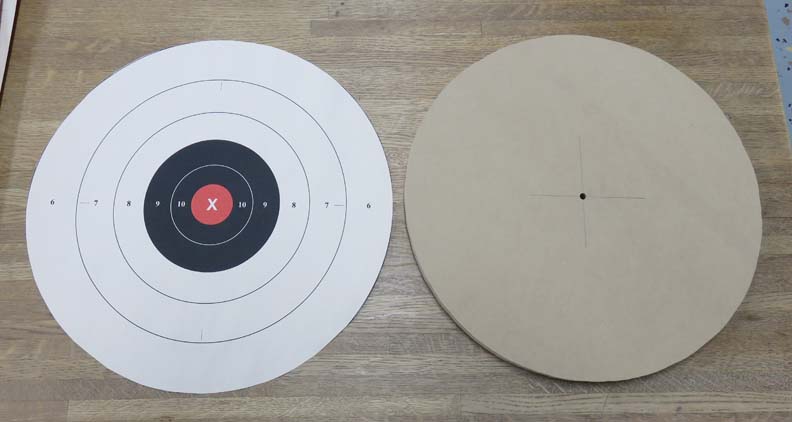 |
As you can see the target is just larger than the clock to give me a
little room to work with. Now it's time to machine out a pocket for the
clock mechanism.
|
|
 |
|
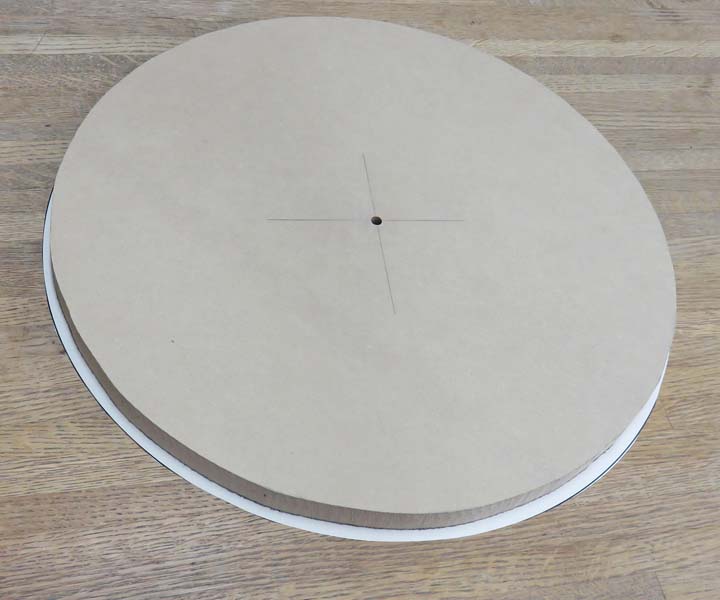
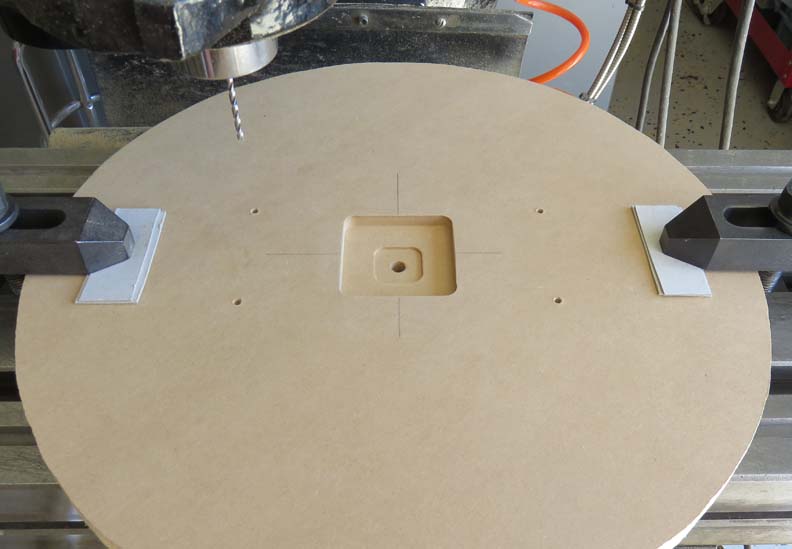
I should have used 1/2" thick MDF for these clocks
because the threaded stem of the clock mechanism ended up being too short
to go through. To fix this, I had to machine a pocket for the mechanism,
and I drilled four holes for some blocks that will rest against the
wall.
|
|
 |
|
Here are the clock mechanisms I bought from
Clock Parts, along with the hands and
sweeping second hand. Having a sweeping second hand makes the clock very
quiet. One thing I don't like at all is listening to the "click, click,
click" of a second hand when it's turning. The hour and minute hands are
reversible: black on one side and white on the other. And I thought the
red second hand would be a nice contrast, although they offered other
colors.
|
|
 |
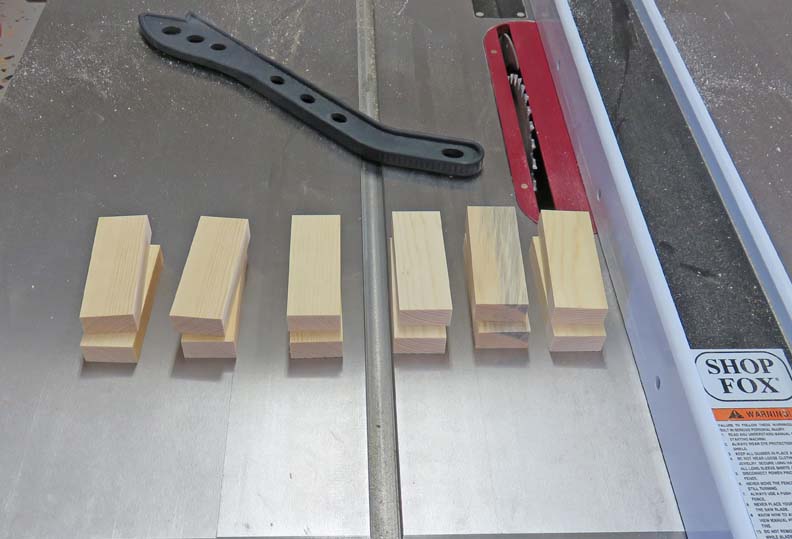
I made these blocks out of pine and it took longer to setup the table
saw and miter saw than it did to make them.
It sure is nice to have woodworking machines now.
|
|
 |
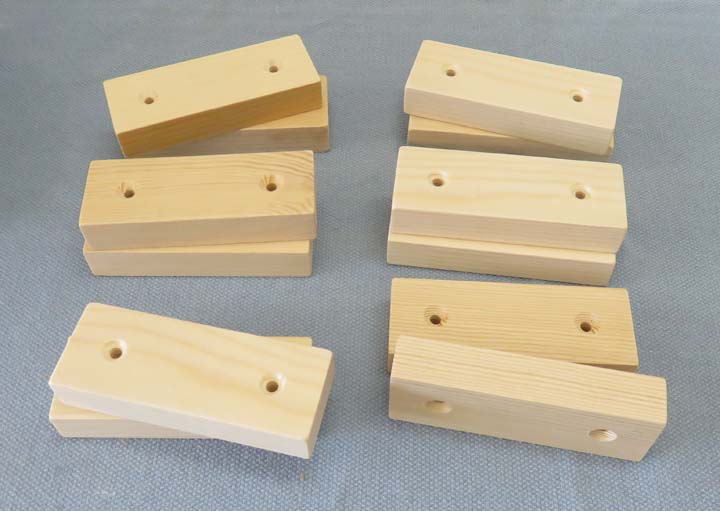
I drilled and countersunk some holes on my milling machine to match the
location on the clocks.
|
|
 |
|
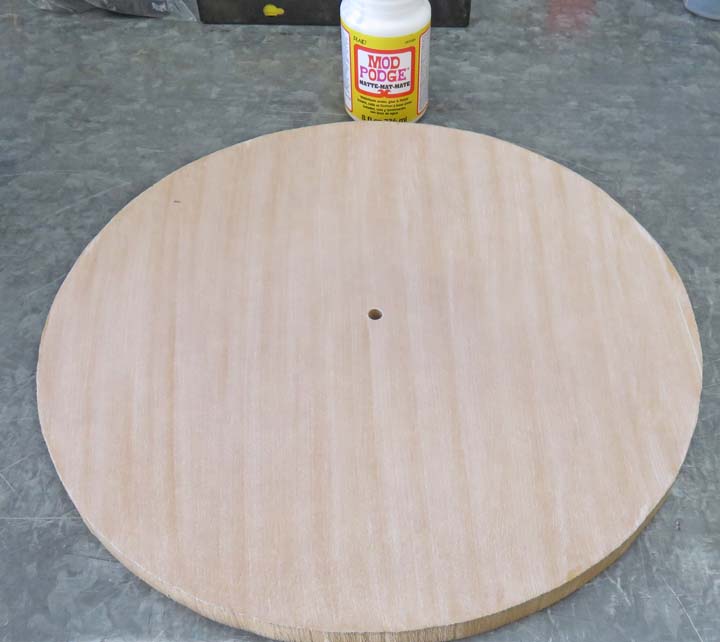
Glue
Here is something I've never worked with, a product called 'Mod Podge'.
This is glue that works really well to attach paper to a wooden surface.
What you see below is thin coat of glue applied to my clock face.
|
|
 |
I used a pencil to poke a hole in the paper.
|
|
 |
|
1
2
3
4
5
6
7 |