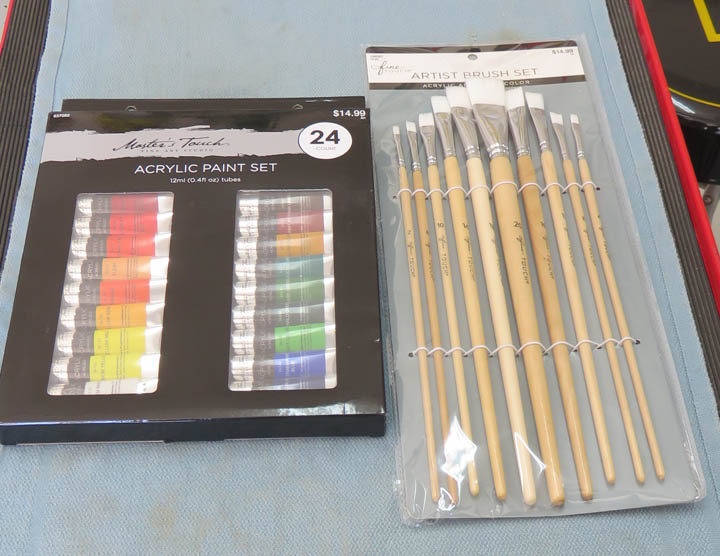
Audrey's Blocks  8                                              09-2019


Painting


I was talking with my daughter Tracey, about this project and I told her that I was going to add some dividers between the different sets of blocks, like small compartments if you will. And I was going to make these dividers out of wood and glue them in place.

After telling her what I had in mind she didn't think that was the best idea. Tracey said that after the first time Audrey had the blocks out of the box, that she didn't see her putting them all back where they belonged, and would probably just leave them laying around or put only some of them back in because that would be too much work.

After thinking about it for a minute, Tracey was right. So what we came up with was to eliminate the spacers all together leaving more room to just put the blocks back inside. But this also lead to another idea, why not put something special on the top. Like her name for instance. Or maybe a saying? Or?

So... you know how it goes, one thing leads to another and Tracey told me that should could make a stencil for me because she has a machine that does that. Once the dust settled, Tracey emailed me a few examples to choose from. And she did a great job on all of them but one really stood out for me.

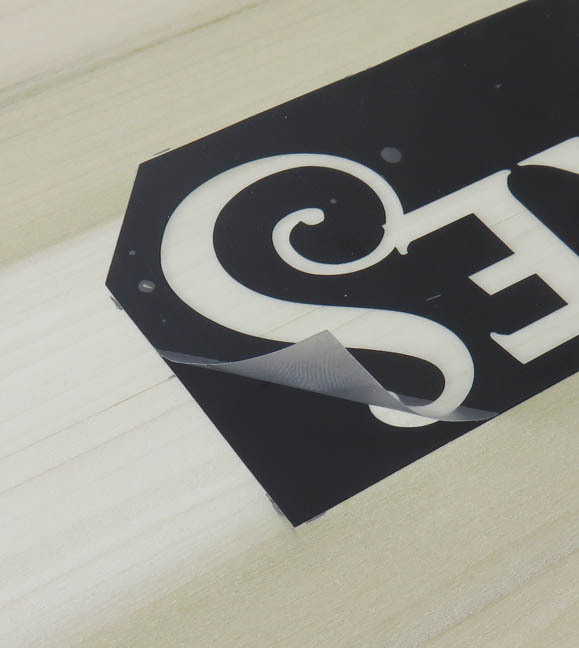
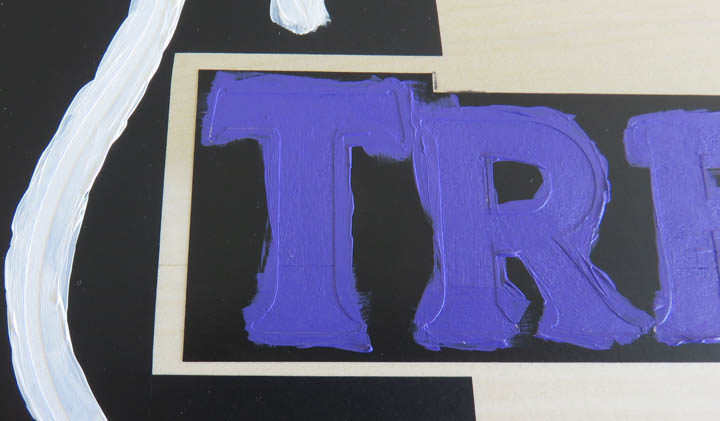
Now this is the first time I've ever used or done something with a stencil so let me walk you though the process of what I'm doing. The stencil has a peel and stick backing. That means I needed to layout exactly where I wanted it (look close and you can see pencil lines). 
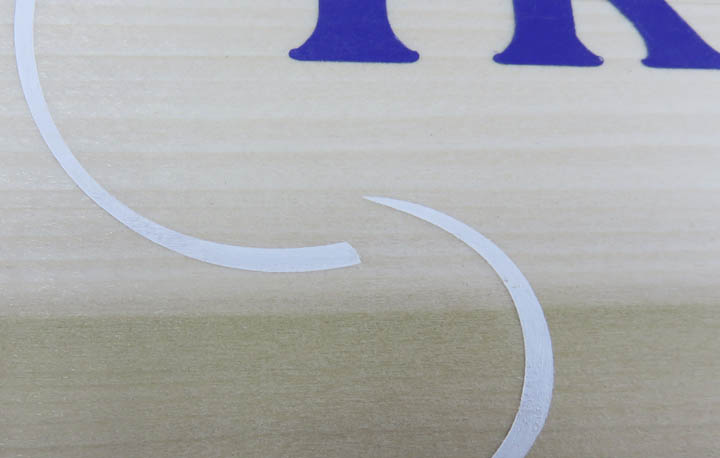
Once the stencil is attached to the box, you need to peel off the clear top layer to expose your working area. So what you're left with is just 
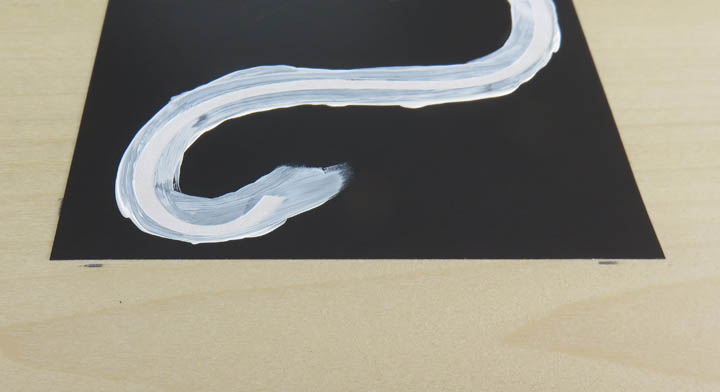
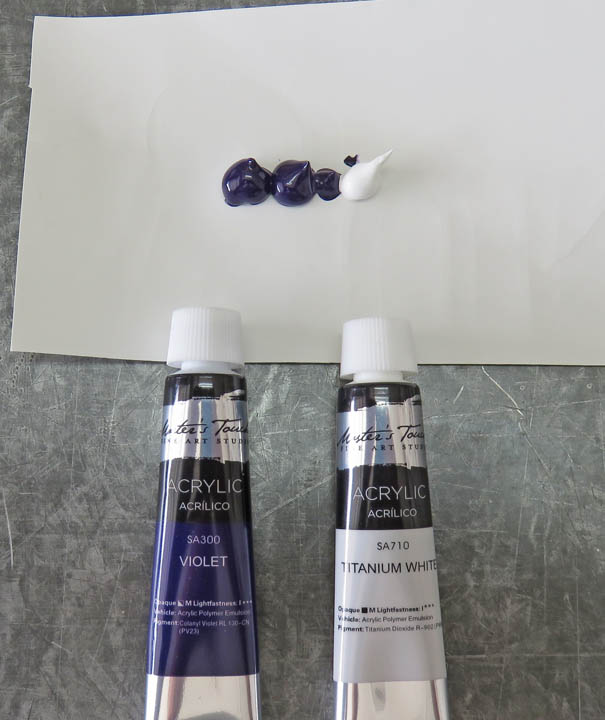
the black stencil, which is where you apply the paint.


I talked with Tracey to find out what type of paint she uses and she told me she likes using some type of Acrylic. So I bought an assortment of colors along with some brushes from our local Hobby Lobby.

Now come to find out, Hobby Lobby has a very large selection of painting supplies. And while I was in the store, I called Tracey to help me narrow down my choices because I was overwhelmed. I was telling her how the cost for this stuff was really cheap because the paint was 50% off an already low price. And Tracey sent me a 40% coupon for the brushes too. Way cool. Now right before I got off the phone she made a reference that Hobby Lobby was like the Harbor Freight of the hobby world. And after I stopped laughing, I told her "yeah, I guess it is"....good one Tracey...love it!!


Getting back to the painting: what you see here are two coats of 'white' for this part of the stencil. I'll show you the whole thing later. This went pretty fast and was easy. Just make sure you don't get any paint on the outside of the stencil or you'll be doing some clean-up. Taking your time is key here.


For the second part of the stencil I'm mixing two colors together. The reason for this is because I tried using the Violet by it's self but it came out way to dark. Almost like black. So I experimented beforehand and came up with this combo.


Again, I applied two coats and took my time. Can you guess what it will say?


This came out really good. One tip that Tracey gave me before I started painting was to make sure the edges of the stencils were pushed down well. She used the handle of a tool, like from a small screwdriver handle to apply pressure. So I did something similar. You could use most anything that has a rounded edge to it, making sure that it doesn't dig in while pressing down.


1  2  3  4  5  6  7  8  9