|
Machining Continued
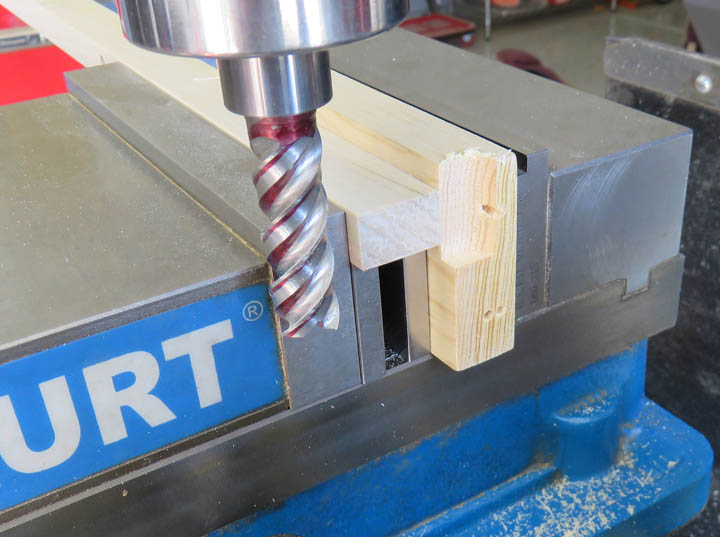
Here I'm removing the amount I measured off the end.
|
|
 |
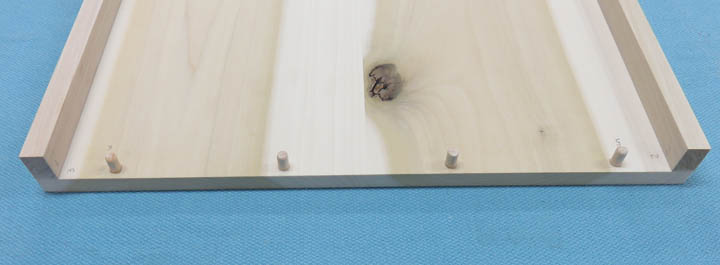
Now both side pieces fit flush with the
bottom. I did the same for shorter side pieces as well.
|
|
 |
|
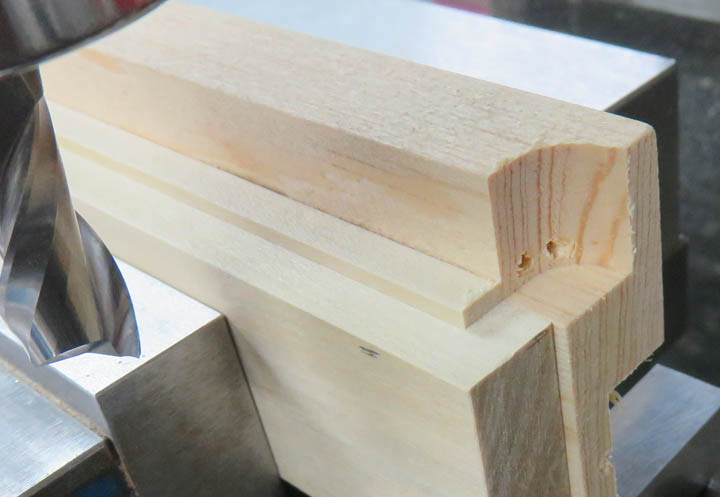
Now that all the side pieces fit like I want, I'm
milling a groove in them that the lid will fit into. I figure it would
be better to have no hinges on this project for two reasons: first I
think it would be easier to just remove the top and set it aside rather
then deal with the top attached which might end up getting in the way.
And second, little fingers won't get hurt if the lid were to come down
accidentally.
Now the lid or top will have this configuration that you
see below. But the bottom will have the opposite so they fit together.
And I'll be making the lid fit nice and easy so I'll be adding some
extra clearance to it. The reason is so Audrey can get the top on a
little easier.
|
|
 |
|
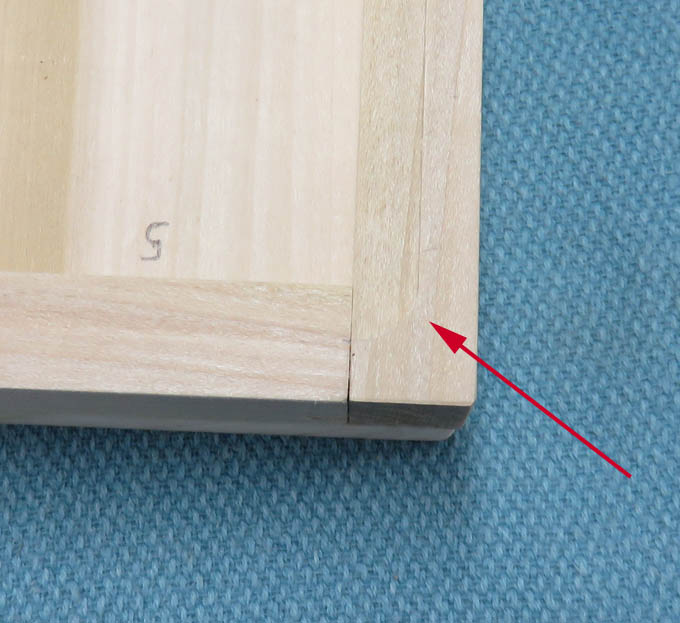
I know this is hard to see here but if you look close
(arrow), you can see a radius that was left from my 1/2" diameter cutter
while machining this groove for the lid. I'll need to reduce the size of
that radius a small amount so it will fit my other half.
|
|
 |
|
What you see now is a much smaller radius that should
work much better now. This was planned because using that larger cutter
removes material much faster than a smaller one. Then once the groove is
to the dimension that I wanted, I changed cutters (1/8" diameter) and
picked out the corner.
|
|
 |
There we go, much better. Time to work on the bottom now.
|
|
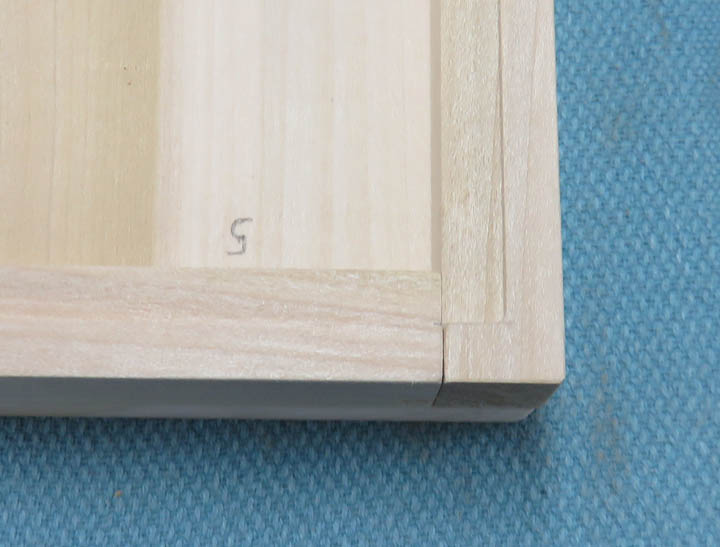 |
The bottom will be a little different. After machining the grooves I'll
also need to remove that small amount that you see marked with a pencil.
|
|
 |
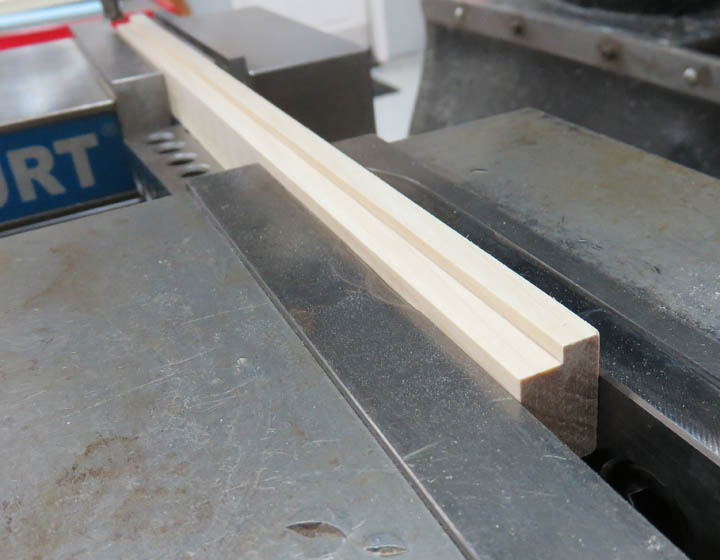
I touched off the end and removed the amount needed to produce the
groove that you see. Now it's time to get rid of that sharp corner.
|
|
 |
|
With the use of a file, I was able to remove a small
amount on each corner so the two halves would fit together. Notice I
removed the teeth on one portion of the file (with my belt sander) so I didn't
leave any marks on the adjacent surface (arrow).
|
|

|
|
1
2
3
4
5
6
7
8
9 |