|
Working With Wood Continued
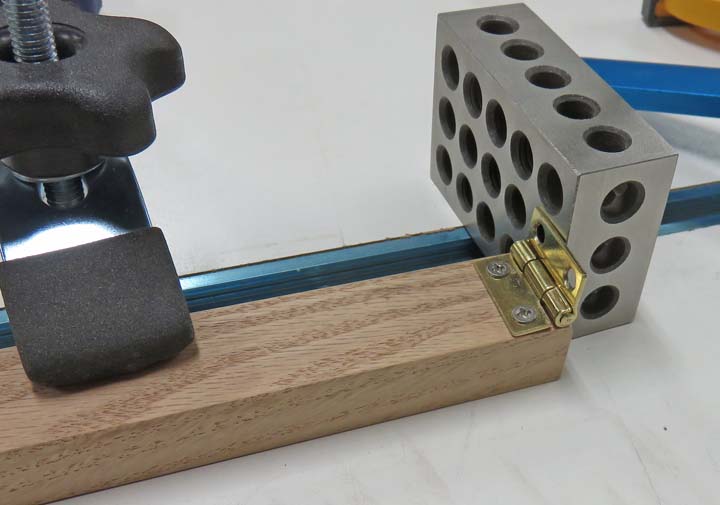
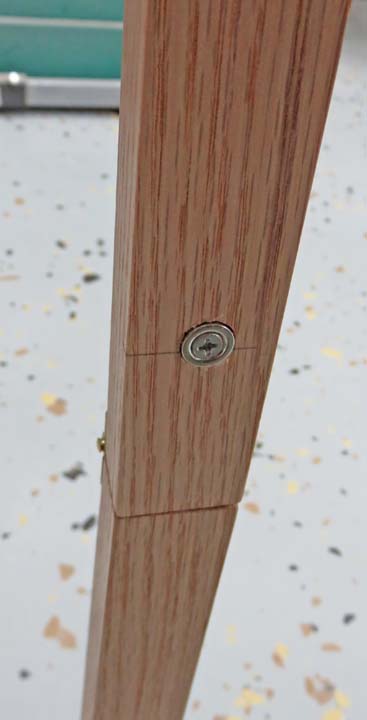
This will give you a better idea of what I was talking
about. I placed my 1 X 2 X 3 block against the end of the leg and then placed my
hinge against the block. This kept the hinge in the correct location
while I drilled my screw holes making sure they were in the right place.
Whatever works...
|
|
 |
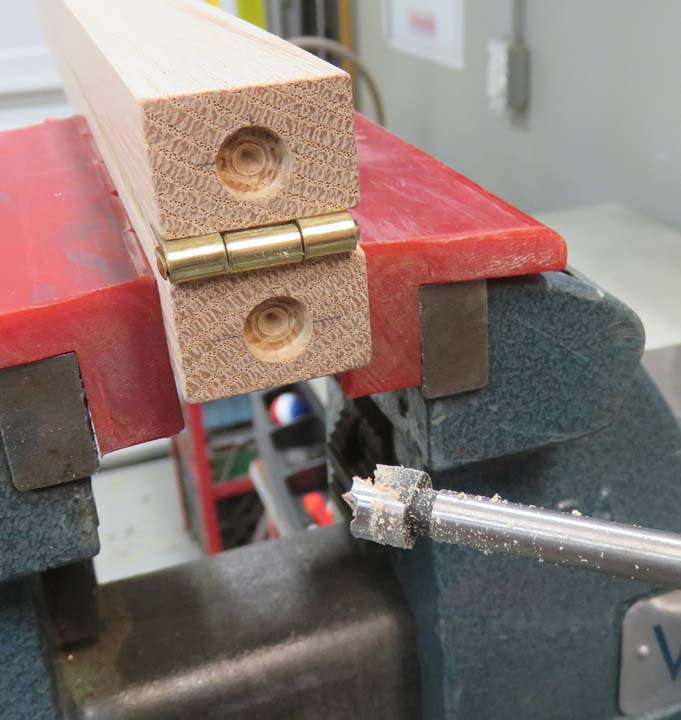
I'm making some pockets for magnets that
will help hold my legs in place when folded and extended. I used a 3/8
Forstnor bit and only went 1/8" deep.
|
|
 |
|
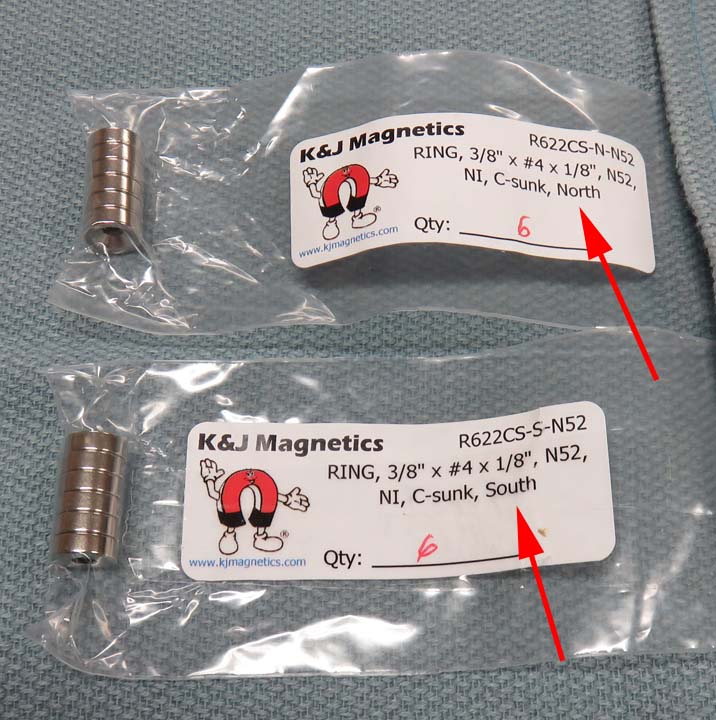
My plan is the have these magnets placed with one leg
having it's north pole sticking out, and the mating leg with it's south
pole sticking out. This way they will attract each other and want to
stick together. These magnets also have a chamfer on one side making it
easy to fasten them using a flathead screw.
|
|
 |
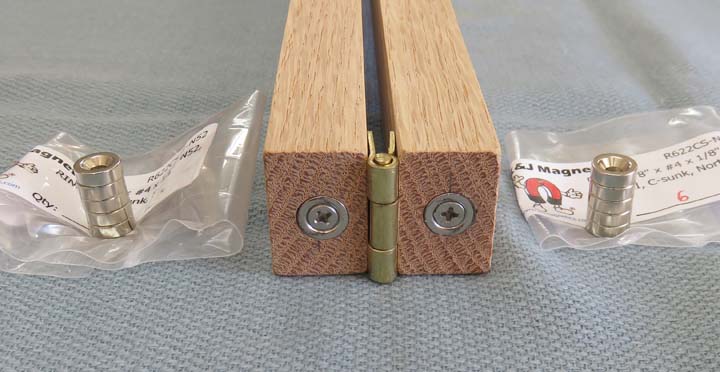
Here is what it looks like with the magnets installed. Once the legs are
touching each other, the magnets will grab each other and will act as one
leg. In theory that is.
|
|
 |
|
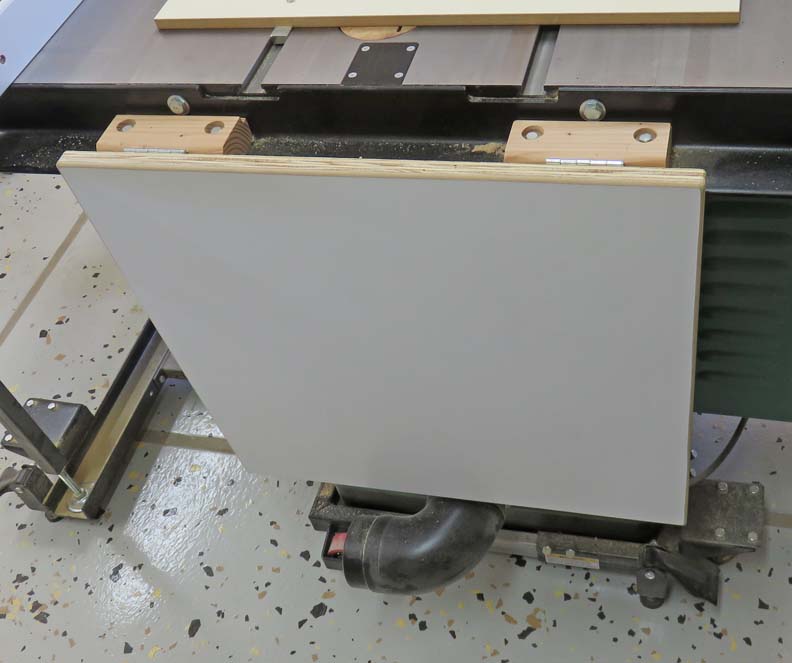
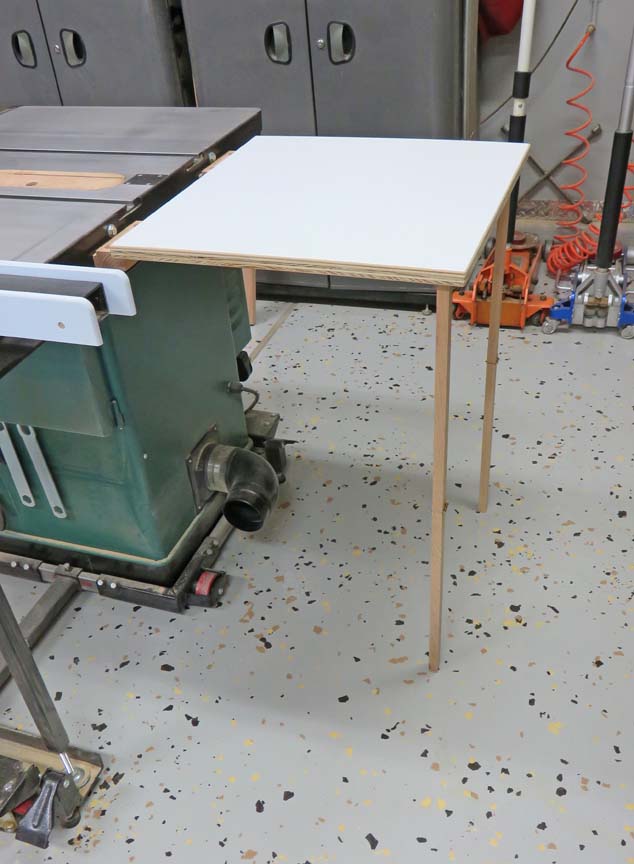
It's finished
Here is my out-feed table installed and tucked out of the way. I also
made sure it would clear the vacuum duct at the bottom.
|
|
 |
|
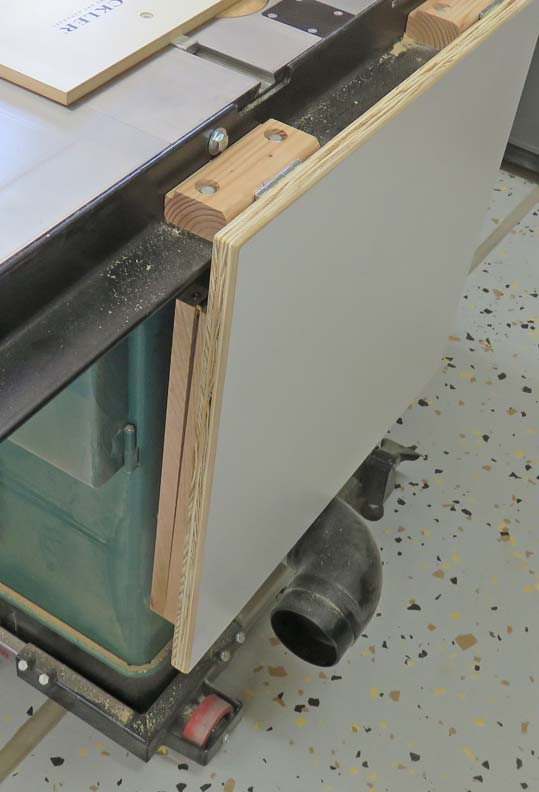
Here you can see both legs folded against the table.
I also installed some magnets near the ends of the legs to keep them
locked in place while it's folded. The end of the out-feed table sits
below the work surface of my table saw and I can still used my cross-cut
sled without anything hitting it.
|
|
 |
Here is one of the magnets installed on the legs that keeps it flat
against the bottom of the table.
|
|
 |
And here is the one on the bottom of the table that mates with the leg.
This worked out pretty good.
|
|
This was a fun project and it works great, deploys fast and stays in
place while using it.
|
 |
|
1
2
3 |