|
Working With Wood Continued
I clamped around the perimeter and then used some heaver items in the
middle.
|
|
 |
While the glue was drying, I started
mounting my hinges to my wood blocks.
|
|
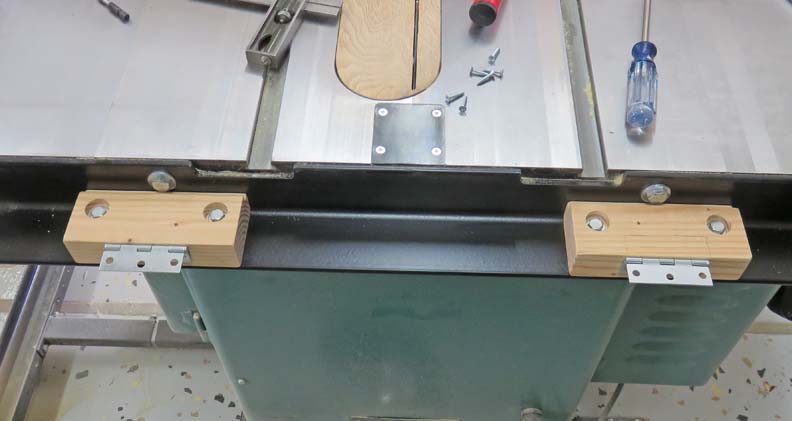 |
I had to add a radius to the wooden blocks so the table would fold
correctly. This only took a few minutes with a wood chisel and I didn't
even remove the blocks.
|
|
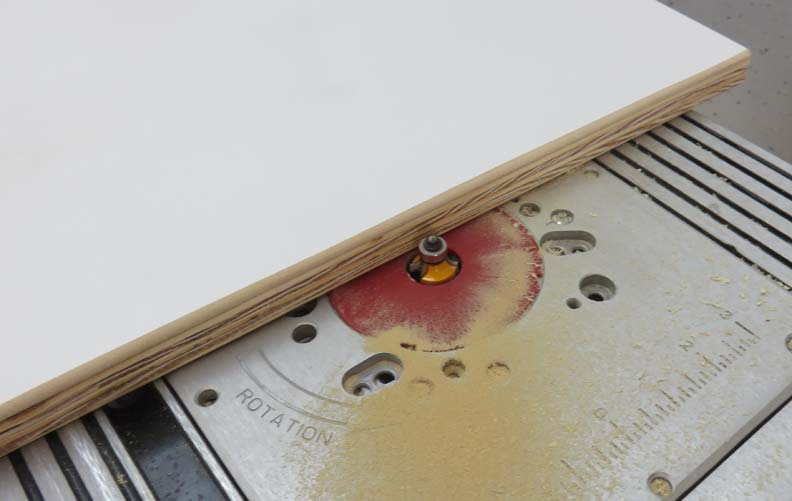
The next day I used the same 3/16" roundover bit on both top and bottom
surfaces of my folding table.
|
|
 |
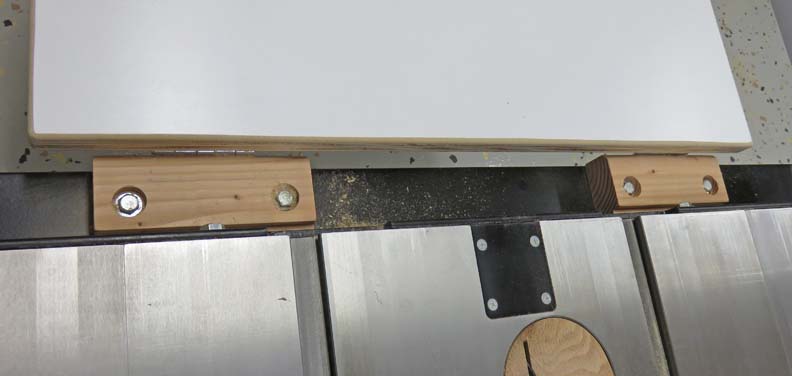
I made a temporary leg out of scrap material to hold up my work piece
while I attached the hinges. This worked out well and now it's time to
make some legs.
|
|
 |
|
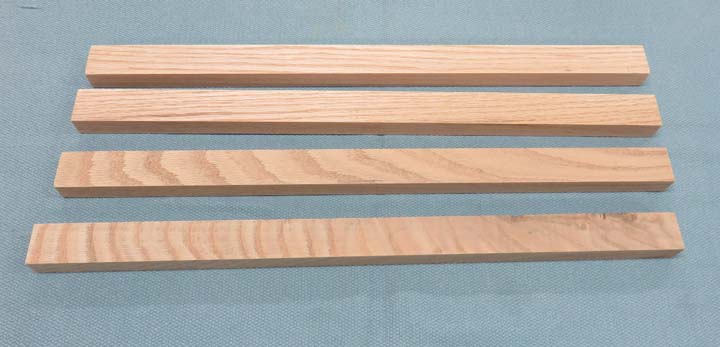
I made some legs out of oak that I had laying around which
measures 3/4" X 1 1/4". Each leg will be constructed out of two pieces
because the distance from the table to the floor is too long to be
folded up as one leg. So I decided to make these legs foldable onto them
selves. This way when they're straightened
out, they will be at the right length.
|
|
 |
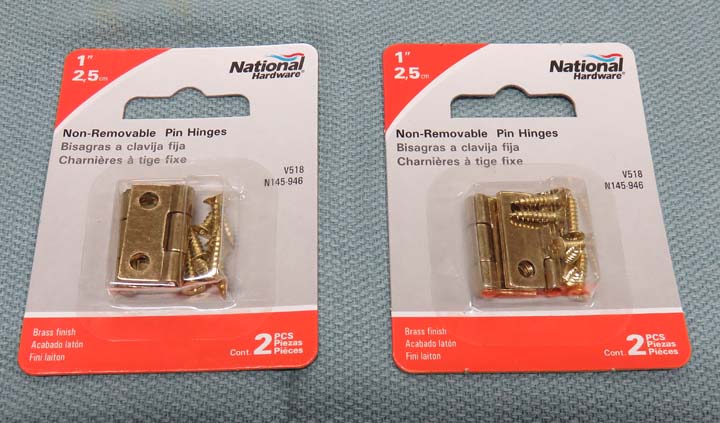
These small hinges will be used on the legs. One hinge will be attached
to the table and one part of the leg, and the other will allow the legs to fold against each
other.
|
|
 |
|
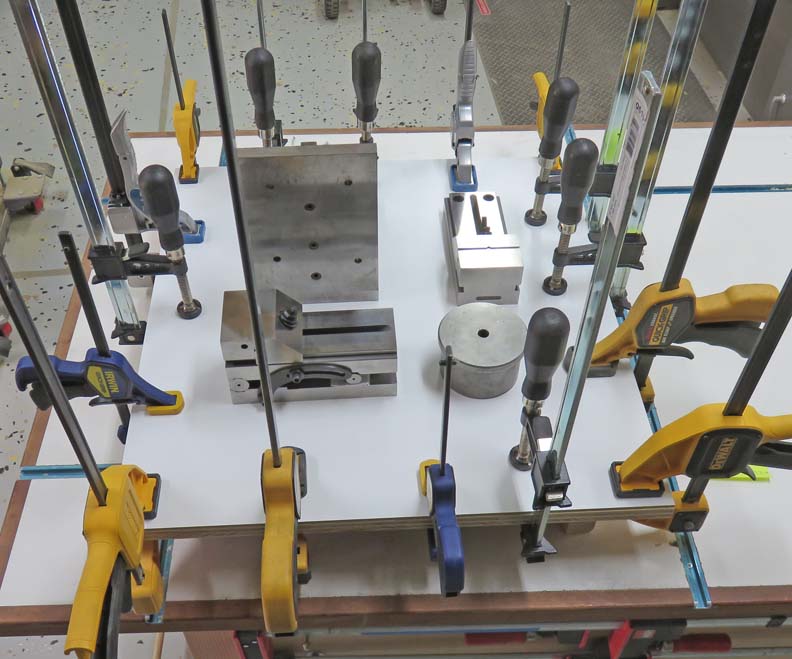
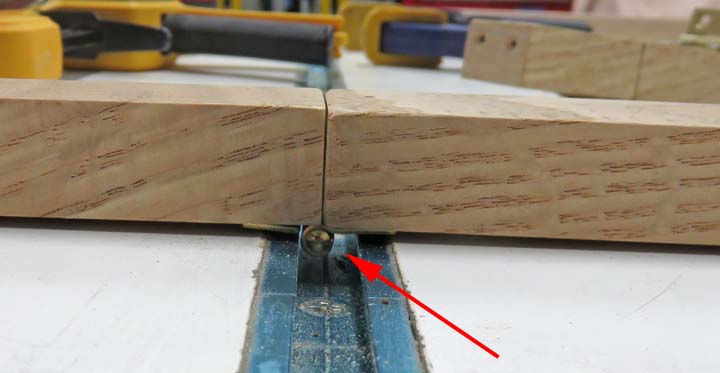
To make sure both legs fold and lineup with each other,
I used the T track on my portable work bench along with some 6" long
work-stops that clamp into the track. Then I clamped my work pieces to
the work-stops so they would stay in alignment. With the use of some 1"
X 2" X 3" blocks, I placed my hinge against them and then clamped
everything together to keep the hinge and legs in alignment. Also note
the single clamp holding down my hinge. This made sure it didn't move
while I was drilling some pilot holes for screws.
This particular hinge will be used to fold the leg onto
it's self. This will make more sense a little later.
|
|
 |
|
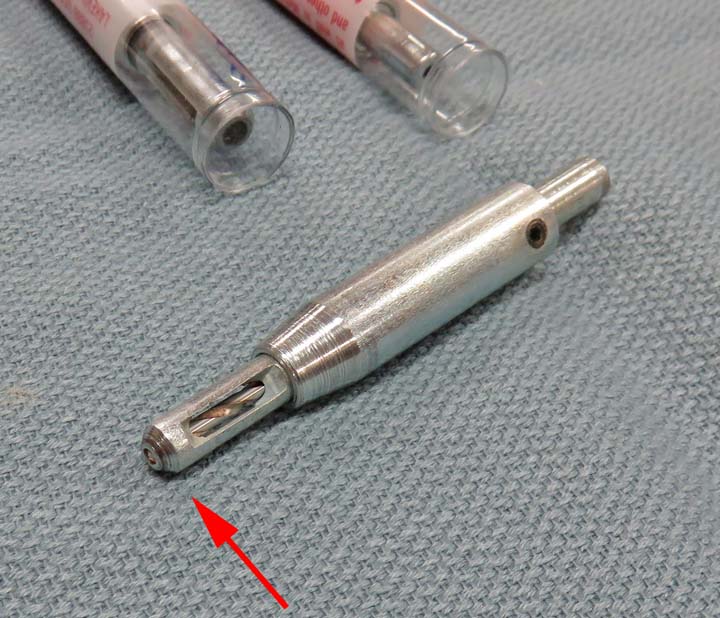
These centering drills work great for putting your pilot
hole in the exact location that you want. Notice the chamfer or angle at
the end of the centering drill. That angle locates in the holes of the
hinges to make sure the hole stays in the center.
|
|
 |
|
Once I had the hinge drilled and fastened on, it was
time to attach one more to the end. What you see below is my work piece
(leg)
turned upside-down with the hinge resting inside the T slot. This allowed me
to keep the wooden legs flat against the work bench making it easier to
line up my other hinge.
|
|
 |
|
1
2
3 |