|
I've been using my table saw for a few of years now and
I've needed an out-feed table that's somewhat portable, so now I'm going
to make one. Yes I have a workbench that doubles as an
out feed table but
sometimes I don't want to move that large piece into position for just a
few cuts.
What I had in mind is something that attaches to the
back of my table saw and folds up. This way it will always be close by
and easy to deploy.
Working With Wood
I cut and planed a 2" X 4" and now I'm ready to cut in
half to use as a place to hang some hinges for my folding table. These
pieces will be bolted to the back of the saw below the working surface
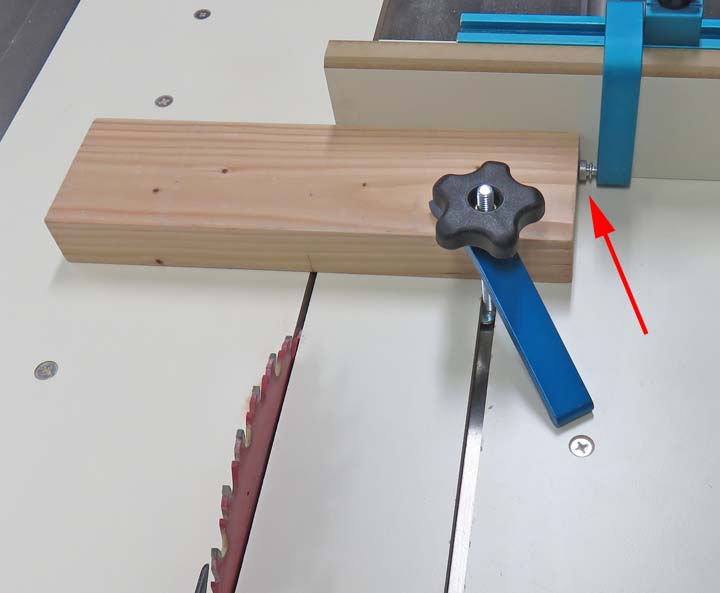
out of the way. In the picture below I'm using my cross-cut sled along with a work-stop
(arrow) to cut my work pieces to the same length.
|
|
 |
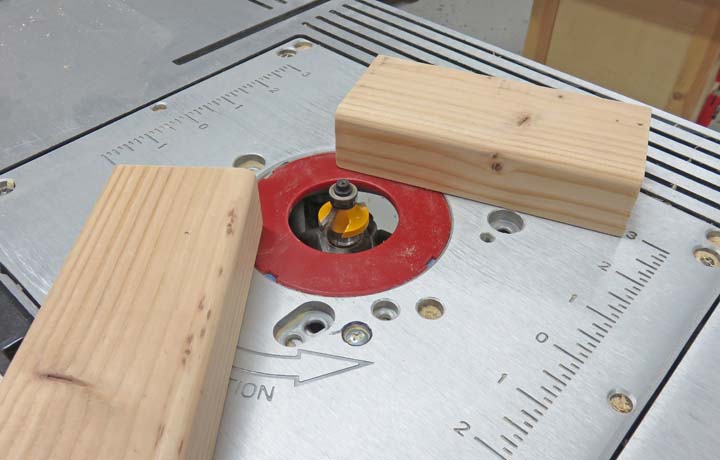
Next I put a 3/16" radius on my work
pieces. This radius will provide clearance to where I'll be mounting them
on that back rail of the saw.
|
|
 |
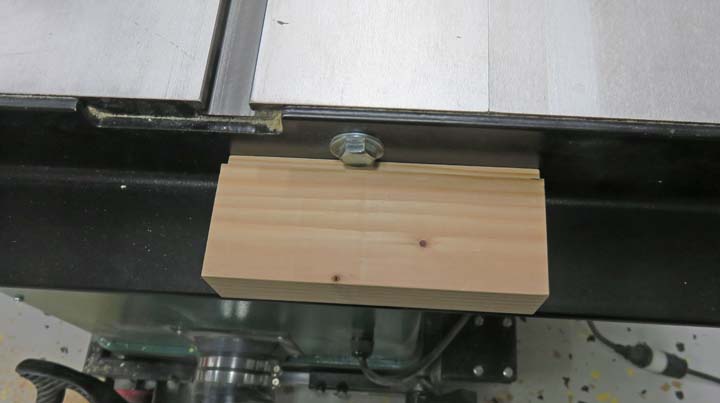
I needed to clear some larger bolts that hold the back rail on the
saw so I cut these rabbets for clearance.
|
|
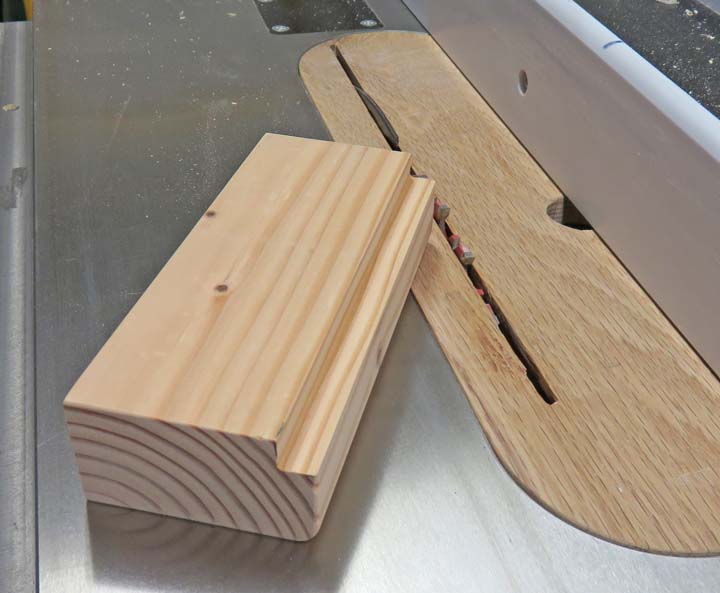 |
This shot shows what the rabbit is for, along with the 3/16" radius on
the bottom that clears the one on the back rail..
|
|
 |
|
Now it's time to attach these two pieces to the rail and to do that I'm using some 1/4" diameter bolts. First I drilled
a clearance hole through my work pieces and then used a Forstner bit to make a
counterbore large enough to use a socket to tighten the bolts with.
|
|
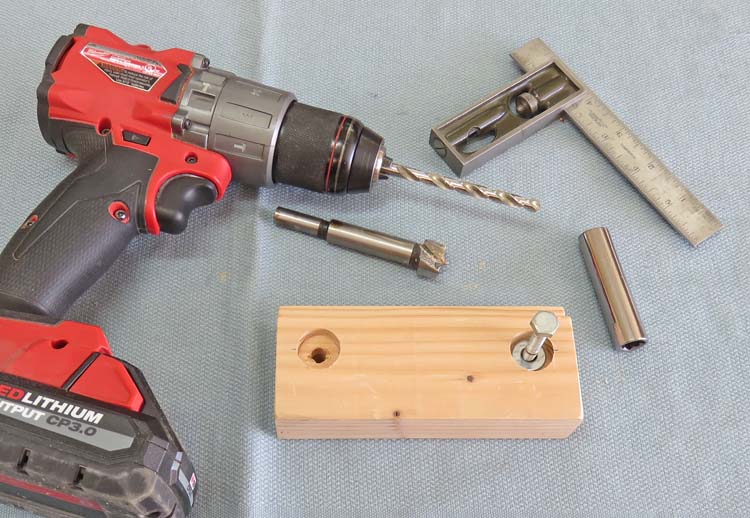 |
I'm using a transfer punch to locate my bolt holes. One hit with the
hammer and the transfer punch makes a dent in the surface exactly in the
middle of my hole.
|
|
 |
|
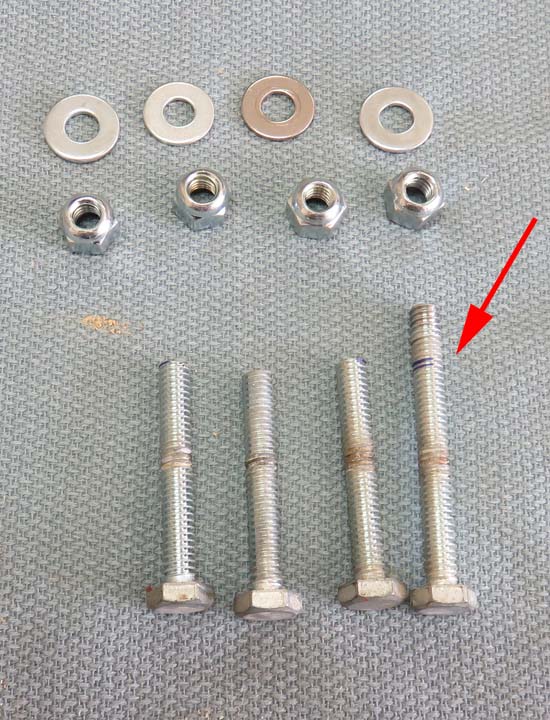
Here is the hardware that I'll be using. I had these 1/4-20 bolts laying
around but had to cut them all to the length of where you see the arrow.
I'm also using lock-nuts to hold things together because I don't want the
vibration of the saw to loosen them over time.
|
|
 |
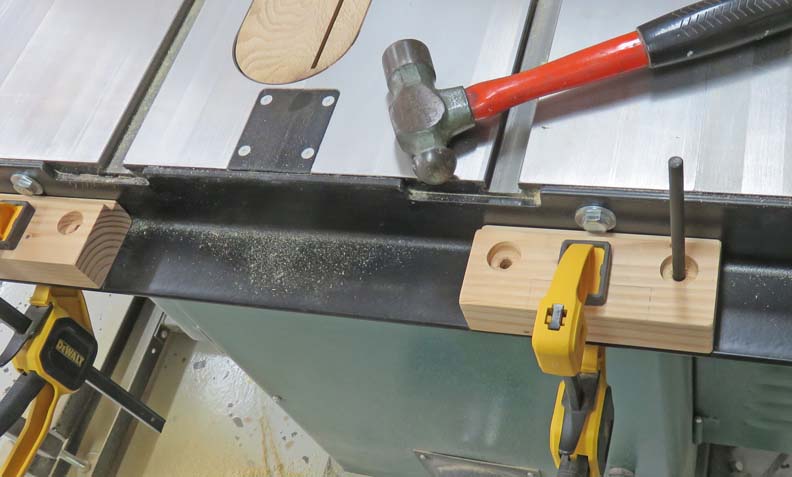
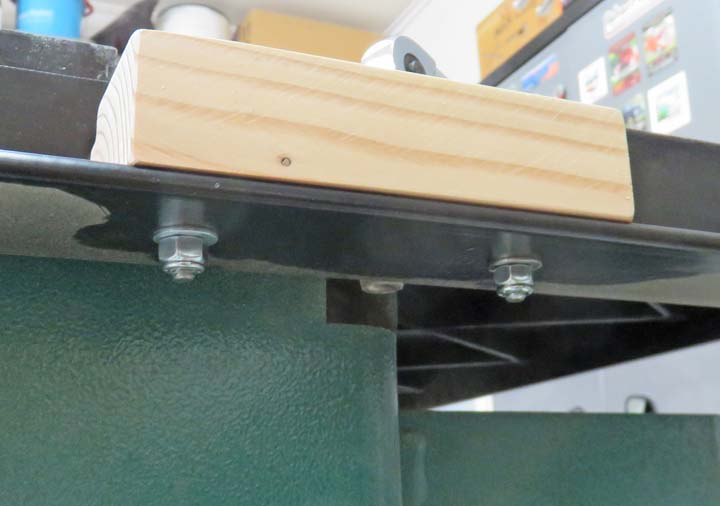
I deburred the holes in the back rail and then bolted everything in
place.
|
|
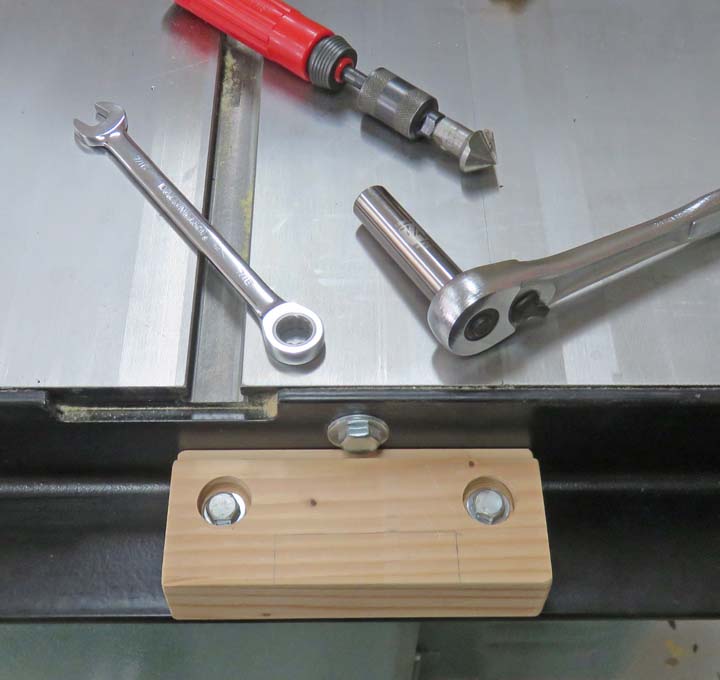 |
And there we go, I'm ready to mount some hinges at this point.
|
|
 |
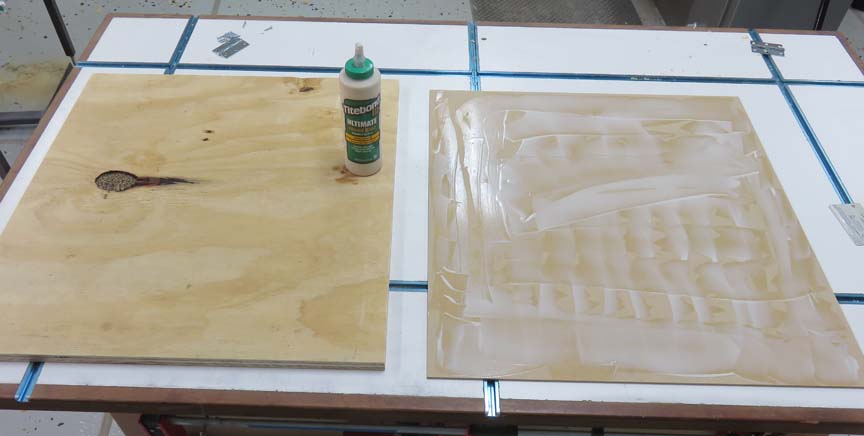
I gluing a piece of 3/4" plywood to some 1/8" thick dry eraser board.
The dry eraser board has a slick surface which will make sliding wooden
pieces very easy.
|
|
 |
|
1
2
3 |