|
Making a Case Continued
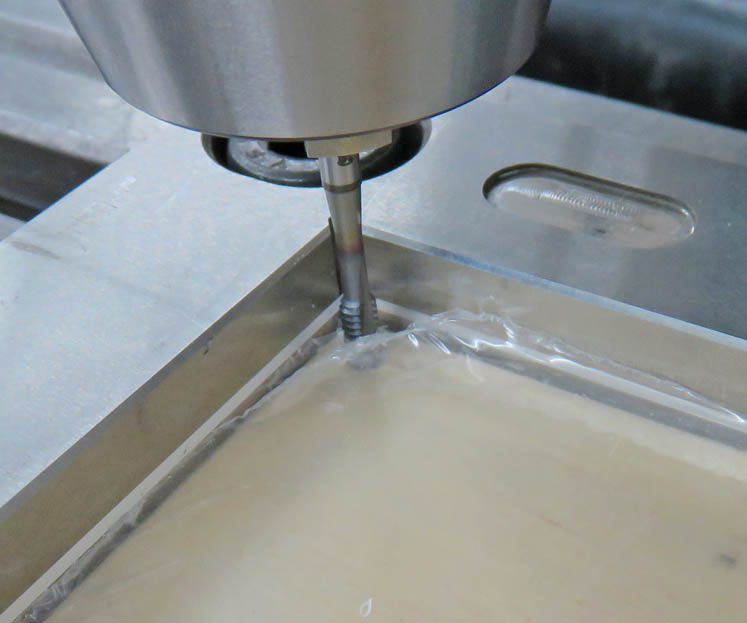
I'm tapping some 6-32 threads in two of the pieces so
I can screw them together.
|
|
 |
|
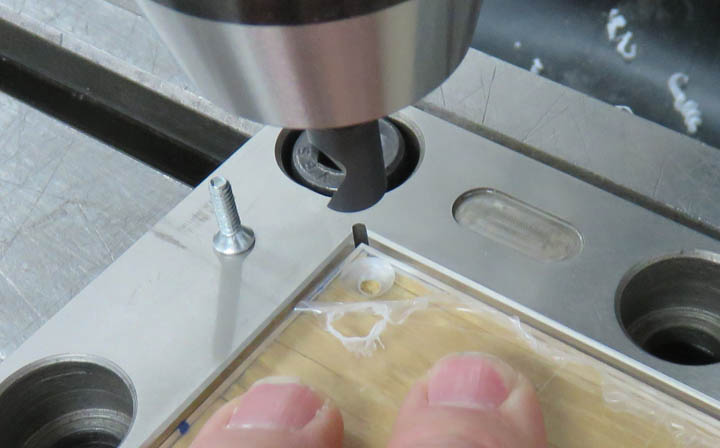
Here I'm countersinking for some 6-32 flathead screws.
I plan on fastening two pieces together so the star can sit between them
when it's displayed.
|
|
 |
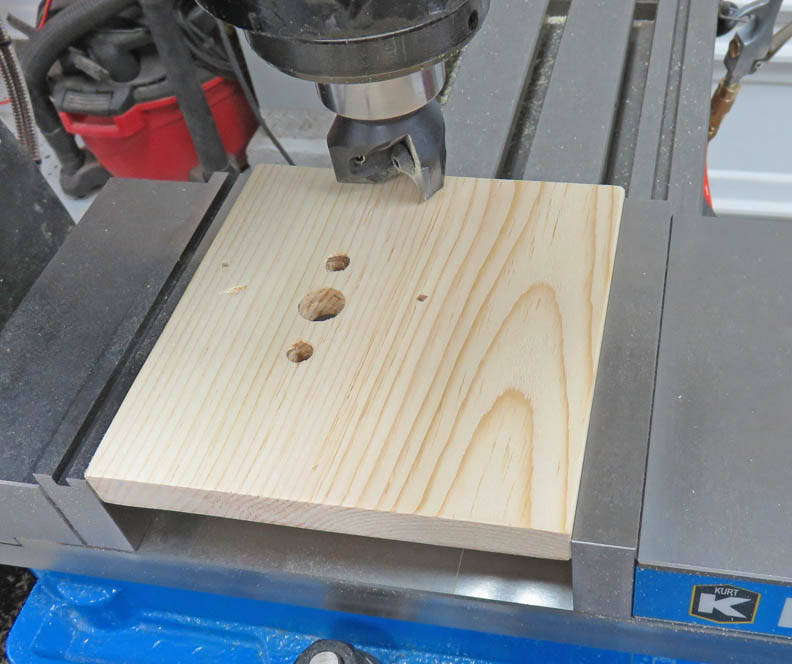
I'm making more tooling for the other plastic pieces below. And I'm making
sure the surface is flat before I start working on them.
|
|
 |
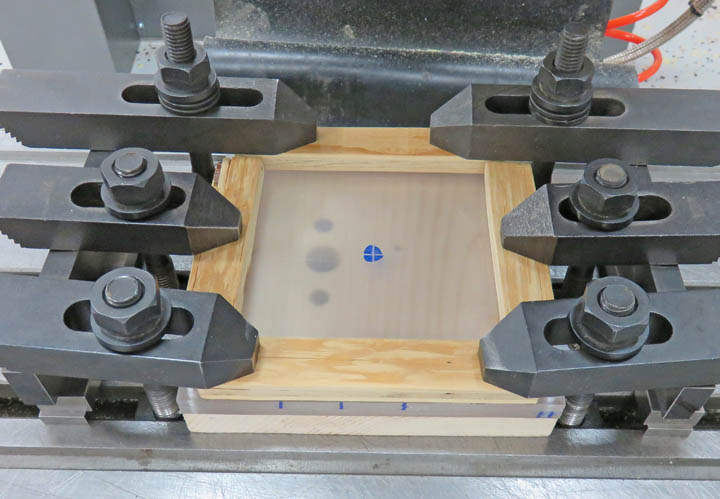
Now that the wood is nice and flat, I clamped four pieces (two for each
display) so I can machine them all together.
|
|
 |
|
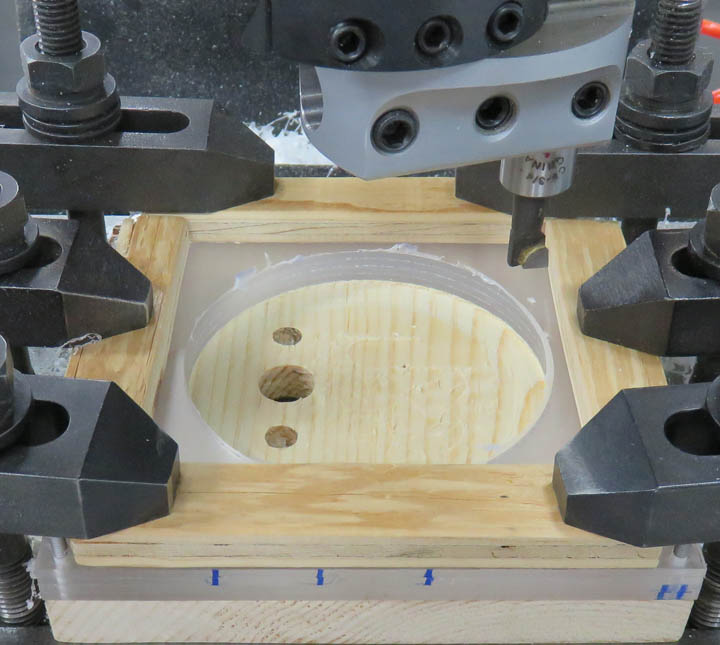
I used and end mill to rough the circle with and then
used my boring head to finish with. The diameter is slightly larger than
the star is.
|
|
 |
|
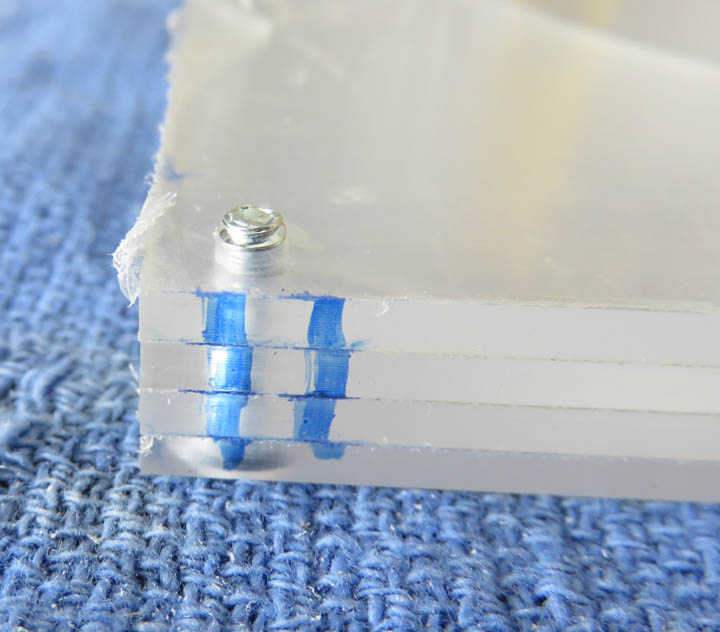
Here you can see the stack of plastic pieces screwed
together while I machined them. This made it easier because I did it in
one setup, and I didn't want them to move.
|
|
 |
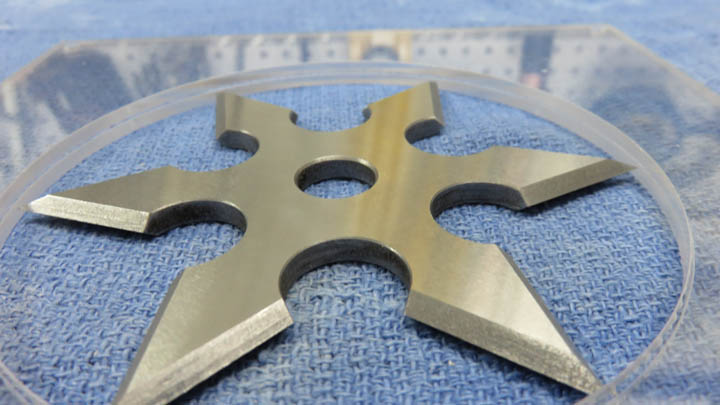
This should give you a better idea of what I've been doing. The star
will rest between two pieces and the other two pieces will go on either
side of these, sandwiching the star inside.
|
|
|
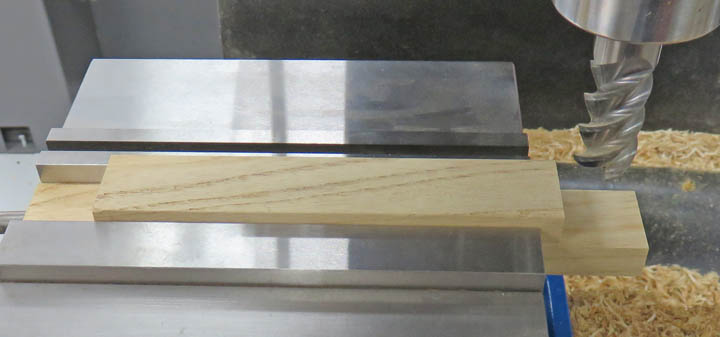
A friend of mine gave me some really old black walnut many years ago and
I'm finally going to use it. I know it's very light in color for black
walnut but it should look nice when I'm finished.
|
|
 |
|
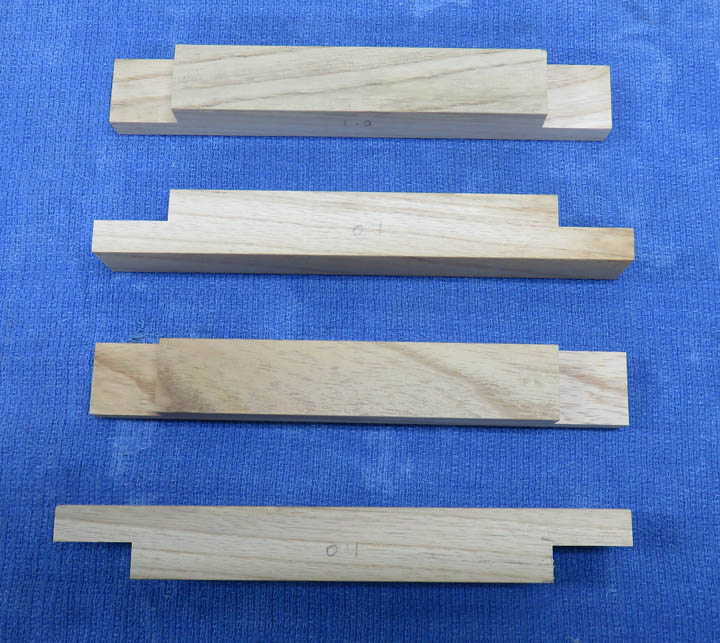
Here I'm machining a half-lap joint on all my pieces.
|
|
 |
|
Here is what they all look like when I was done
machining.
|
|
 |
|
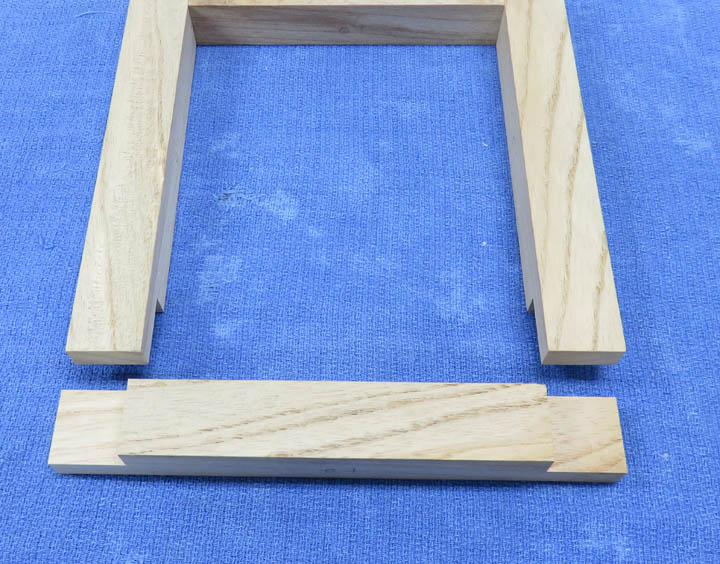
In case you're not familiar with a half-lap joint this
picture should help you understand it.
|
|
 |
|
1
2
3
4
5 |