|
Working With Steel Continued
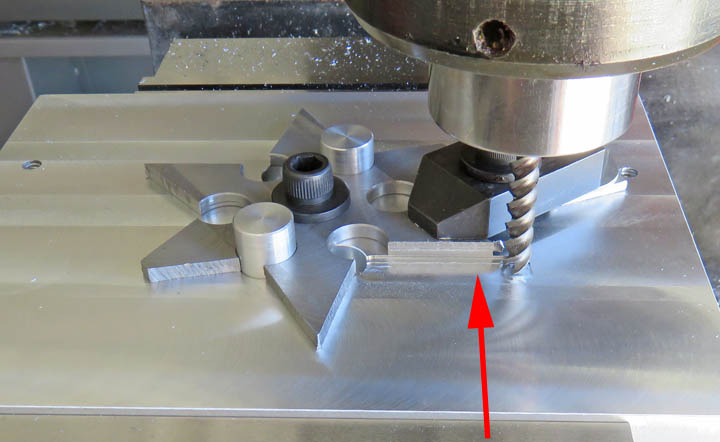
After all those cuts were finished, I switched the pin
positions and now I'm working on the opposite side of the six arrows.
I'm removing equal amounts of material from both sides so that each
arrow will come to a point.
|
|
 |
|
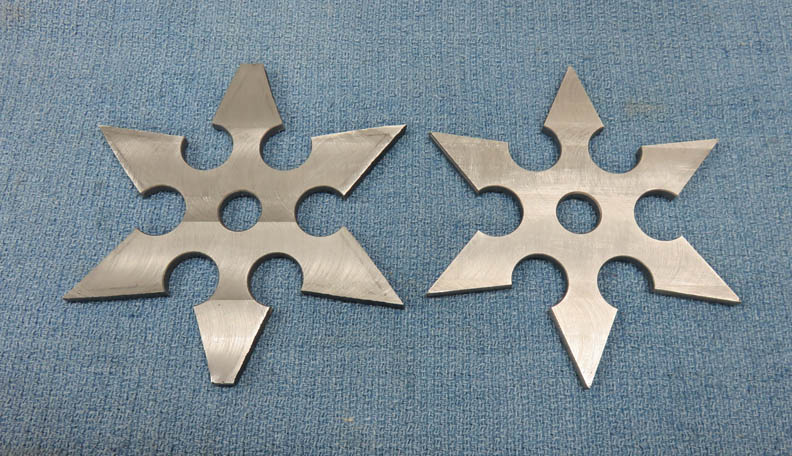
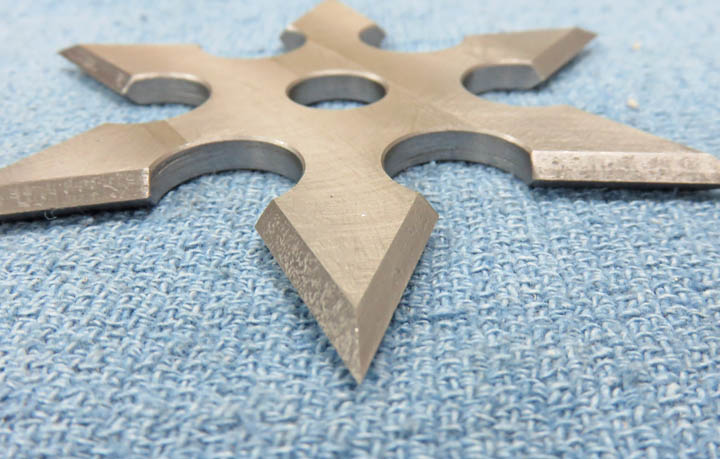
The one on the right has all six arrows machined.
|
|
 |
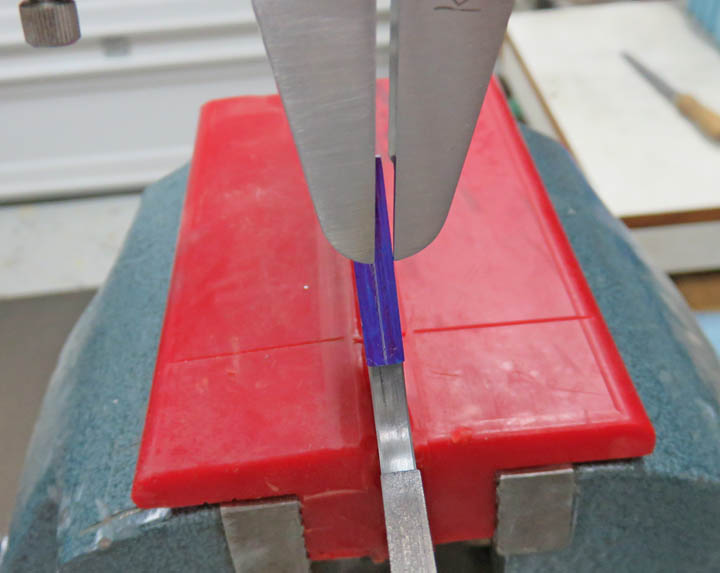
If you look close, you'll see some blue layout dye on one of the arrows
which is clamped in my vise.
At the top of the picture are my calipers showing you a center line that
I made. This center line will be used as a reference on my next
operation.
|
|
 |
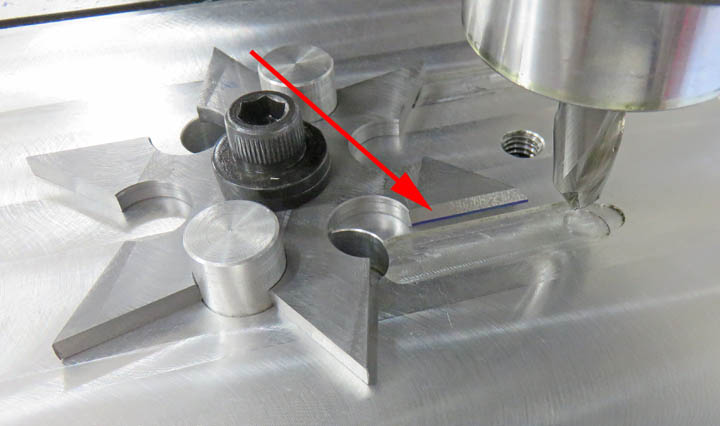
I switched cutters from a normal square end mill to one that has a 45
degree angle at the bottom. This will be used to remove half the material
from each side, producing a pointed edge when finished.
|
|
 |
|
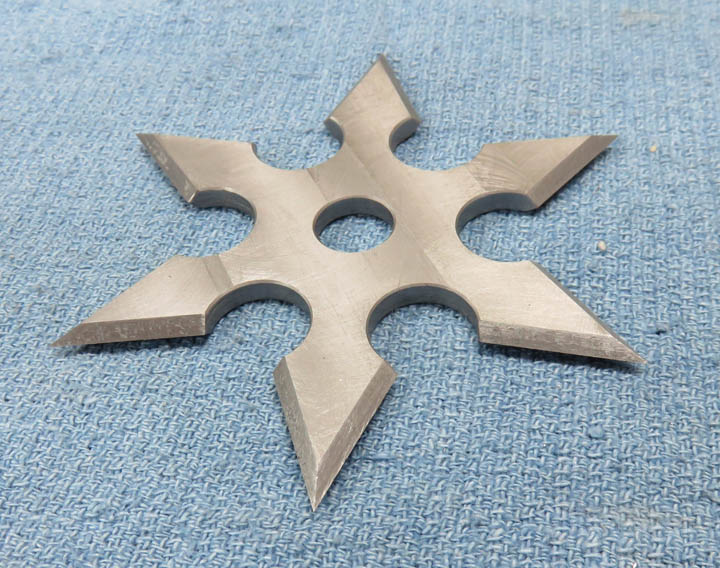
This is what they look like after machining both
sides.
|
|
 |
|
Now that's what I'm talk'n about.
|
|
 |
|
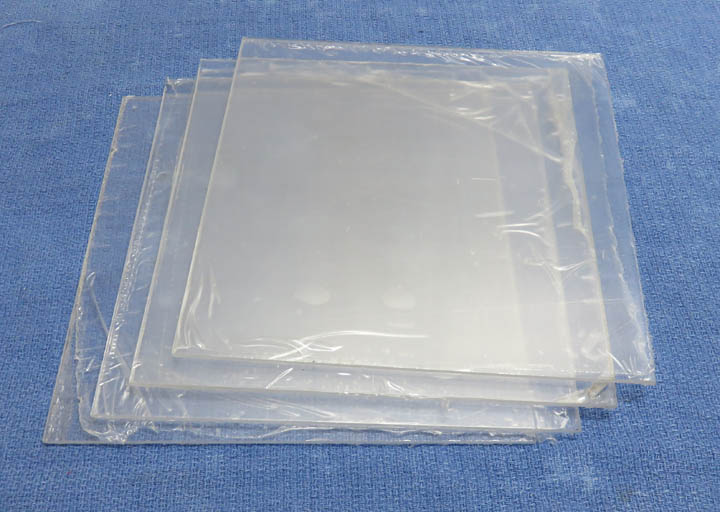
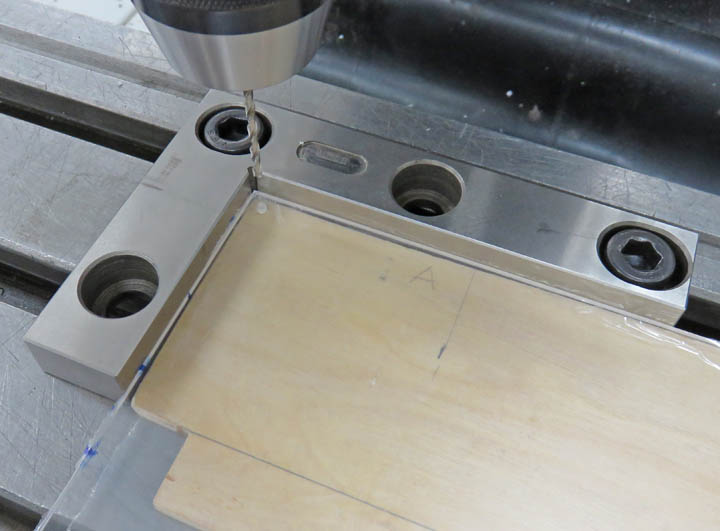
Making a Case
I'm going to make a display case for each piece so the
kids can show them off. What you see below are four pieces of acrylic
for each case. Why four pieces? Keep reading.
|
|
 |
|
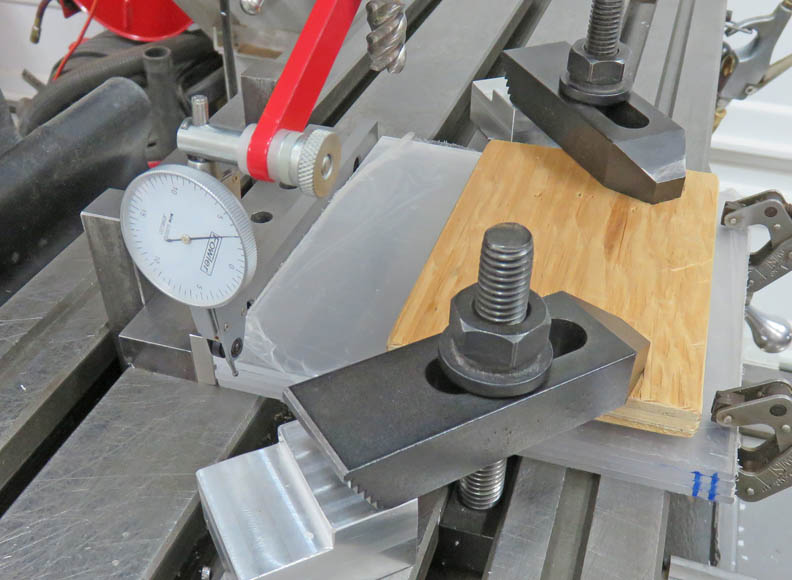
Here I'm machining a stack of plastic with the aid of
some wood to distribute the load of the clamping pressure.
|
|
 |
|
To make sure my work pieces are square, I'm indicating
my first cleaned up side true and then cut the second side facing the
front.
|
|
 |
Once I had all my pieces square, I drilled some holes in each corner
with the aid of my work stop.
|
|
 |
|
1
2
3
4
5 |