|
Installing the Digital Read
Out Continued
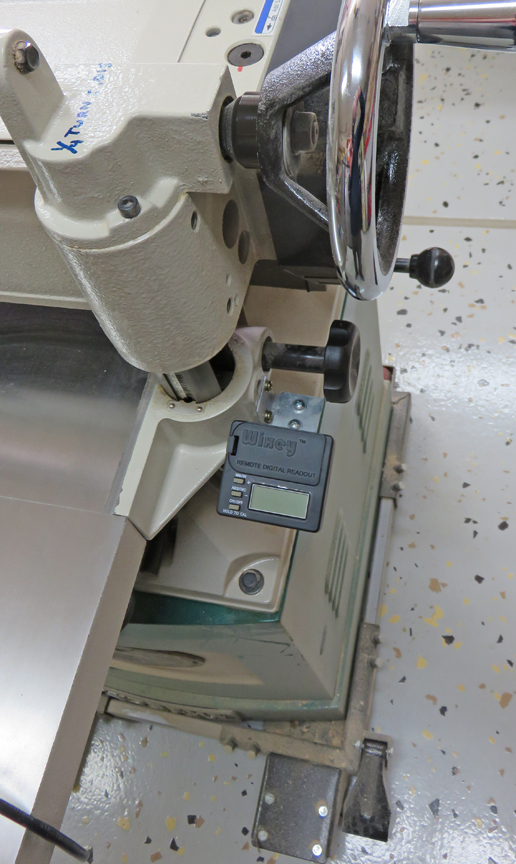
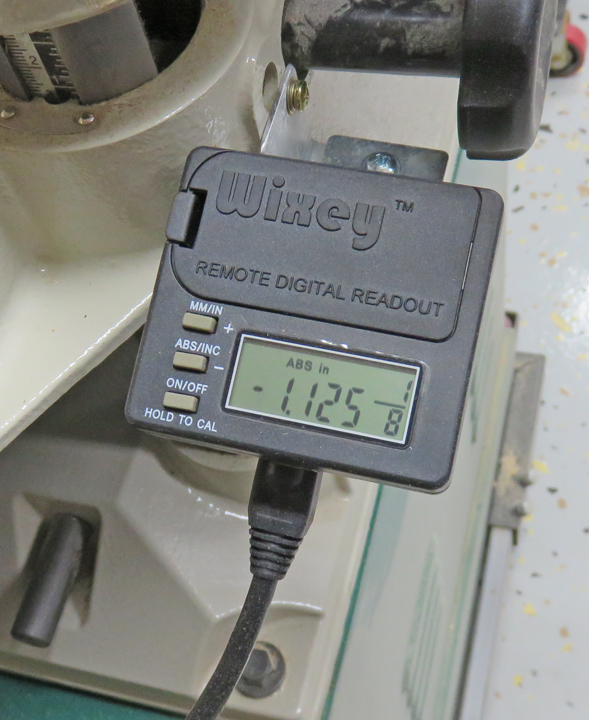
Here you can see the location I chose for the read out, which is the
front of the machine. The large handle at the top is the height
adjustment so it makes it easy to see what you're adjusting.
|
|
 |
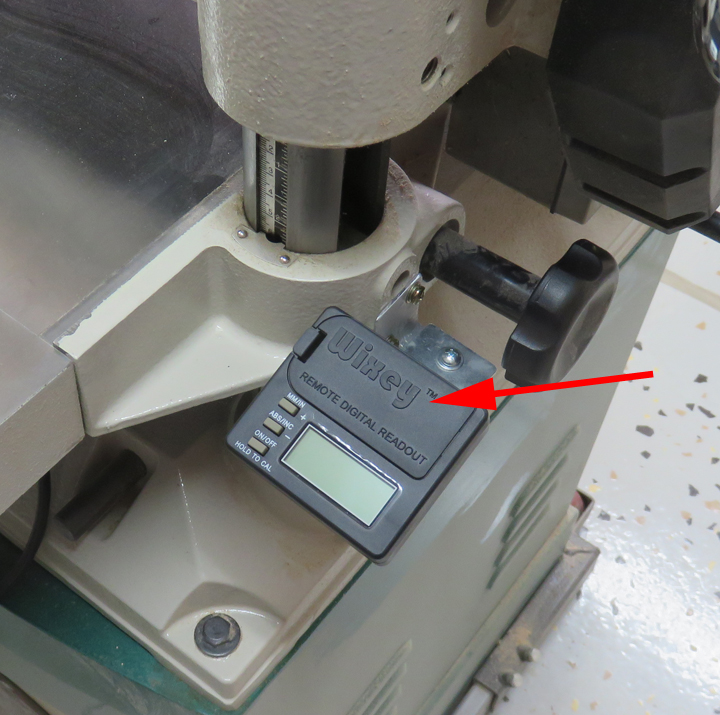
The arrow is pointing the removable lid to
the battery compartment. This makes it super easy when replacing the two
AAA batteries.
|
|
 |
|
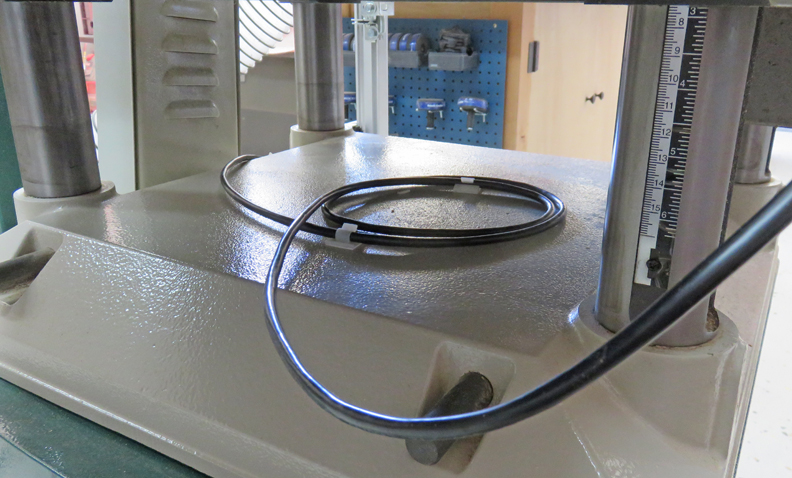
Wixey gives you more cable than you need but they also
supply you with four sticky-backed plastic cable management pieces. I
placed a third one just out of view near the scale that is mounted at
the back. I cleaned this area with lacquer thinner before sticking them
down.
|
|
 |
|
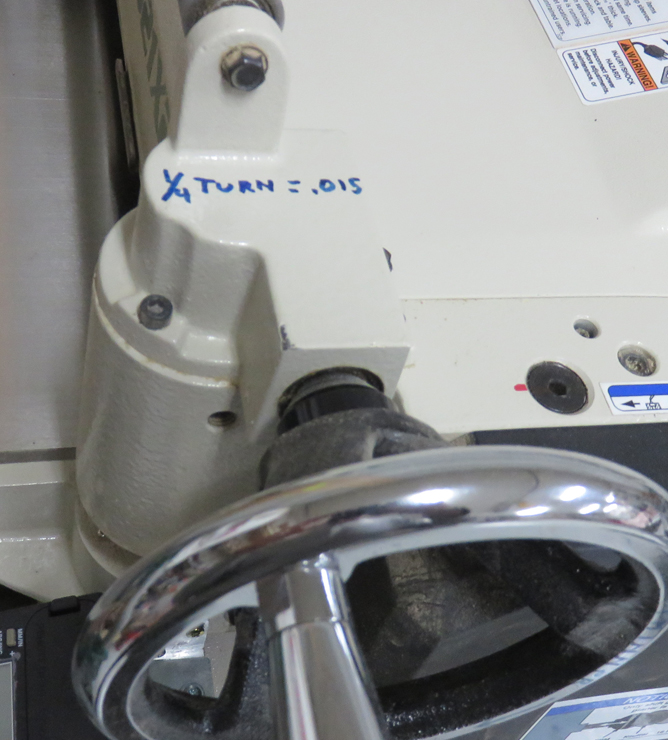
I wrote this info near the height adjustment hand wheel
the first week I used it. However, it's only an approximant amount. But
now with my new digital read out I won't have to wonder how much I'm
actually removing, because now it will be exact.
|
|
 |
|
The number that you see is the size I needed for a new
project that I've been working on. And I confirmed this number was
correct by using my machinist calipers.
I used four pieces of this size to make up a block that
I glued together equaling 4.500 inches.
|
|
 |
|
Here you can see one of the blocks I was talking about and it
came out exactly what I wanted.
So far I'm very happy with this Wixey digital read out
and highly recommend it to anyone that wants or needs to be more
accurate than guessing at the amount you're removing.
|
|
 |
|
1
2 |