|
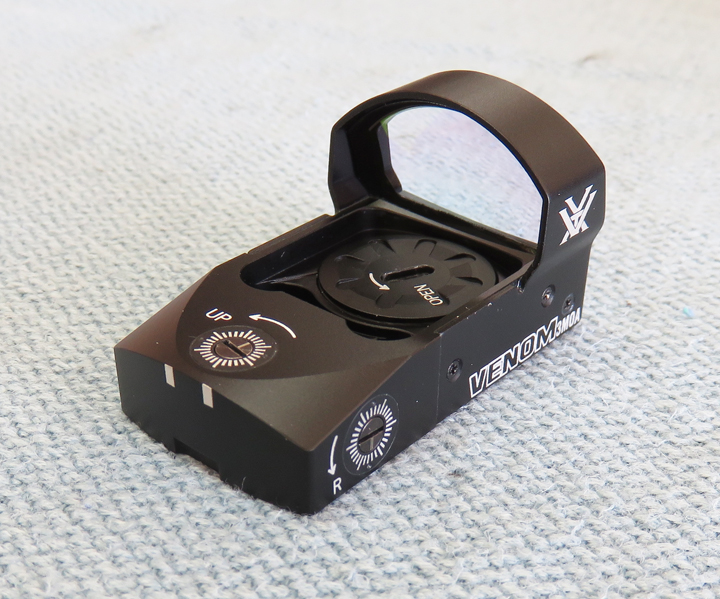
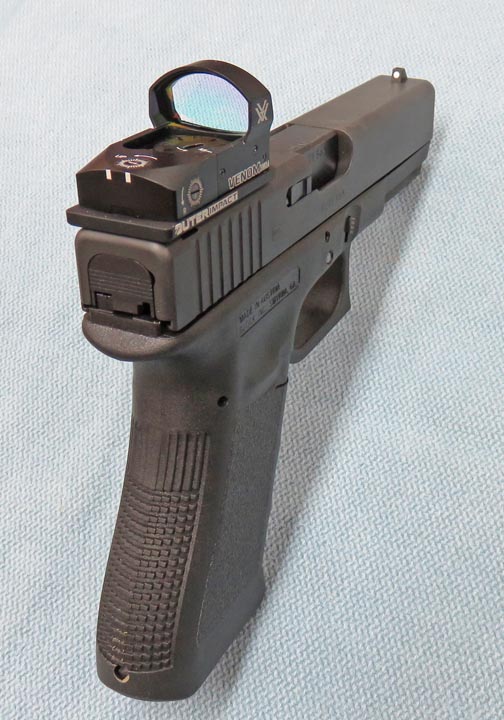
Glock 17 Continued You can see the windage and elevation adjustment screws
along with the battery cover near the lens. Now some other manufactures
have their battery compartment under the sight, meaning you have
to remove the entire unit to change it. This is one reason I went with
Vortex, plus you can't beat their warranty.
|
|
 |
|
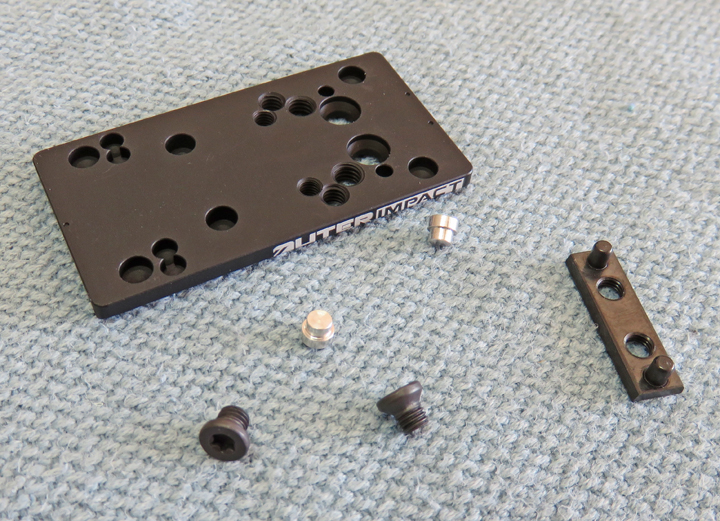
This is the hardware that I'll use to attach the
adapter plate. And the two aluminum step-pins are to help locate the red
dot
sight onto the plate. The piece to the right has a dovetail that matches
the iron sight location on the slide, which I'll show you more about soon.
|
|
 |
|
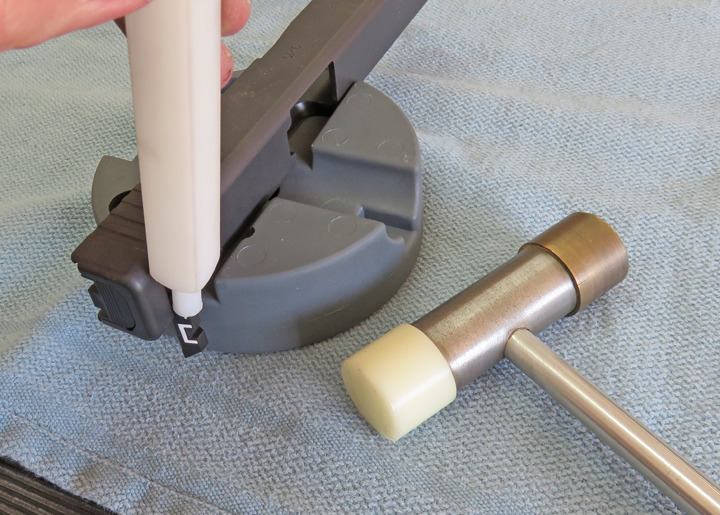
I'm removing the rear iron sight using my custom made punch.
If you're wondering why I didn't use this bench block on my other gun is
because I forgot it had a slot large enough to accommodate my slide.
Yeah I know...a mind is a terrible thing to waste...
|
|
 |
|
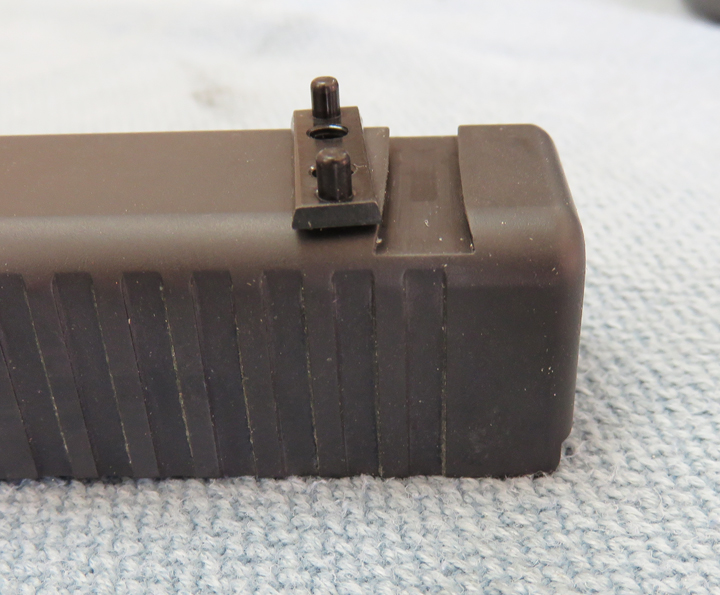
Here you can see the dovetail a little better. This
piece slides into the slot (slip fit) and then gets held in place with two screws.
The two pins help locate the adapter plate.
|
|
 |
|
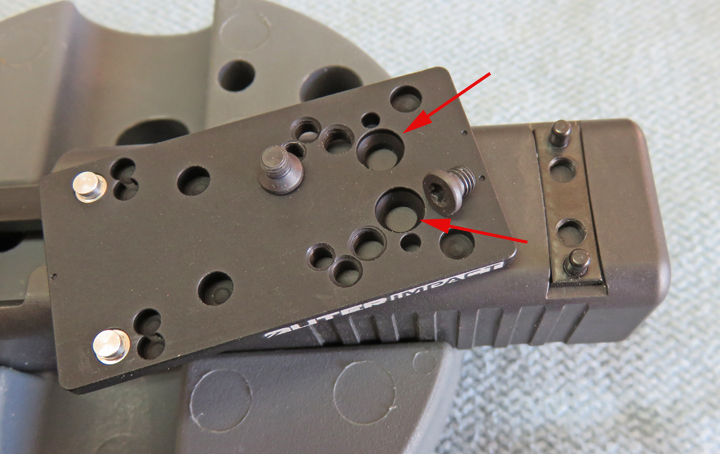
Those two screws hold the adapter plate to the
dovetailed piece and go where the arrows are pointing. Also, the
two step pins can go into any of the four corner pockets. And as you can see,
I have them at the front. However, after placing the sight on the
adapter plate, I changed the location so the two step-pins were both on the longer
edge because I found this to locate the sight a little better this way.
But really there
should be four of those pins in my opinion. I guess you cut corners
where you can these days.
|
|
 |
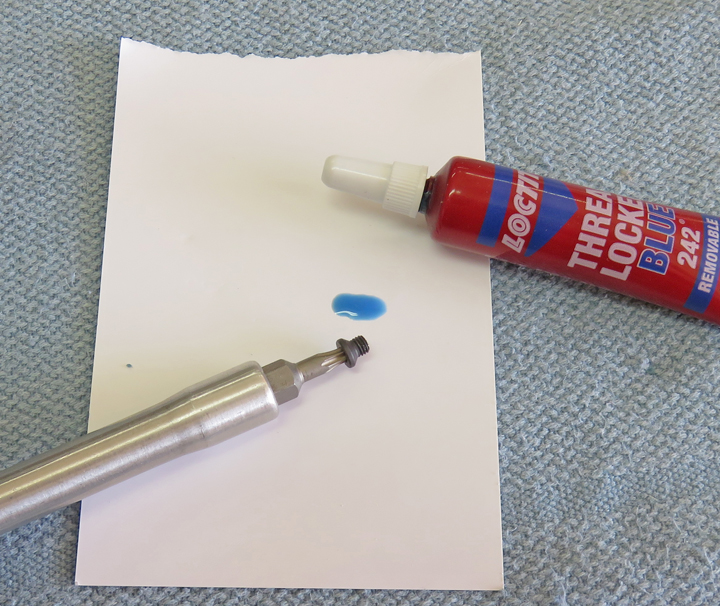
I used some blue Loctite to hold in the mounting screws. This way I can still
remove the screws but it would be much harder if I used the
red stuff.
|
|
 |
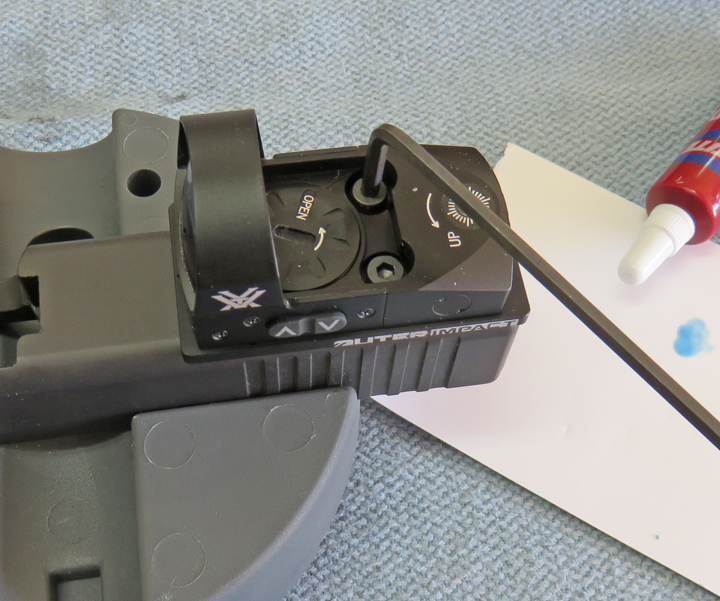
I did the same thing for the mounting screws on the sights, used blue Loctite.
|
|
 |
|
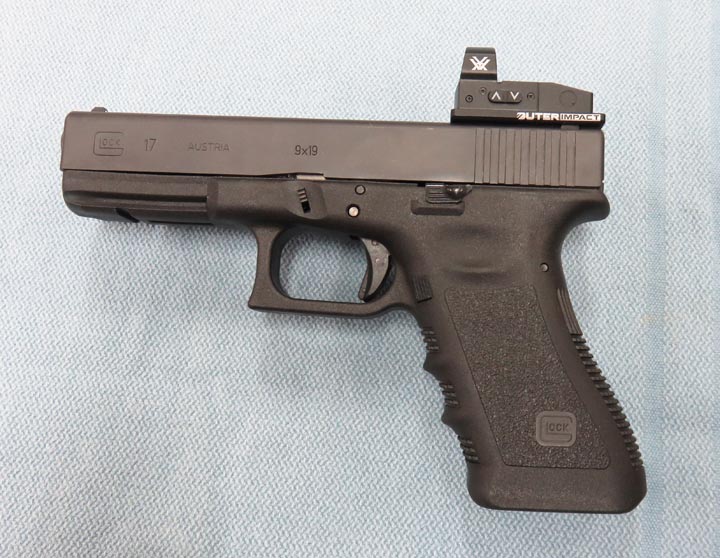
One drawback having a red dot sight mounted like this
is the height. A better solution is having a slide with a cutout
made for the sight, eliminating the adapter plate. This would lower your
red dot sight by about 1/4" (1/8" for the adapter plate and 1/8"
deep pocket in the slide) and it would be located forward of the rear
iron sight as well. With the sight located forward of the rear
iron sight, you can use both at the same time, called "co-witnessing'.
|
|
 |
|
Co-witness means having your red dot and iron sights
aligned together. So if your iron sights and your red dot were sighted
in, they would co-witness with each other when you line up a shot. If I
like this new sight system, I'll probably mill my slide for my red dot
or buy a new slide that has the cut-out milled in it.
|
|
 |
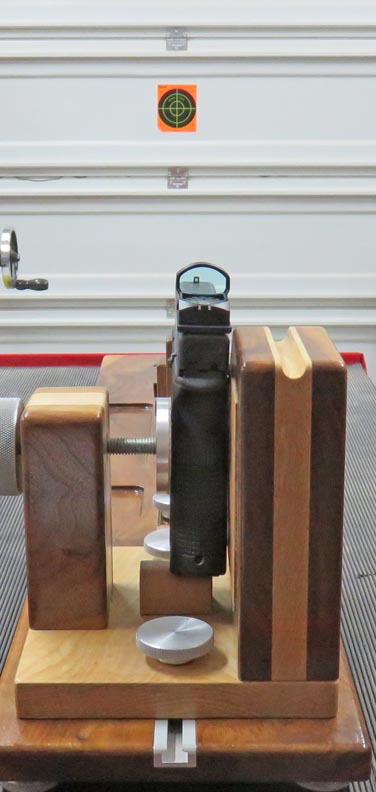
I'm back in the garage here and I'm lining up the red dot
sight with the target on the door.
|
|
 |
|
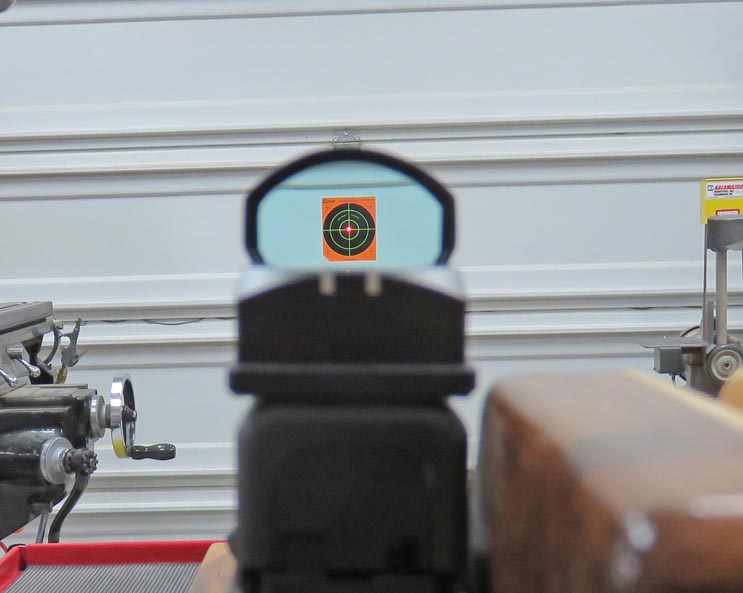
This is what the red dot looks like while it's lined up
on that target. However, it doesn't project it down range. All I did was
move the camera between this picture and the one above, with the red dot
sight active for both shots. But you would think after seeing the
picture below that a beam of light is hitting that target.
Now you can why this sight system would appeal to
someone with aging eyes. It makes acquiring a target easier than using
iron sights. At this point I'm ready to go to the range and sight in my
new red dot.
|
 |
|
1
2
3
4
5
6 |