|
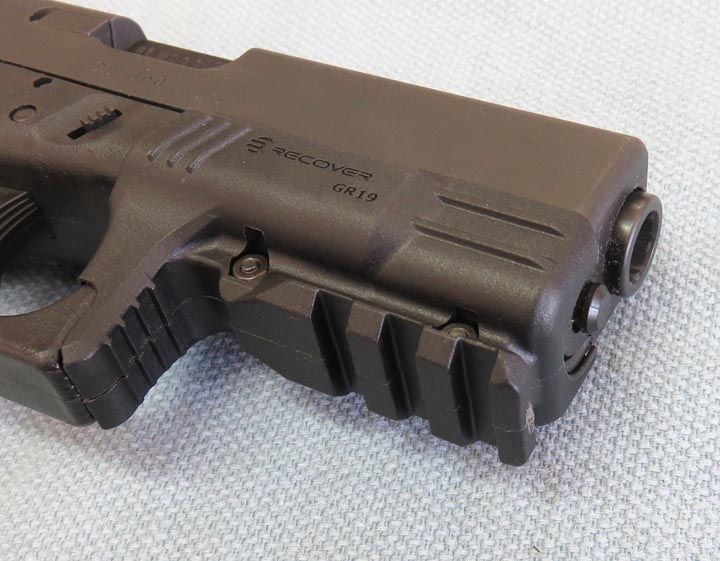
Installing an Accessory Rail on a Glock 23 Continued
So far so good and now it's time to mount a light to my new rail.
|
|
 |
|
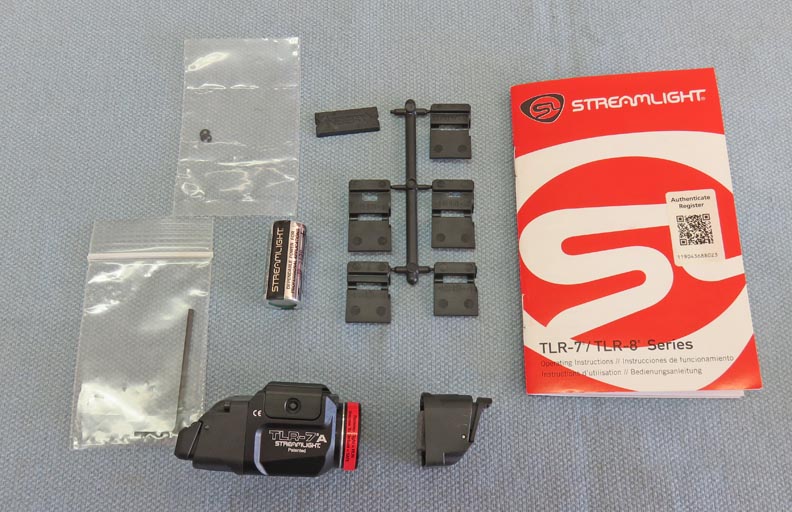
My new flashlight is made by
Streamlight and comes with
different mounting adapters, battery, hardware, wrench and the light.
|
|
 |
|
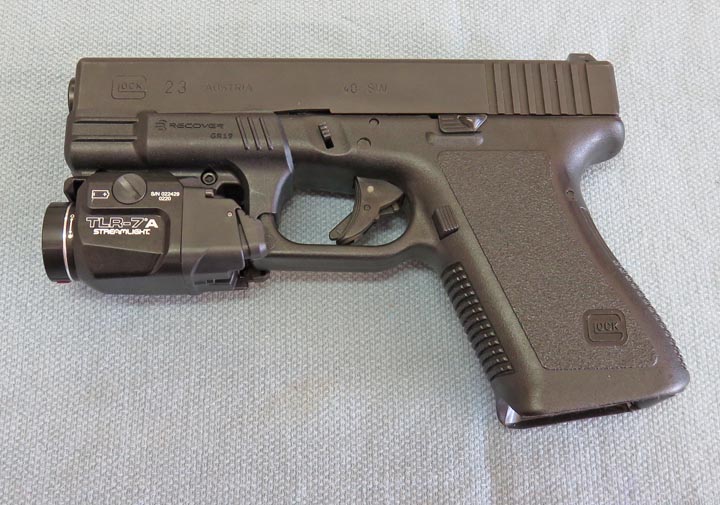
Speaking of the light, it has 500 lumens of power, a low
profile ambidextrous switch, uses a single CR123A lithium battery
and has a safe off feature which prevents accidental activation. The
battery has a run time of 1.5 hours and has a monetary on mode when you
press and hold the switch. This can be very handy if you don't want to
give away your position while you're moving. But if you click the switch once, it stays
on.
|
|
 |
|
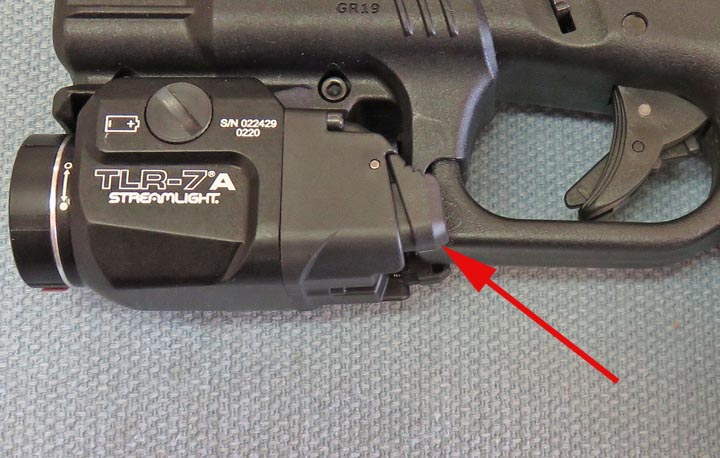
The tail-cap of this light is were the switch is located
(arrow) and you have a choice of two positions, high or low. I choose
the high switch location because after playing with it for a few
minutes, it just fits me better. And just to let you know, this light
works great!
|
|
 |
|
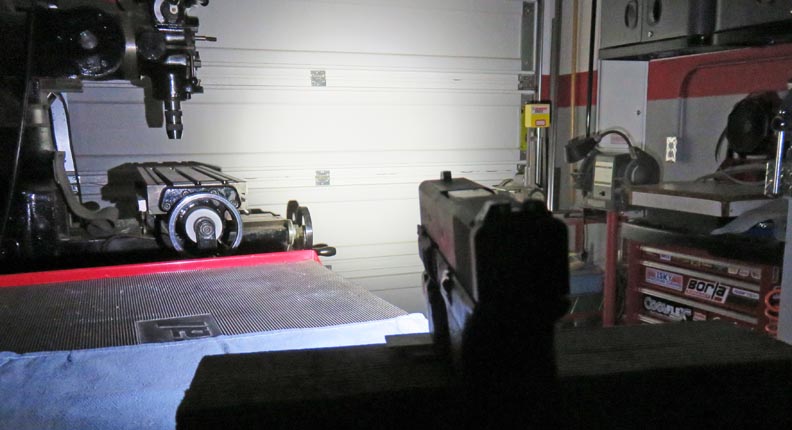
I'm about 12 feet from the garage door and this is
what 500 lumens looks like. I would have no problem hitting a target
with this kind of light at this range, even out to 25 yards. And you can
clearly see everything in the foreground too. This light puts out a ton
of light in a very small package and so far I'm very happy with it.
|
|
|
Glock 17
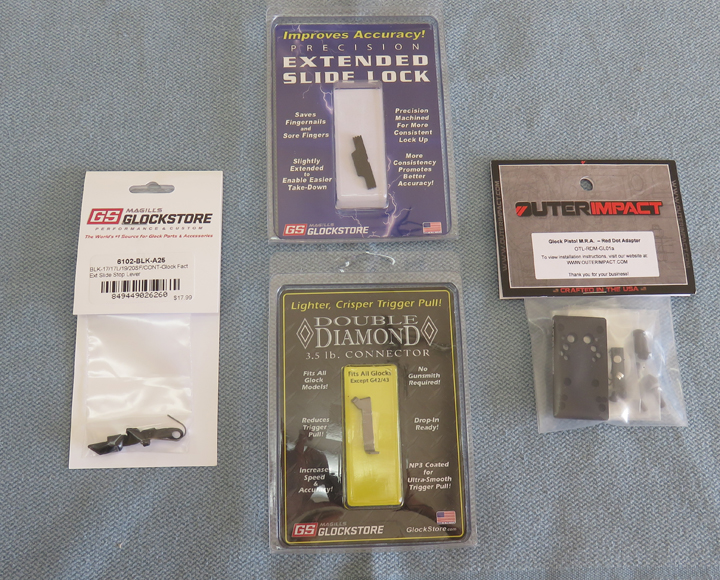
The parts for my other gun is a little different but
this is by design because the two weapons serve different purposes.
This gun will mainly be used for target shooting so a light trigger and
good sights are a must. I'll also be installing the same two parts as
the other one: Extended Slide Lock and Slide Stop Lever. The parts on the
right are mounting hardware for my new sight.
|
|
 |
|
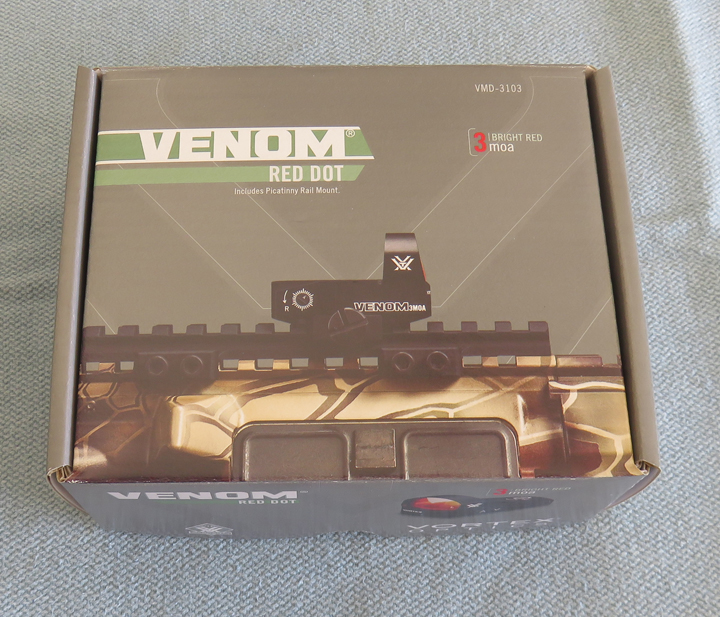
Here is my new sight system which is made by Vortex. This model
is the Venom and is a 'red dot' type of sight. However, this dot is not
projected downrange like some laser sights do. This is more like a
hologram, and the dot is projected onto a lens that only you can see.
Now these sight systems are great for someone with aging eyes,
like I have. But these are also used in all kinds of shooting competitions.
One other option you have when buying this type of sight
is size of the dot in M.O.A. or Minute Of Angle. In case you don't
know, one MOA is about one inch at 100 yards. This equates to 1/2" at 50
yards, 1/4" at 25 yards, well you get the idea. I decided on a 3 MOA dot
size, but they make all different sizes up to 12 M.O.A..
Now it depends on what type of shooting you'll be doing,
which will determine what size dot might work best for you. Say I was
shooting competition where you shoot steel plates and it's timed, I
might choose a larger dot size to cover the plate making it easier to
acquire your target. But when you're shooting paper like I plan on
doing, a smaller dot size should work good for that.
|
|
 |
|
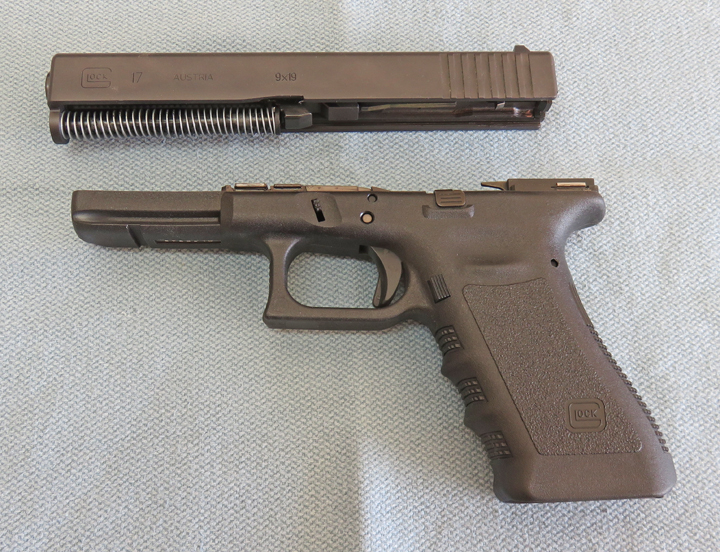
Here is my model 17 which is about one inch longer than
my model 23. And as you know having a longer sight radius is beneficial
for hitting a target at distance. The caliber for this model is 9 mm,
shoots really nice and most people don't have a problem with its mild
recoil.
|
|
 |
|
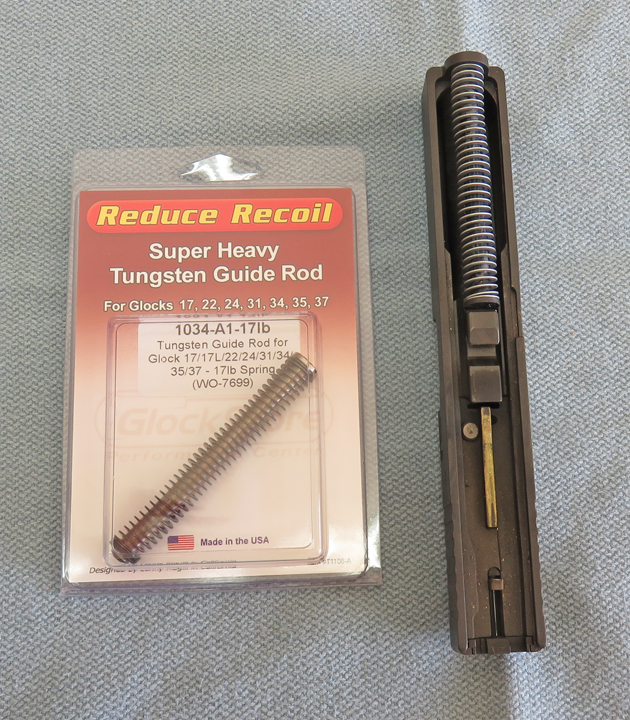
Speaking of recoil, this Tungsten Guide Rod should make
this gun that much easier to shoot because the one that came with it is
made out of plastic. The idea of using a heavier guide rod is: for every
action there's an equal and opposite reaction. That means if the gun is
heavier, then the felt recoil should be lighter.
Now you have a few choices when it comes to spring rates
when buying a guide rod and I choose one that matches what came in it
from the factory. The reason you might want a stronger or heavier spring would be
if you were going to shoot some more powerful loads. With a stronger
spring and a hotter load, those would work good together. And the same
could be said for a lighter spring and lighter load.
To change your guide rod only takes a minute or two and
that's it.
|
|
 |
|
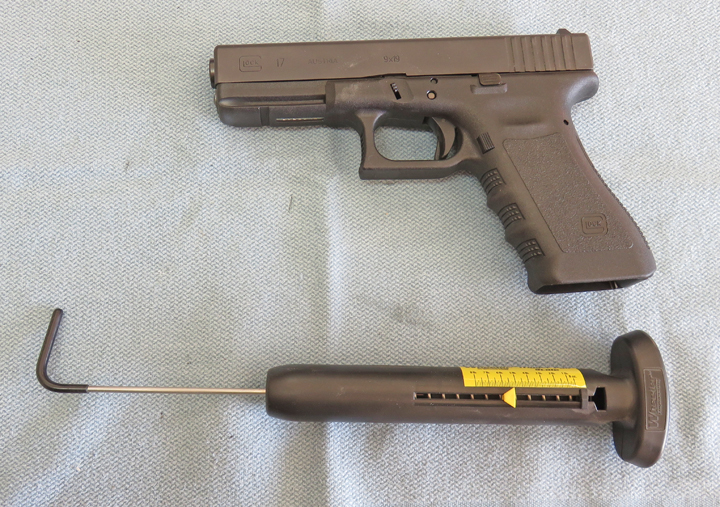
Here I'm checking how many pounds it takes to pull the
factory trigger. This will give me a baseline and then I'll change the
Connector Bar which should reduce the trigger pull.
|
|
 |
|
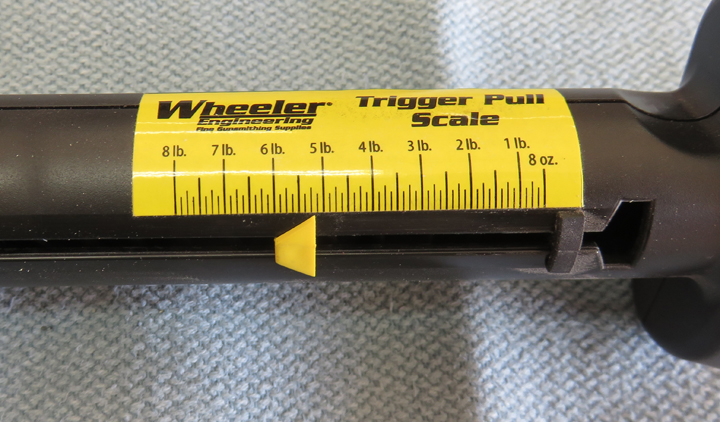
Here you can see it was just over five pounds to pull
the factory trigger. And now I'm looking forward to something less. The
new part should give me less than four pounds and the company claims 3.5
pounds. Let's see what happens.
|
|
|
|
1
2
3
4
5
6 |