|
I Missed A Step
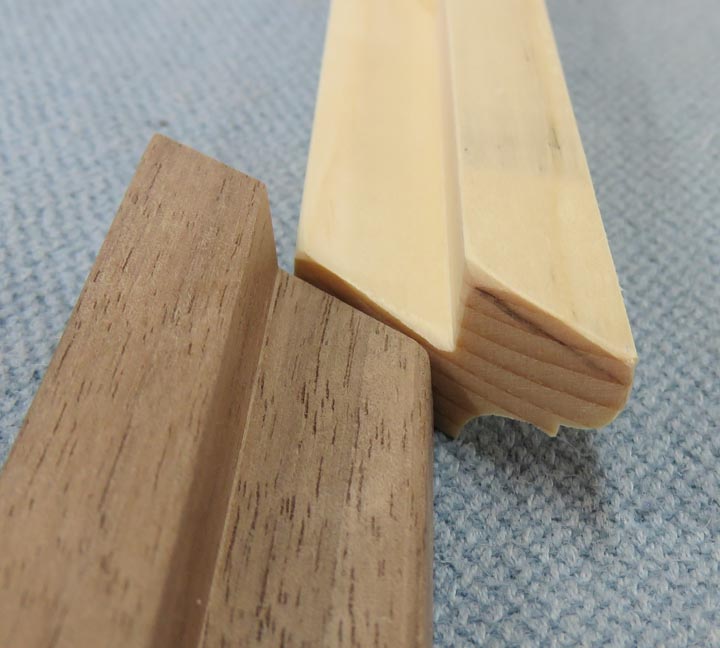
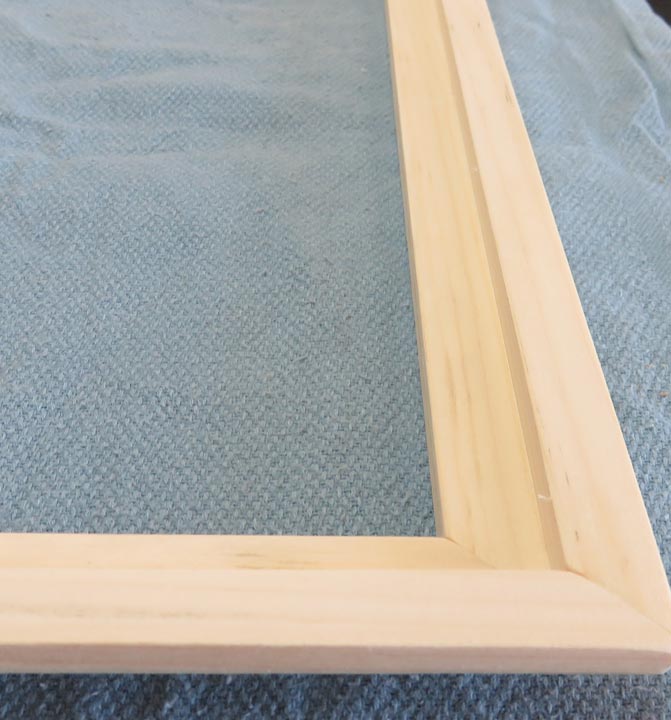
The taller piece on the right is made out of pine. I was
using some pine as setup pieces along the way because I didn't care if I
messed one of those up. I was all ready to cut the profile on the outside of
the frame using my router table and again I used the pine pieces first. However, you can see
the pine piece is taller than my other work piece.
The difference between the two pieces is less than 1/16"
but it was enough to make the difference of having the bearing on my
router bit riding on my work piece and not riding on the black walnut.
|
|
 |
|
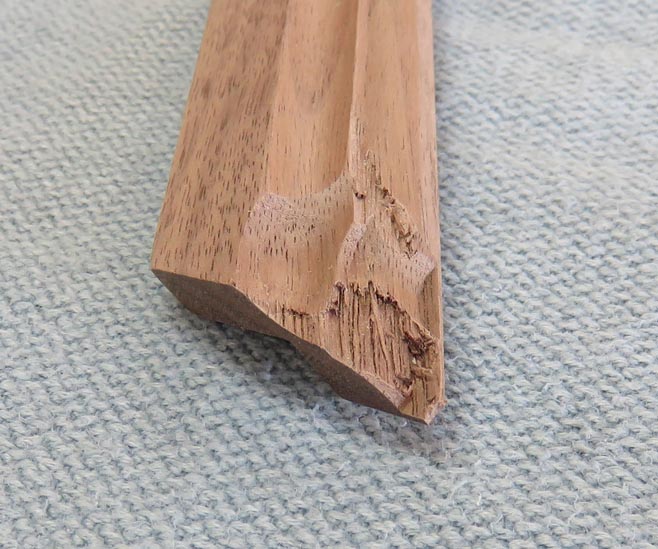
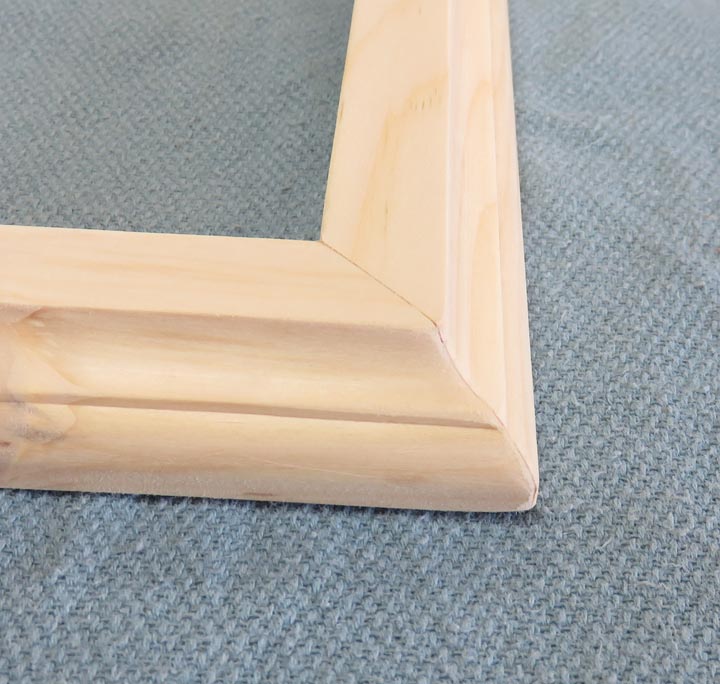
This is the result of the router bit bearing not
touching my work piece. And as you can see, it wiped it out. As soon as
I turned the router off and found the problem, I knew what happened.
Somehow I never ran the pine pieces through my thickness planer so it wasn't
the same size. That means I now have a maple and a pine frame to work with.
If you're wondering if I could fix this or make another
piece, yes I could. But that would require more work that it's worth, in
my opinion. In other words, the black walnut frame is now scrap.
|
|
 |
|
Moving On
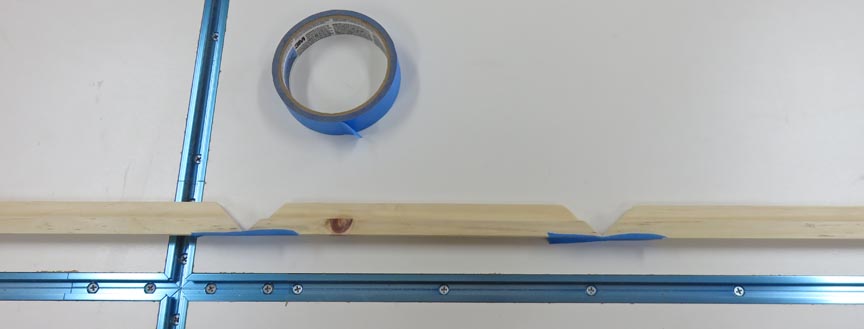
I've seen this technique used before so I'm going to try
it. The tape that you see will be used as clamps to hold my frame
together while it's being glued. First you place the ends of each frame
piece end-to-end. Then you place a piece of tape across the back. Next
you apply glue to each surface and then fold each one 90 degrees. Once
you get to the last surface, you put tape on it and then let it set.
|
|
 |
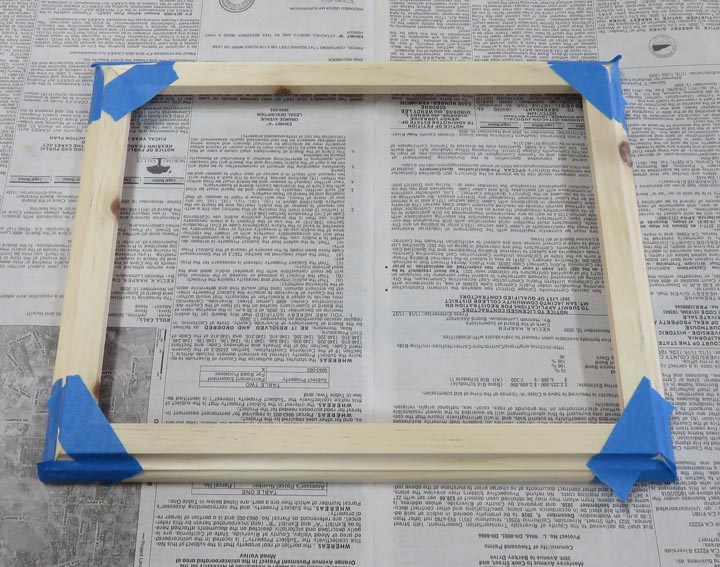
I also added one more piece of tape to each corner (at an angle), just
to make sure it's held together firmly. Note: you need to check your
work with a square and adjust as needed.
|
|
 |
The tape seemed to do a pretty good job because it's stuck together.
|
|
 |
I gave each corner a quick sanding with some fine sandpaper to knock off
the sharp edges.
|
|
 |
Now it's time to fill the frame with some matting and plastic.
|
|
 |
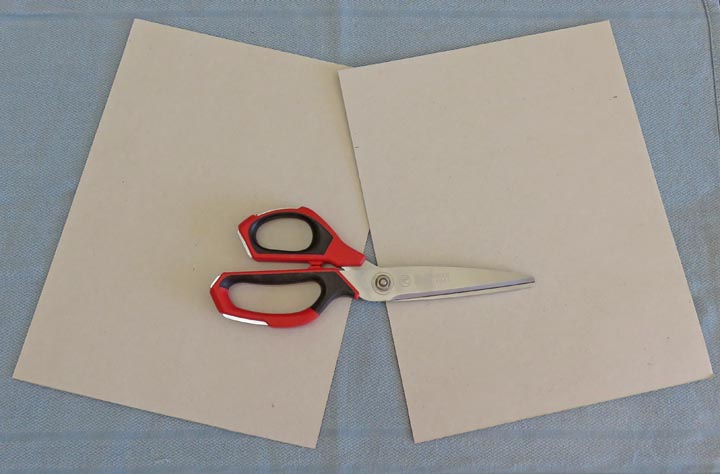
I cut some cardboard that was 1/8" undersize so it's easy to place in
the frame.
|
|
 |
|
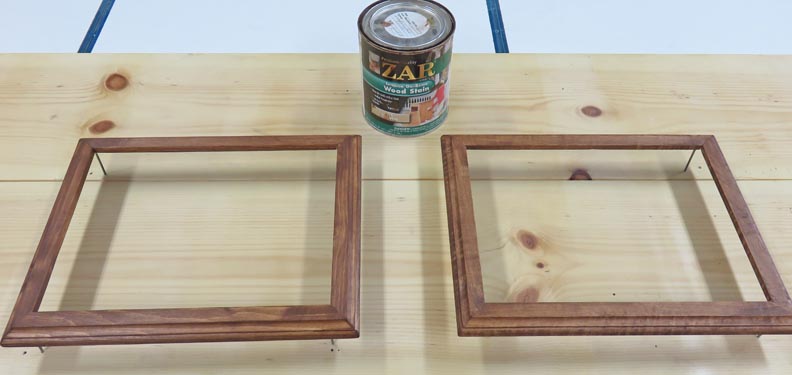
Here I've applied some stain to the pine and maple
because I wanted the contrast between the frame and white paper. It
seems weird to hide the nice grain of the maple with dark stain but I
don't have my black walnut frame anymore.
|
|
 |
|
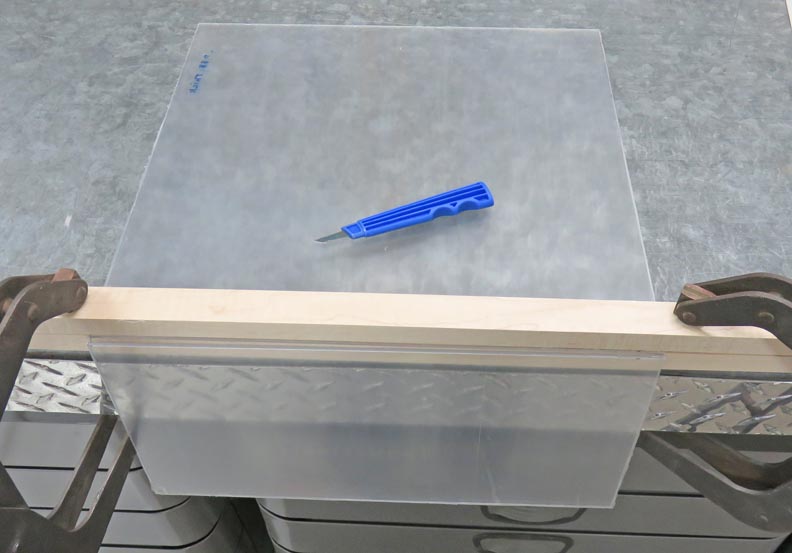
Most picture frames have glass but I happen to have some
plastic leftover from a pervious project so I thought I'd use it here.
The thickness is labeled 1/8" (.125) but it measures much less at .088".
No problem as this should work great for this.
The way I cut this plastic is to score it with a tool
specially made just for this purpose. It has a hook-shaped blade that
you drag against a straight edge about four or five times first. This
scores the surface of the plastic pretty quickly. Then you clamp it
between two surfaces that are somewhat sharp, like the two scrap pieces
of wood that you see below. The scored line should be just visible and
then you tighten your clamps. Once you put pressure on your work piece
it breaks on the line and that's it.
You repeat the process for each cut, which goes quickly
and it's very accurate.
|
|
 |
|
1
2
3 |