|
My wife gave me a really cool Christmas present this
year, which I'll show you in a minute. Just know it was some information
printed on normal printer paper. With that being said, I'm going to make
a picture frame to display it.
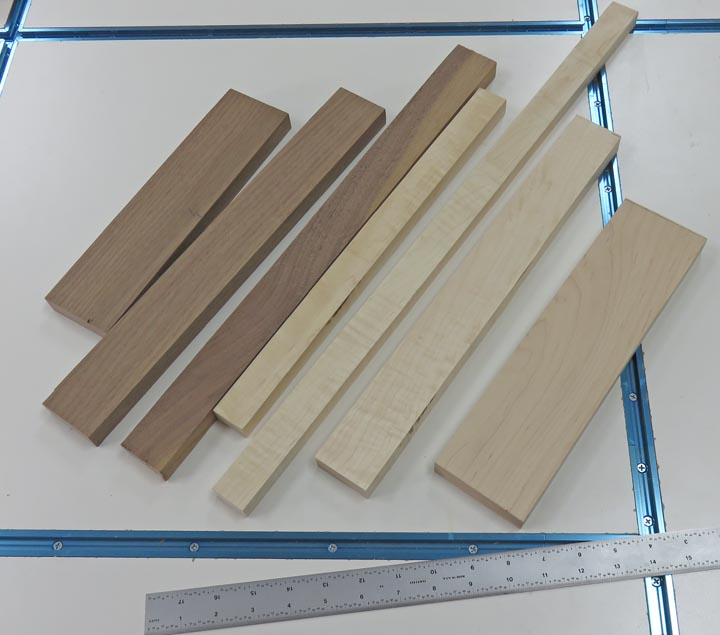
I'm using some scraps of black walnut and hard maple for
these frames, because I'm not sure which one is going to look best. But
by making one of each species, I'll figure that out later. The paper
size is 8 1/2" X 11" so the frame will be a little larger than that.
|
|
 |
| Making Sawdust
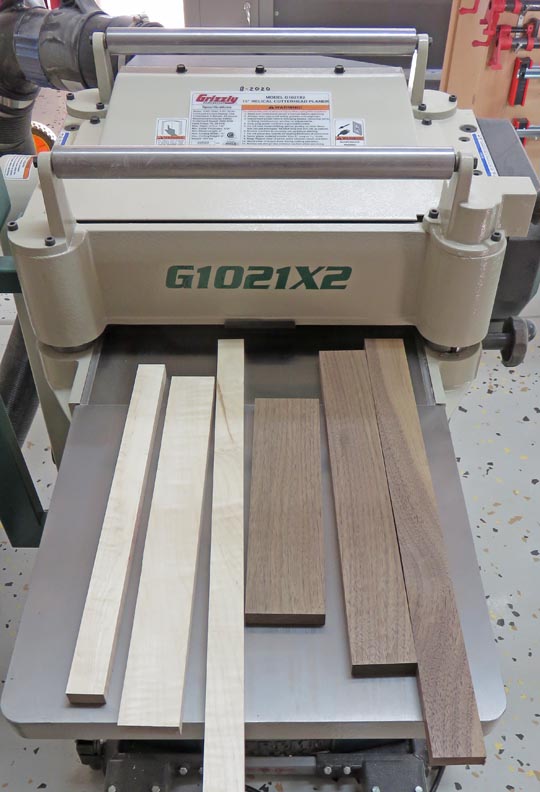
I ran all the pieces through my thickness
planer to get them all the same size.
|
|
 |
|
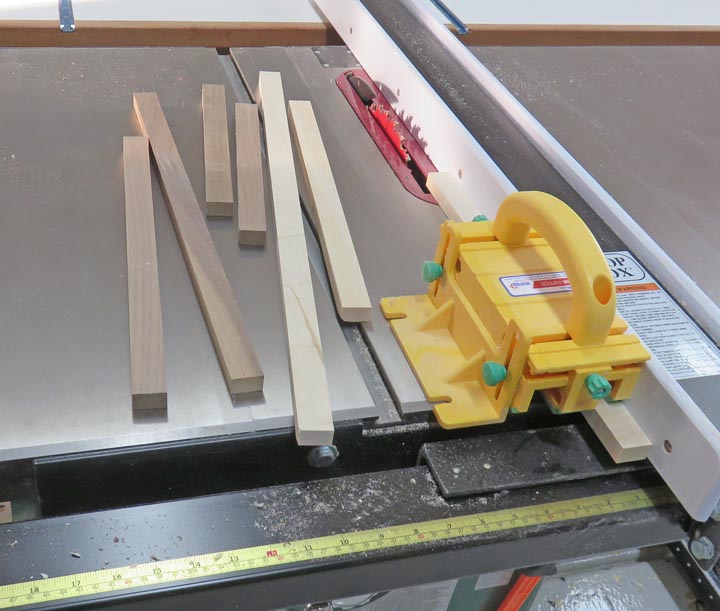
Next was the width so I used my table saw for that. And
you might have noticed what my daughter and son-in-law gave me for
Christmas, a nice addition to help keep me safe while using my table saw.
It's called the
GRR-RIPPER. It pretty
much takes the place of a push stick because of how it's constructed.
And after using it for a few minutes, it works really good. As you can
see it's adjustable (green knobs) and after learning how to use it, I
won't be using my push stick as much now.
|
|
 |
|
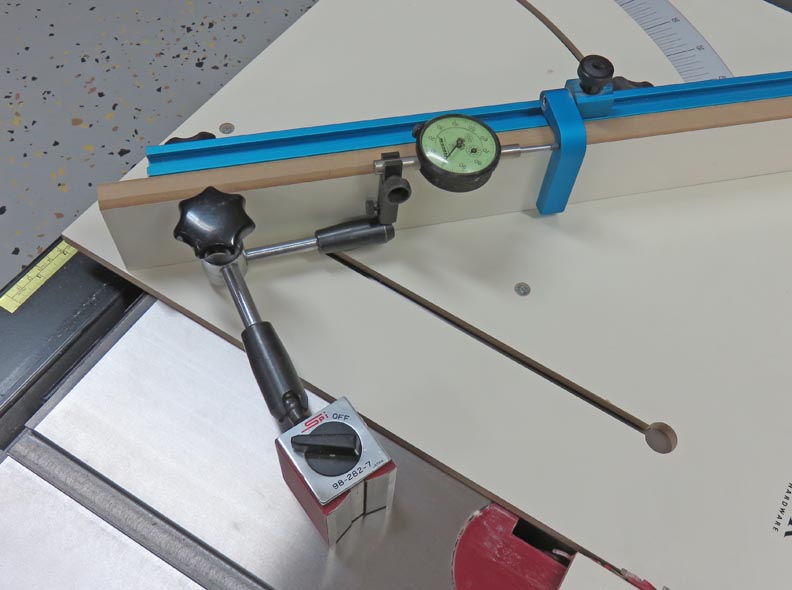
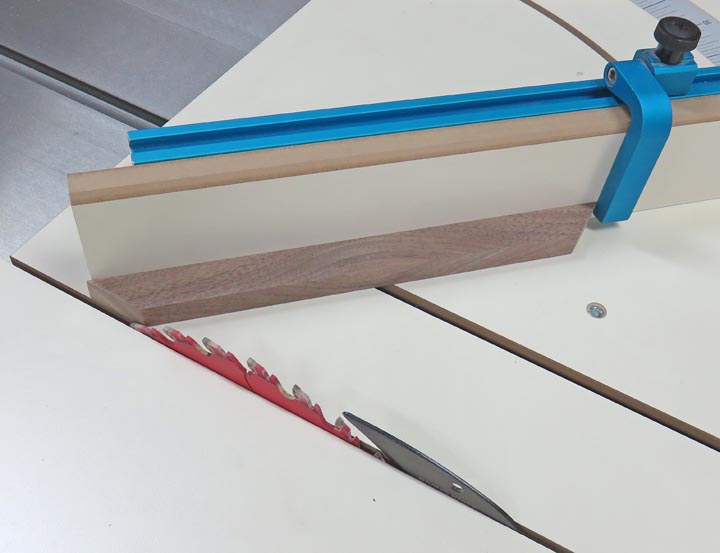
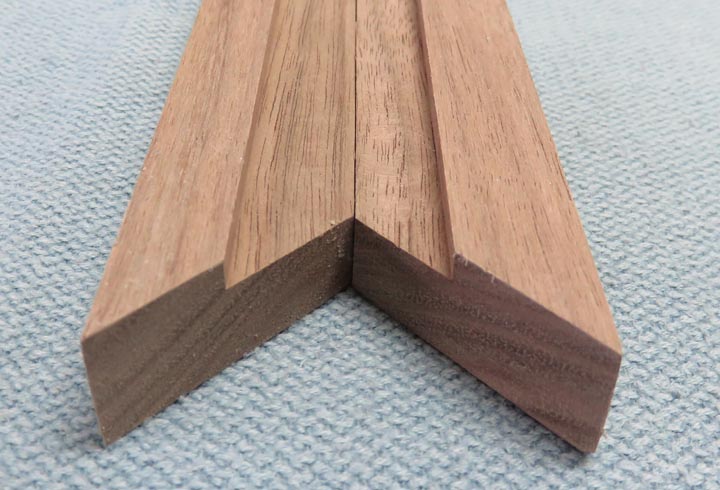
I'm getting ready to cut my 45 degree angles so I'm
using my cross-cut sled on my table saw. I wanted the length to be as close
as I could so I'm adjusting my work-stop a small amount using my dial
indicator. This way I can move the work-stop an exact amount and know
how much it moved. Overkill you say? Maybe. But doing it this way I don't have to
guess, I know it moved the amount I needed.
|
|
 |
|
Here I've just cut a piece to the length I needed. This
cross-cut sled works pretty good.
|
|
 |
|
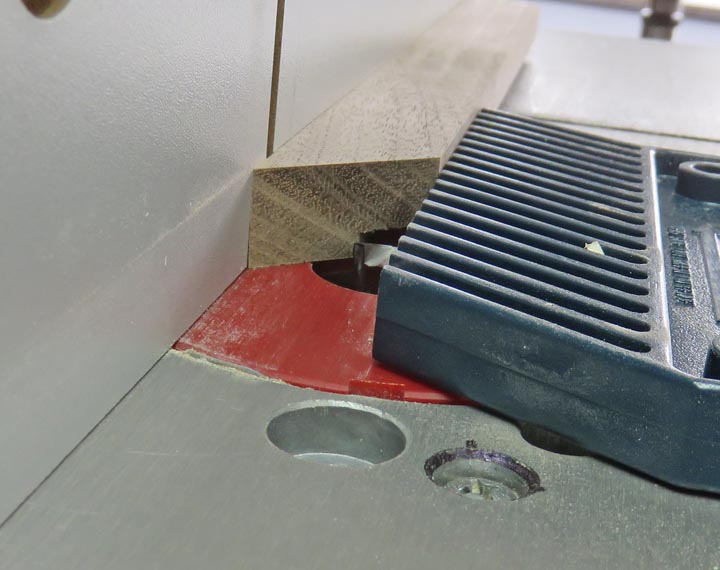
Next I needed a groove in the bottom for the picture,
matting, etc. I
could have done this one of two ways: table saw or router. I decide to
use my router table and it worked great. And as you can see I'm using a
feather board to help hold and guide my work piece.
|
|
 |
|
A feather board makes cutting something like this much safer
and everything went well. I cut my work pieces in two steps because my
slot or rabbit was wider than my 1/2" cutter.
|
|
 |
|
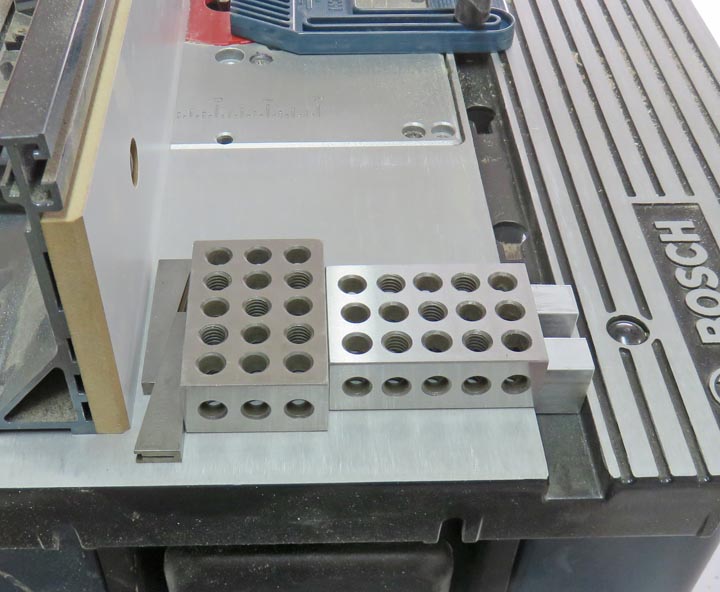
To help me end up with the right size slot (rabbit), I'm using
a few tools from the metal working world. Some 3/4" blocks in the miter
slot to act like a stop and then some 1 X 2 X 3 blocks against them. To make sure I had the right dimension I used an adjustable parallel
(of a predetermined size) that was against the router tables fence.
|
|
 |
|
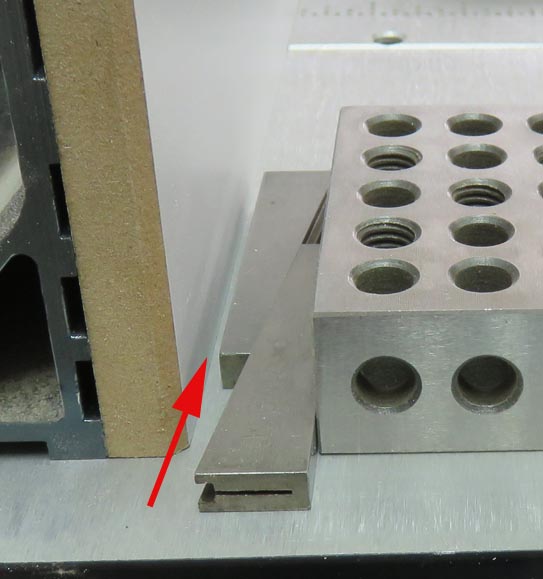
The gap between the fence and adjustable parallel is how
far I needed to move the fence for my second cut. Once the fence was against
my parallel, I moved the it and the blocks to the other side and repeated the process,
making sure both sides had a snug fit before tightening the fence down.
This would insure the router fence was parallel to the miter slot.
|
|
 |
|
The slot on the right is my first cut. After moving the
fence over a small amount, I have the correct size on the left. This
worked out great and it gave me the size slot I wanted.
|
|
 |
|
1
2
3 |