|
Final Details
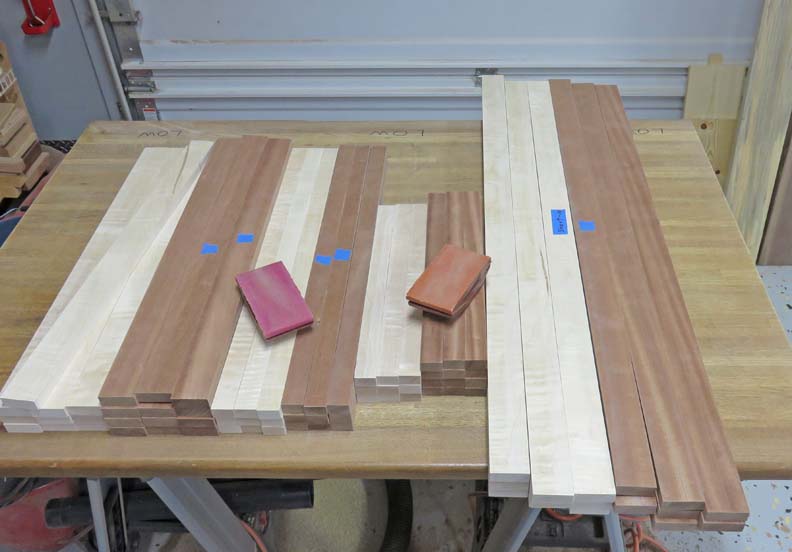
Now that all of the pieces are to size, I'm removing all the sharp edges
with my sanding blocks. I'm also sorting some of the warped pieces (blue
tape) to help me during assembly.
|
|
 |
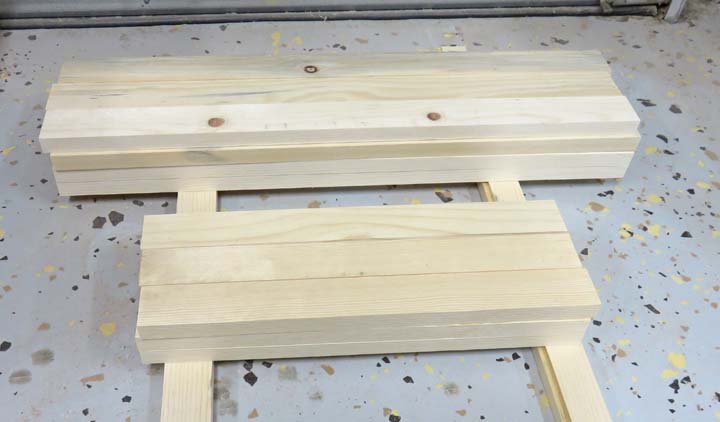
These pine pieces will be used on the back
of the flags to help hold them together. I used the table saw to rip
them to size which are, 1 3/4" for the large ones and the short
ones are 1 1/2" wide.
|
|
 |
|
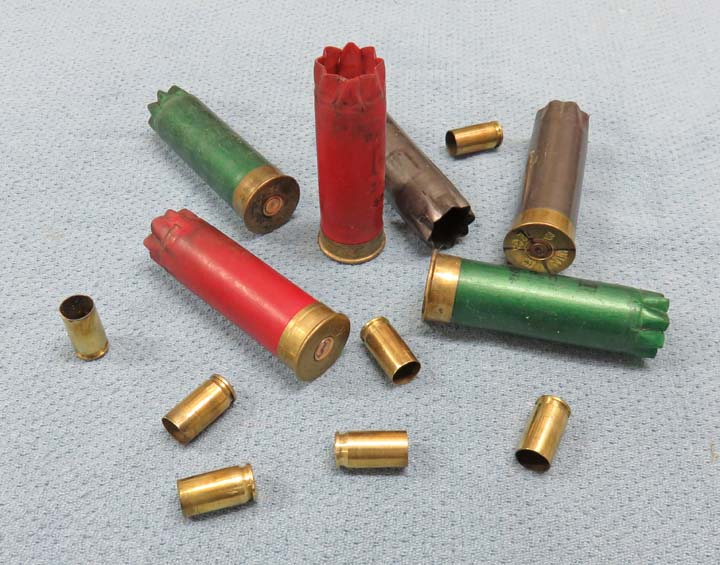
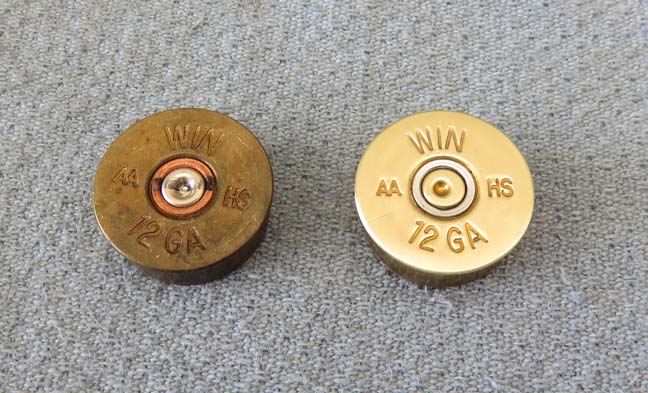
Brass Stars
These shotgun shells and 9mm brass will be used for the stars. I thought
they might look pretty cool on them. However, the shotgun shells will
have to be shortened.
|
|
 |
|
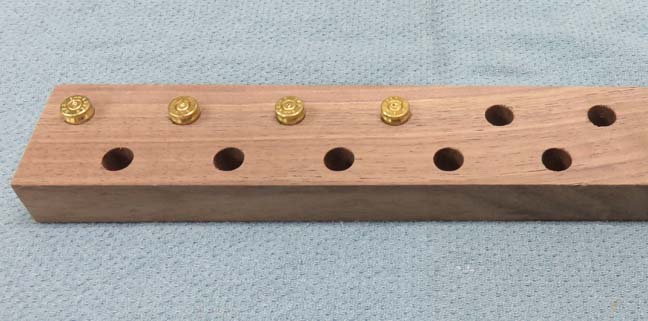
Here I'm doing some testing for the hole size on the
9mm. The black walnut below is a scrap piece but the thickness is the
same as what I'll be using. The brass of a 9mm shell is tapered and
after measuring it, I found a drill that should work for a press fit.
Now I don't plan on machining these shorter, which means they will be
above the surface by the amount that you see below (about .200)
|
|
 |
|
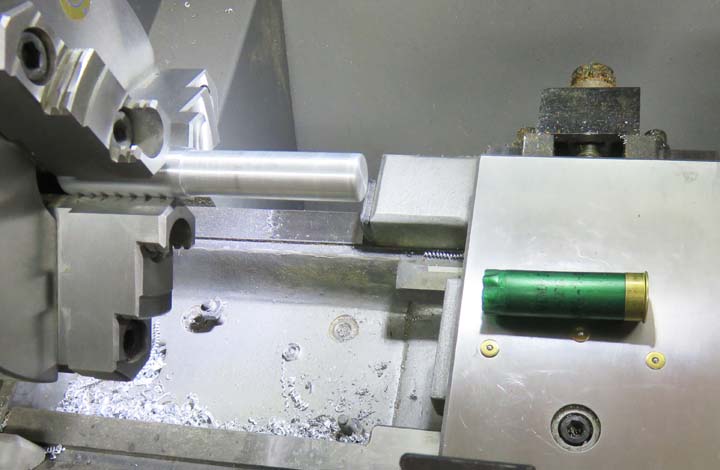
Machining The shotgun shells will have to be shortened so I made
some tooling to do that. I plan on using only the brass, which will mean
the lip on the shell will be the only thing sticking above the wood
surface. To machine the shot shells, l slid them over the aluminum
piece till it bottomed out.
|
|
 |
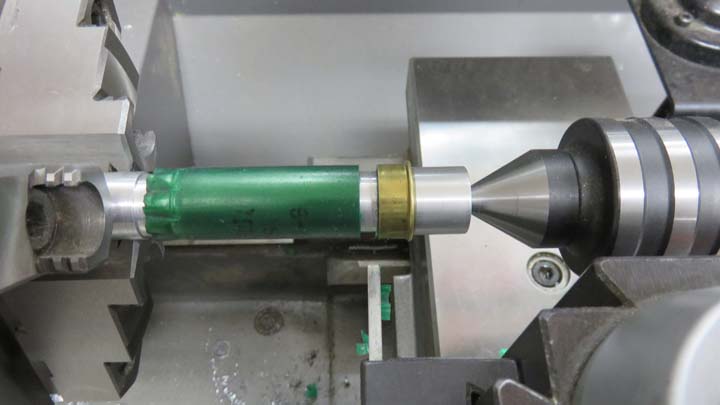
Then with the use of my tailstock and another piece of tooling at the
back to squeeze them together, I'm able
to cut the plastic away using a parting tool.
|
|
 |
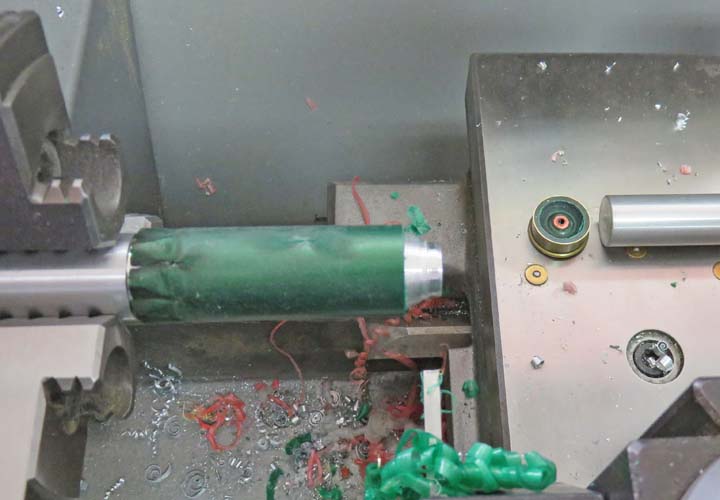
Once I moved the tailstock out of the way, I'm left with two pieces. I
had to do this 150 times because I'm making three flags.
|
|
 |
I used Scotch-Brite to remove the oxidation (tarnish) from each shell.
|
|
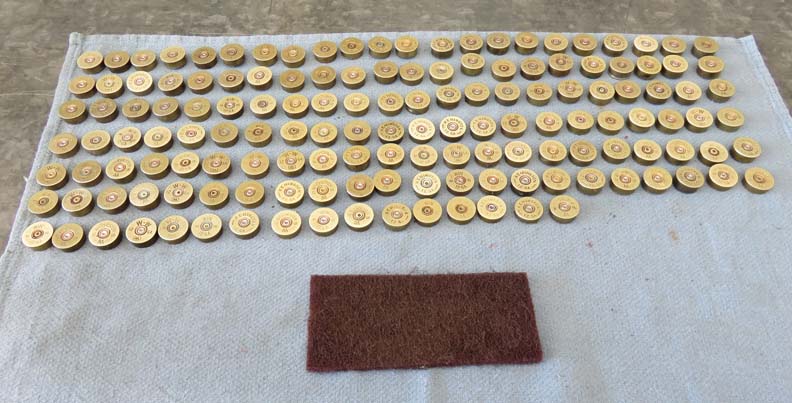 |
What a difference! A big thank you to my buddy Chad for getting me all
these shotgun shells.
|
|
 |
|
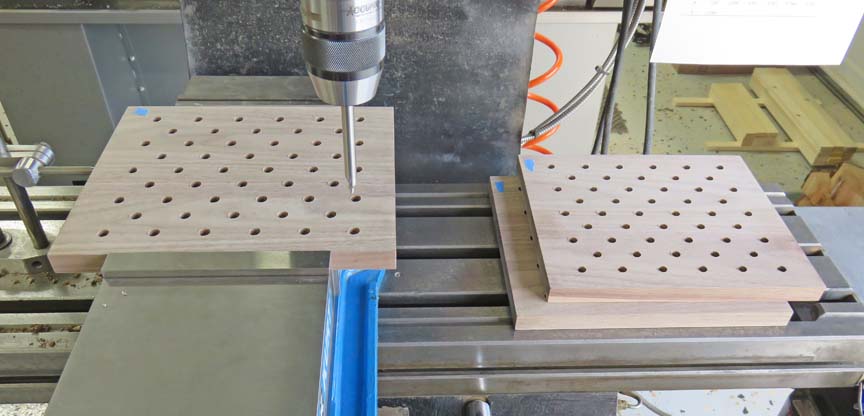
Cantons Continued I'm working on the holes for the smaller ones below.
What I did was place my work piece in my vise against my work stop (left
side), clamp the vise, drill one hole, remove my work piece from the vise, place another one
in the vise and then drill that hole in the same location. I did this procedure for all three pieces
because this way, I only had to deal with one location at a time, which
not only saves time, it's also less prone to errors.
|
|
 |
|
1
2
3
4
5
6
7
8 |