|
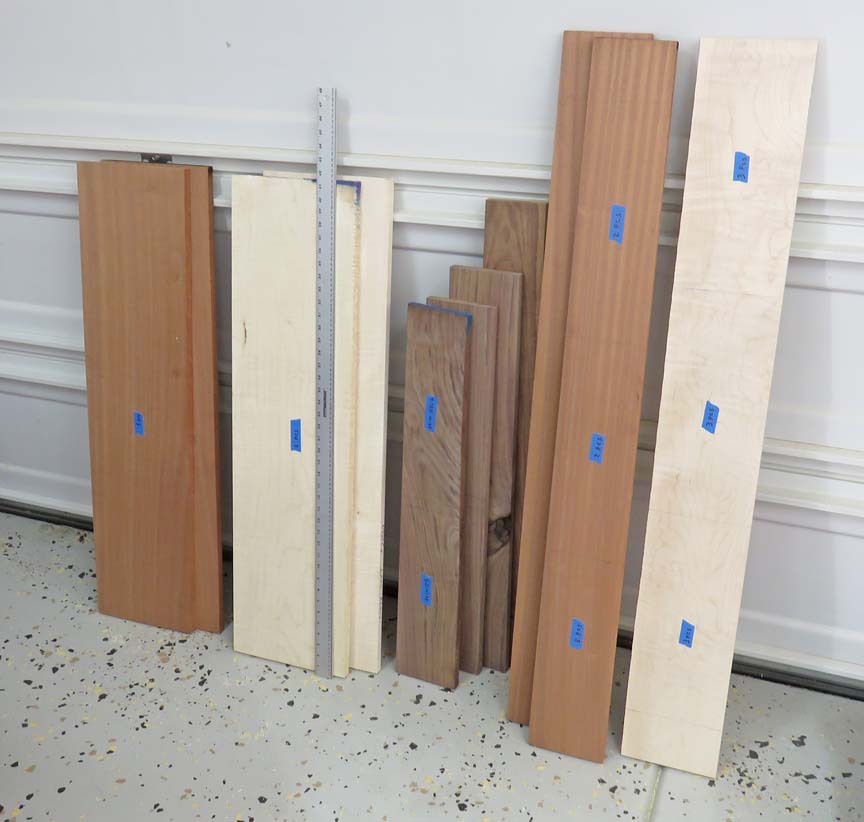
This project will be very patriotic because I'm making
some United States flags made out of wood. Speaking of wood, I'll be
using curly maple, black walnut and sapele. I've never worked with
sapele (red) but it looked better than mahogany when choosing between
them. Anyways, what you don't see in this picture is the other three
pieces that I had to buy because I ran out of all three types of wood. No big deal because
there's a
killer sandwich shop called
D'Elia's Grinders right
around the corner from Reel Lumber in Riverside.
Every project I work on has challenges and this one was
no exception. In fact, I'll be using a tool I have very little
experience with. What I plan on doing is making two different sizes of
flags: one will be 40" long and the other will be 24" long. And there
will be three of each (six total). Once you have the setup, it's not that much extra
work to make more than one.
These will all be presents for different family members:
birthdays or fathers day gifts. Yes I know I'm very early for fathers
day but I figure it's better than being late. And one of these will be
given in September later this year. With that being said, let's jump in and get started.
|
|
 |
|
Let's Make Some Stripes
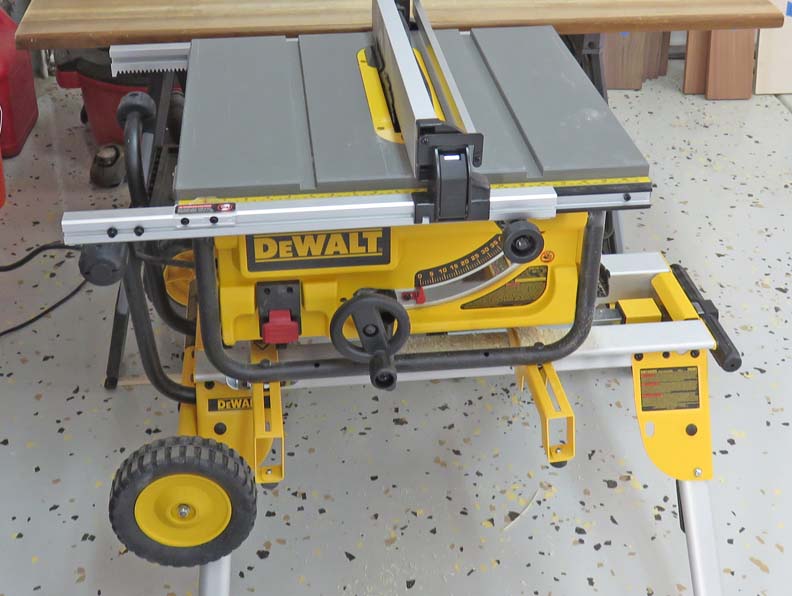
I borrowed this DeWalt table saw from my son-in-law. And one of the
larger ones will be for him on Father's Day. Now this is the
tool I very little experience with, but this should make life much easier because I'm
going to have a bunch of pieces. In fact
I'll be dealing with two different widths of stripes because I'm making
two sizes of flags. More on that later.
|
|
 |
|
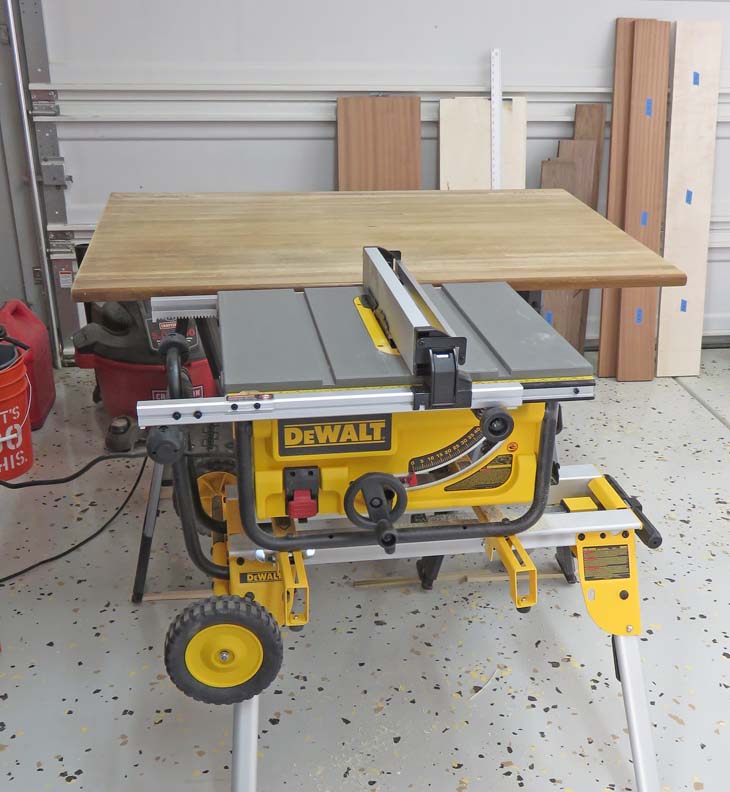
This old desk top has come in really handy and I use
all the time now that I'm finished with my
granddaughter Christmas present.
What I'm using it for this time is an 'out feed table' for
the long pieces that I'll be working with. I placed it on my adjustable
saw horses and it's just the right height.
|
|
 |
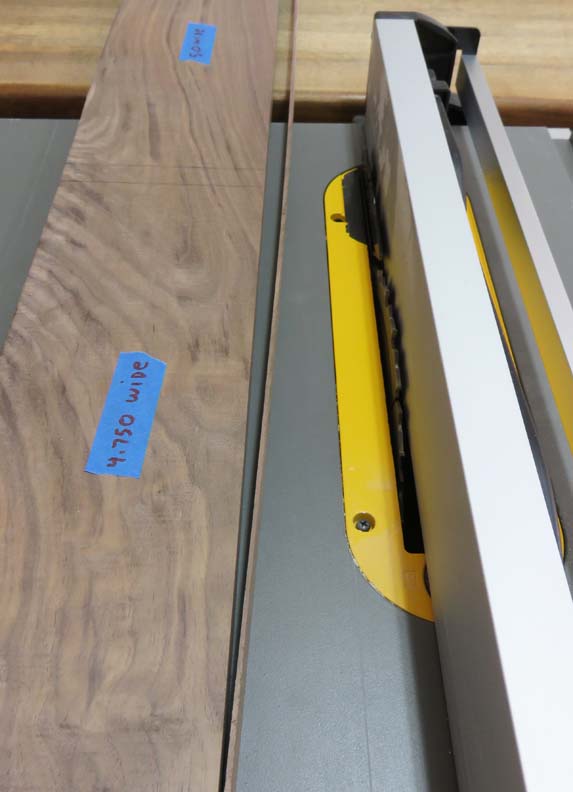
I trimmed a thin piece from this black walnut cleaning up the edge. I
did this for a few of the pieces.
|
|
 |
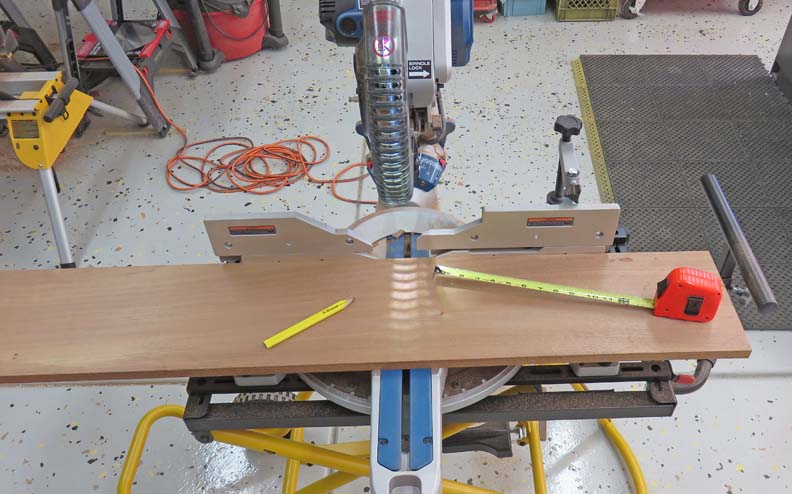
Here I'm cutting my lumber slightly oversize in length with my sliding
compound miter saw.
|
|
 |
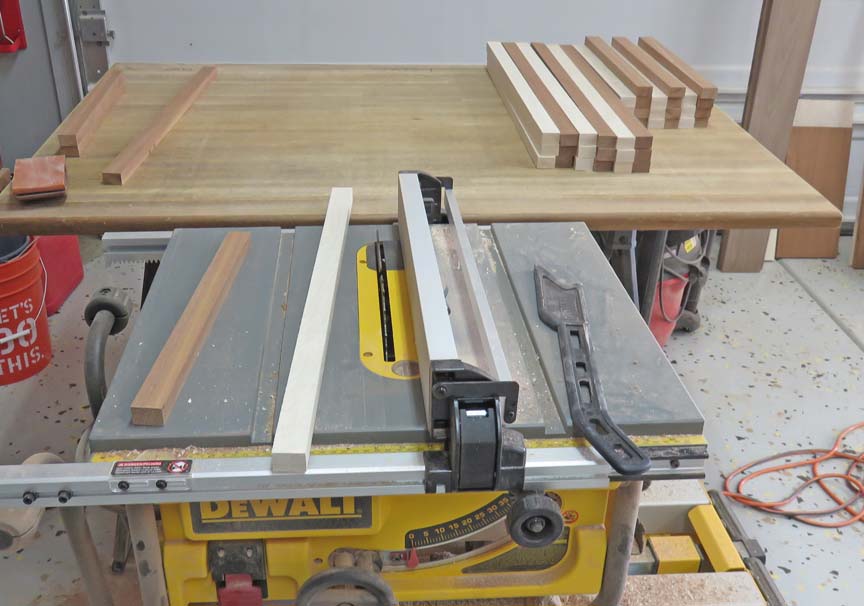
So far the table saw is working great and the large desk top is helping
me stack the boards after cutting.
|
|
 |
|
The Cantons
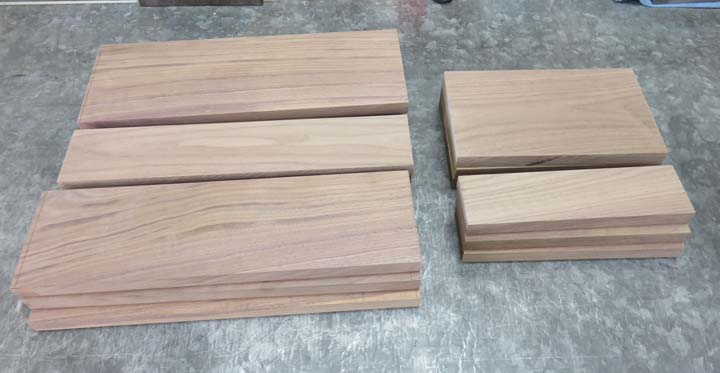
I'll be using the black walnut for the Cantons and I've got all my pieces
that I need below.
|
|
 |
|
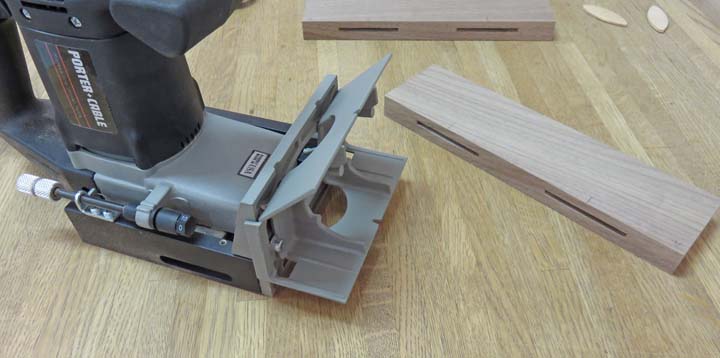
I'm using a biscuit joiner (or plate joiner) for the
black walnut. This Porter Cable tool was given to me by my
father-in-law a few years ago and I forgot that I even had it, till
recently
that is. Now I've never used one of these before so I read the manual that came with it
to get an idea how it works. Turns out they're very easy to use and this
operation goes quickly.
A good eye will notice that I'm using my desk top for
this operation. The reason for this: turns out it's very flat so it
doubles as an assembly table as well. The pieces that you see below are
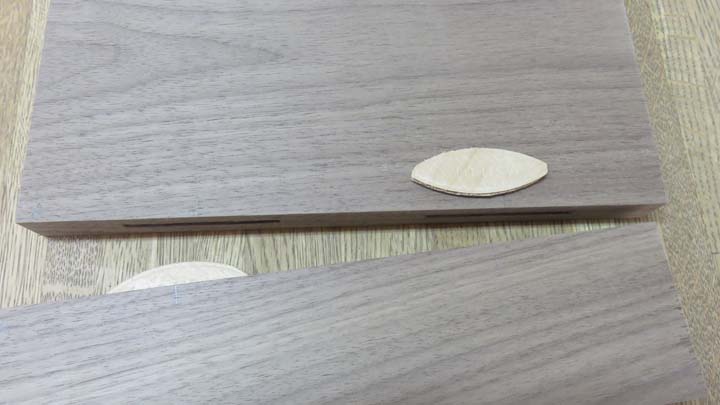
for the smaller flag and are 9 1/2" long. I used two biscuits in each
one here, but I used three on the larger pieces, which are 15" long.
To use this tool, you put a pencil mark at the slot
location and then line up the joiner with your mark. The biscuit joiner has a
small red line at it's center making it easy to line up with your pencil
mark. Then all you do is press firmly against your work piece,
pull the trigger and push the joiner into your work piece. Each slot
only takes about one or two seconds to cut, pull back on the tool and
you're done. Pretty easy, but it makes a mess.
|
|
 |
|
In the Porter Cable box, there were three sizes of
biscuits, #0, #10 and #20 and I'll be using #10s. The larger the number, the larger the size of
biscuit. As you can see the biscuits are shaped like a football and they
help locate your pieces for glue-ups. Once I cut all the slots, I ran my
sanding block over the surface to remove any standing wood pieces and
then blew off everything with compressed air.
The biscuit joiner is adjustable, depending on the size
biscuits being used. You can see the adjustment knob in the picture
above (white dial) which allows you to refine the depth that's needed.
|
|
 |
|
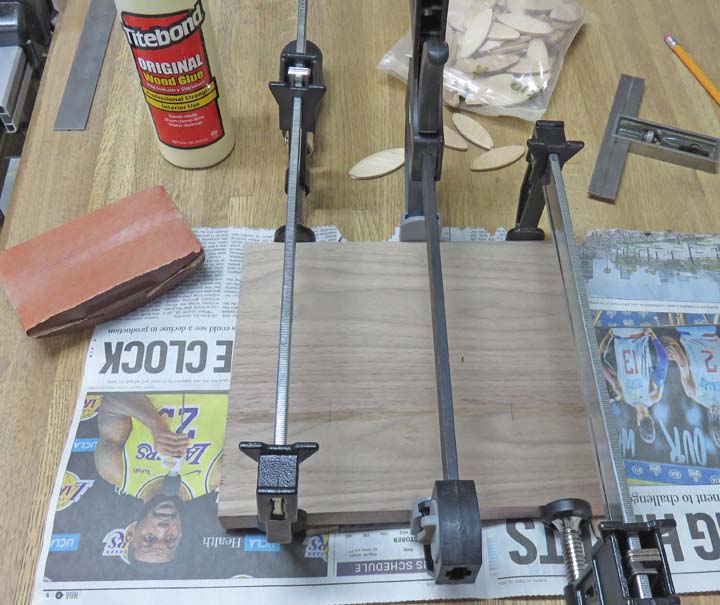
Here I'm gluing the Cantons together, again using that
old desk top. That
biscuit joiner worked out really good because the top surfaces of my
work pieces were
very
close when I pulled the clamps off. No more movement while clamping
things together. Why didn't I use this tool before?
|
|
 |
|
1
2
3
4
5
6
7
8 |