|
Working With Metal Continued
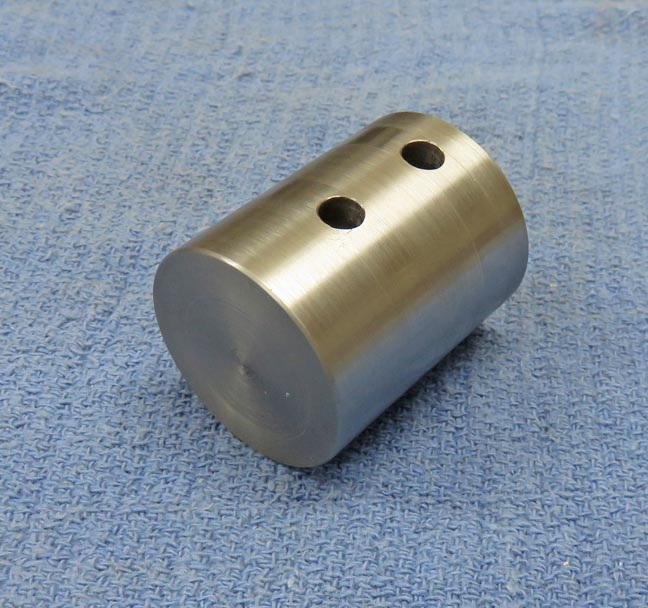
The top of the adapter is where I'll weld the arm to.
|
|
 |
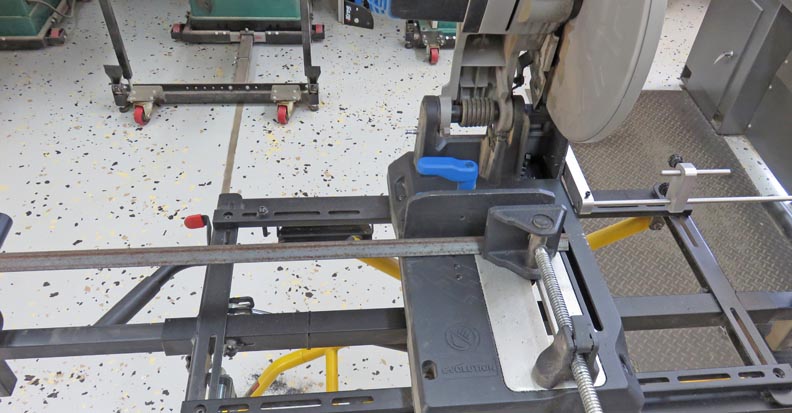
Here I'm cutting the angle iron to three
feet long.
|
|
 |
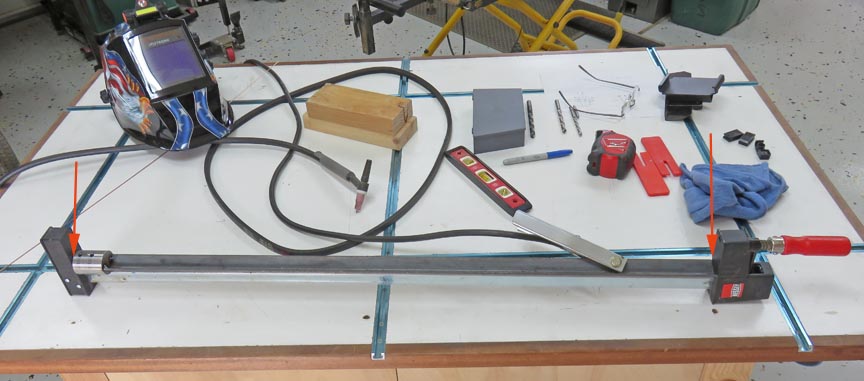
Next I used one of my bar clamps (that I use for woodworking) to hold the adapter against the angle
iron so I could tack weld them together (arrows).
|
|
 |
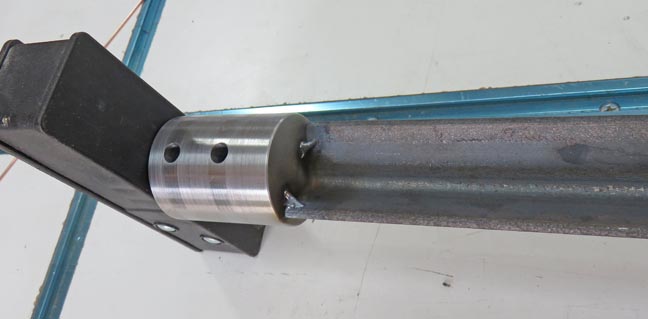
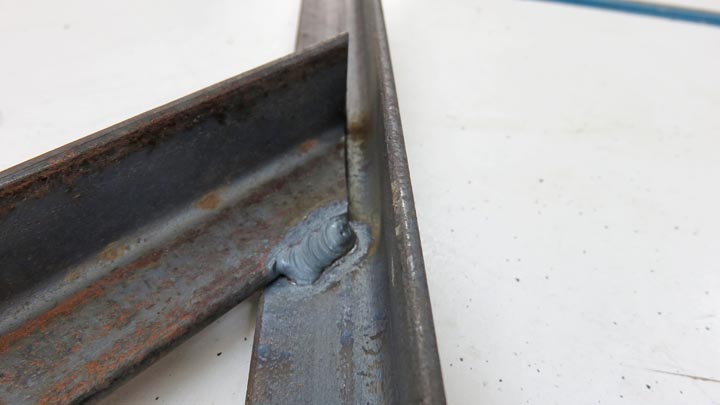
Here is the tack weld. I removed the bar clamp and then fully welded the
arm to the adapter.
|
|
 |
Then I cut a two foot piece and welded it to the longer piece. The
button will be at the end of this two foot piece. And I also added a
diagonal piece for strength.
|
|
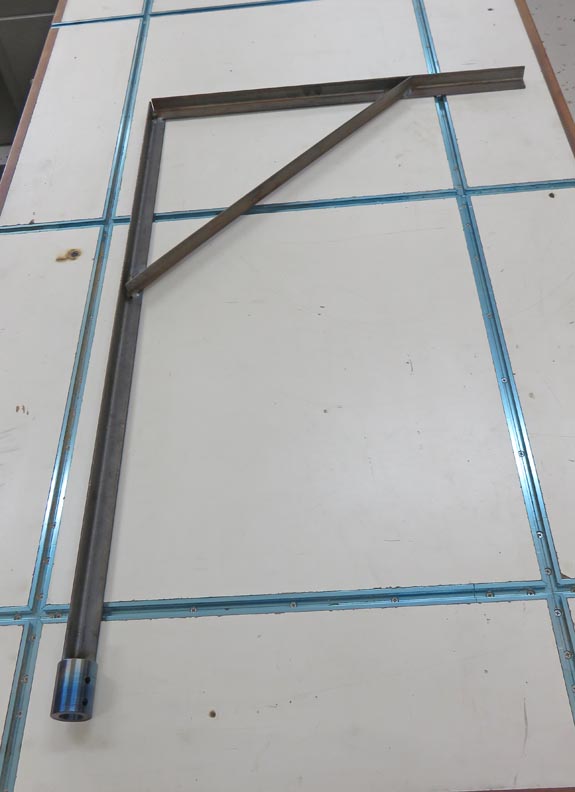 |
I left a small gap between the diagonal piece so wires could pass
through for the button. I did this on both sides.
|
|
 |
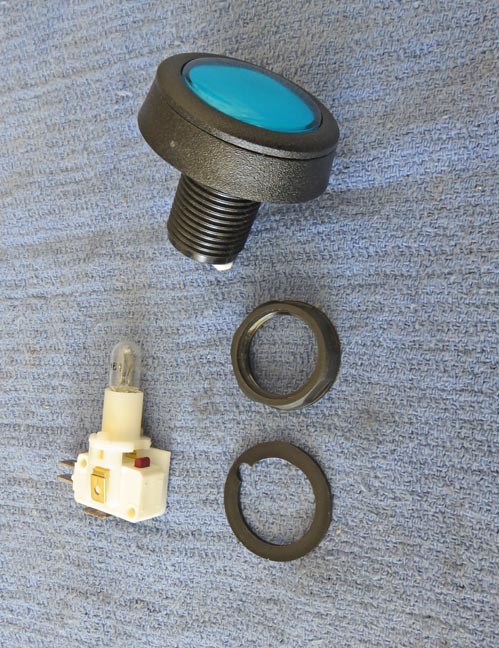
Here is the button that my son-in-law gave me. The button is 2" in
diameter and can light up if you wire it that way.
|
|
 |
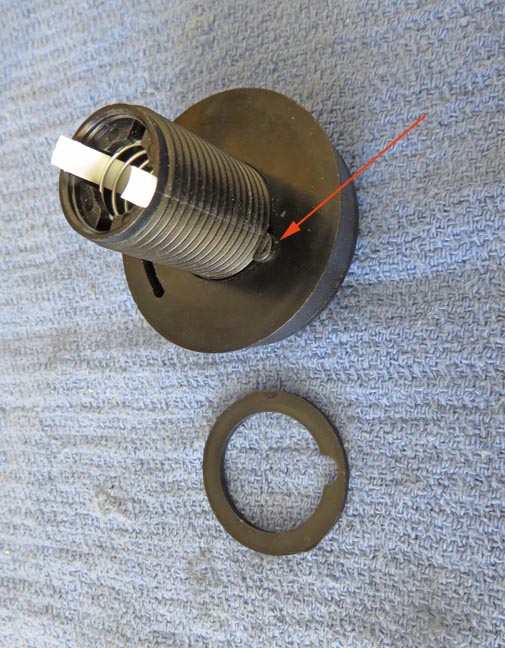
I'm going to make a bracket that will hold this button and then weld it to the arm. Note the arrow pointing to a raised area on the
mounting surface of the button. I'll need to make a cutout to clear this
on my bracket.
|
|
 |
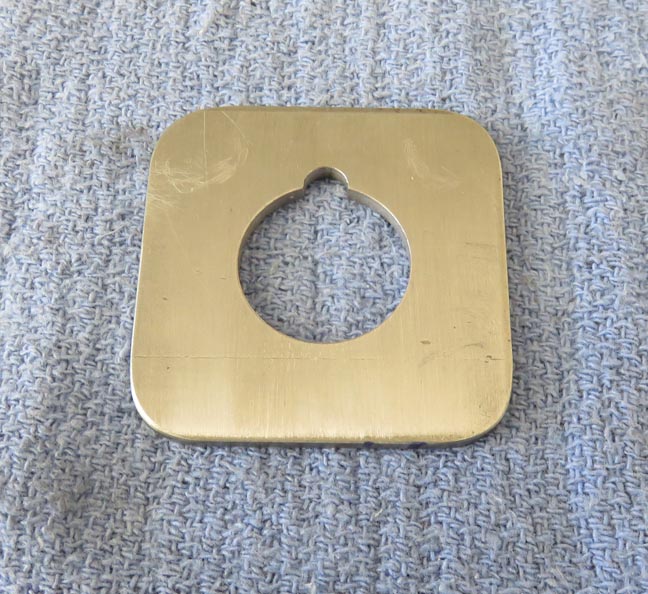
This bracket is about 2" square and will be mostly covered by the
button.
|
|
 |
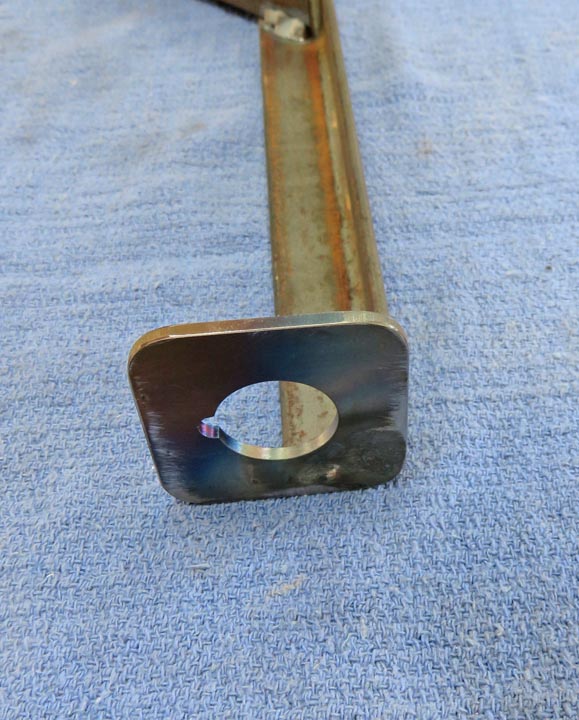
I chose this spot to weld the bracket to because it gives the button the
most clearance for the nut and wires.
|
|
 |
|
1
2
3
4
5 |