|
Working With Wood Continued
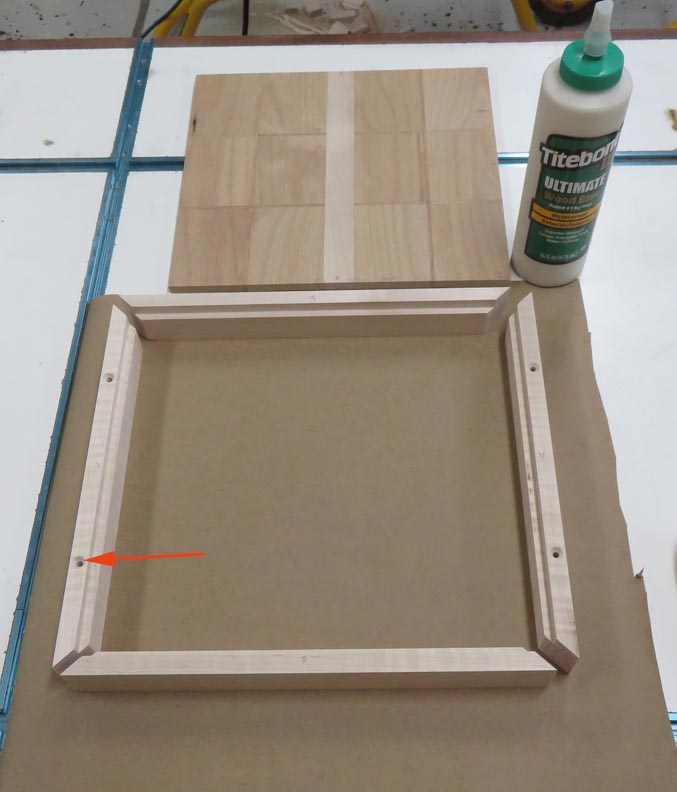
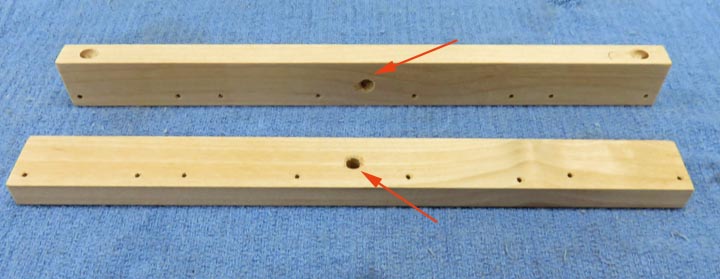
I added four screw holes and countersinks to each molding so it can be fastened down
(arrow). Now it's time to glue the sides to the game board.
|
|
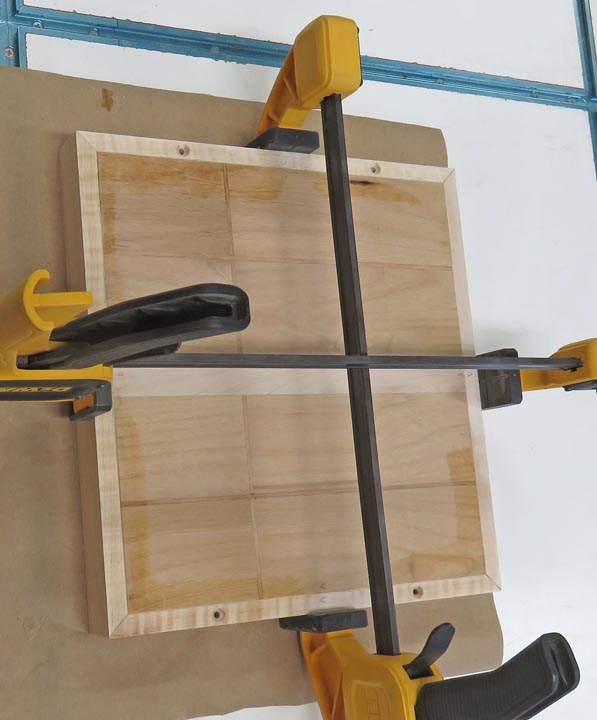
I used two squeeze clamps to keep all my
pieces together. This worked out fine because you don't need that much
clamping force to make sure things stay together.
|
|
|
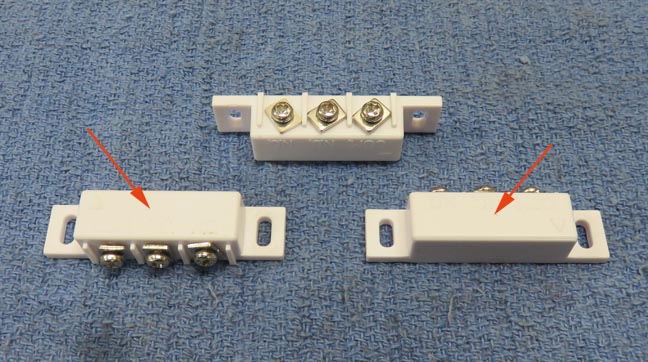
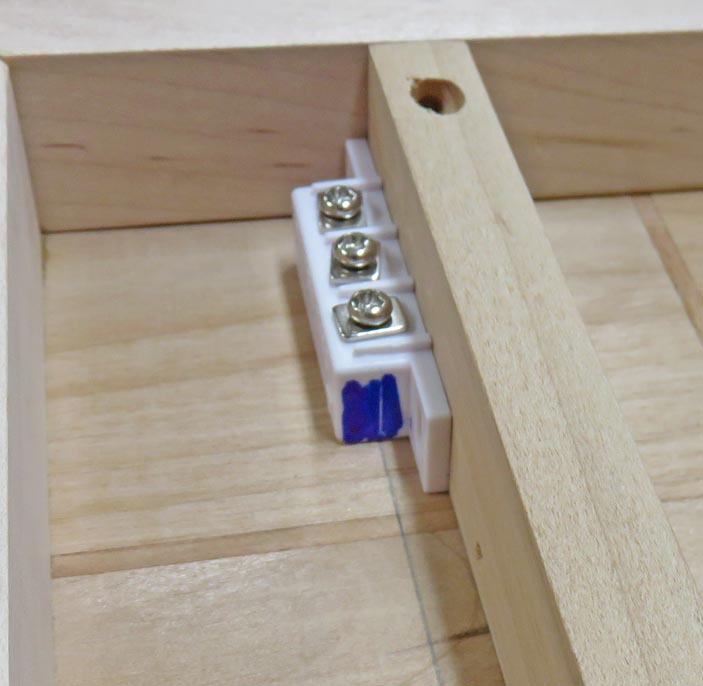
While the game board is drying, it's time to mount
the reed switches. These reed switches have two different ways they can
be wired up, normally open or normally closed. Once a magnet comes close
to them, it moves a contact inside the switch either opening or closing
it. The third screw on the switch is for the common wire.
|
|
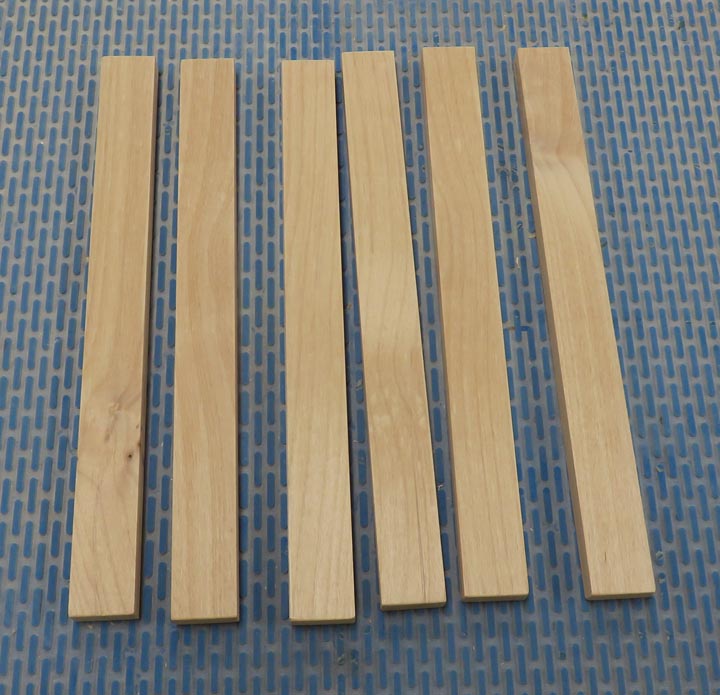
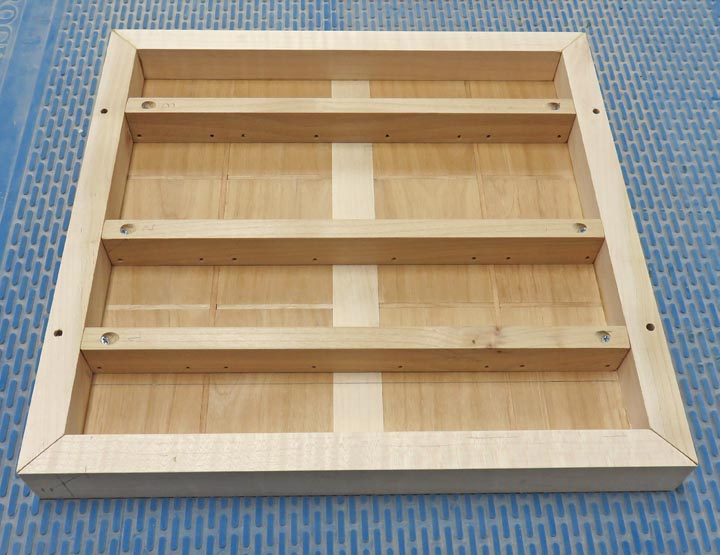
I used some of the leftover alder to mount my reed switches on. I cut
them to fit on the underside of the game board and I'll need three for
each one.
|
|
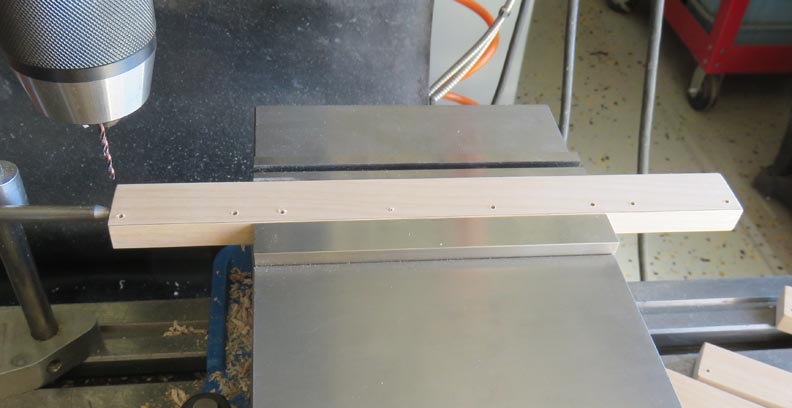
Here I'm drilling pilot holes for the switches. I made provisions to
mount four switches on each piece.
|
|
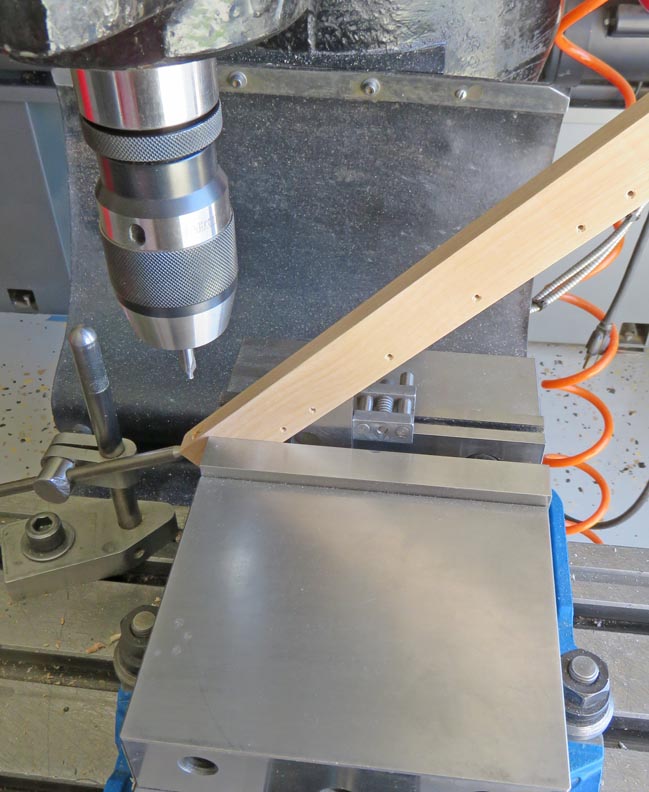
I'm drilling a clearance hole for a #4 screw that will hold these pieces
in place. The angle here is 45 degrees.
|
|
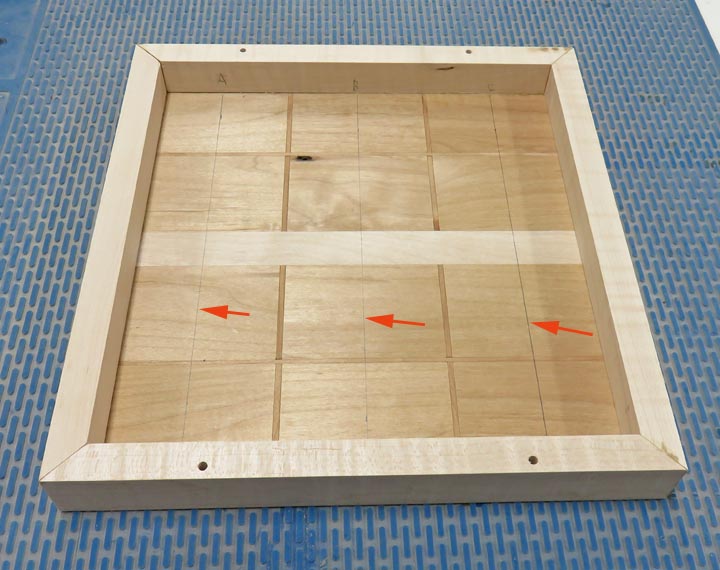
I drew some lines in the center of each rectangle so I can line-up the
switches (arrows).
|
|
Notice the pencil line is near the cross piece. This way the switch will end up
on center once its fastened to the board.
|
|
I placed a center line on the reed switch, lined it up with my pencil
line and then drilled some pilot holes for my 45 degree mounting screws.
|
|
Next I drilled a 3/8" hole in each piece to run wires through.
|
 |
|
1
2
3
4
5
6 |