|
Working With Wood Continued
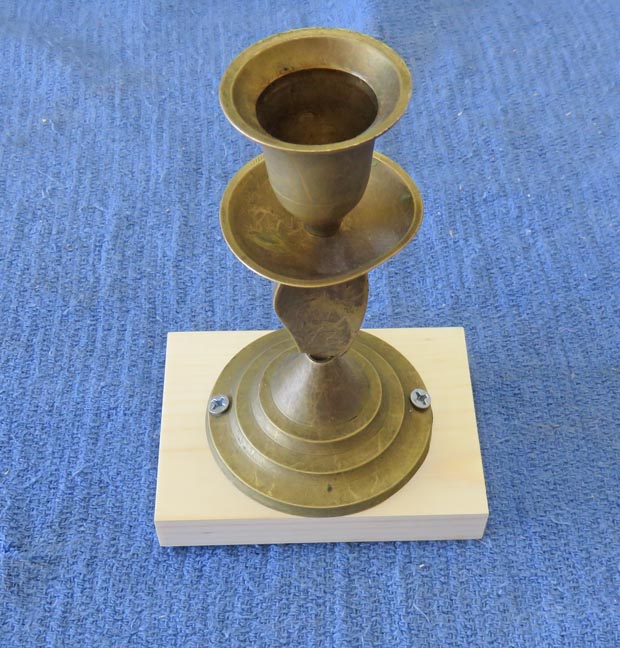
I'm attaching each figurine to the bases. The screws don't have to be
hidden so this made it pretty easy.
|
|
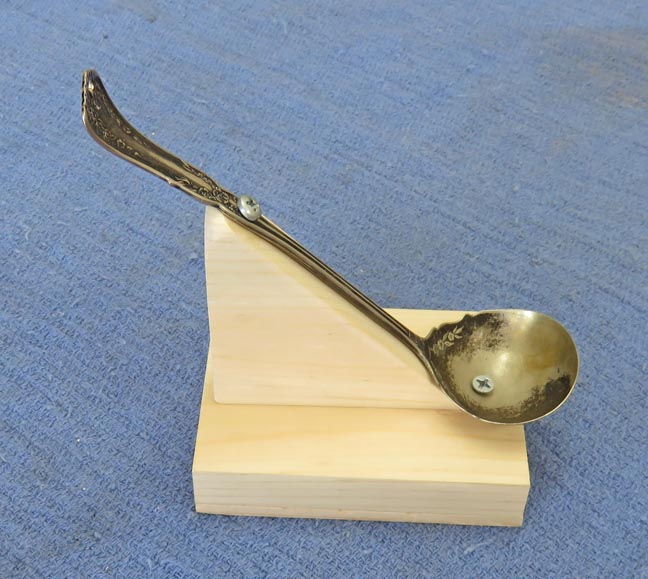
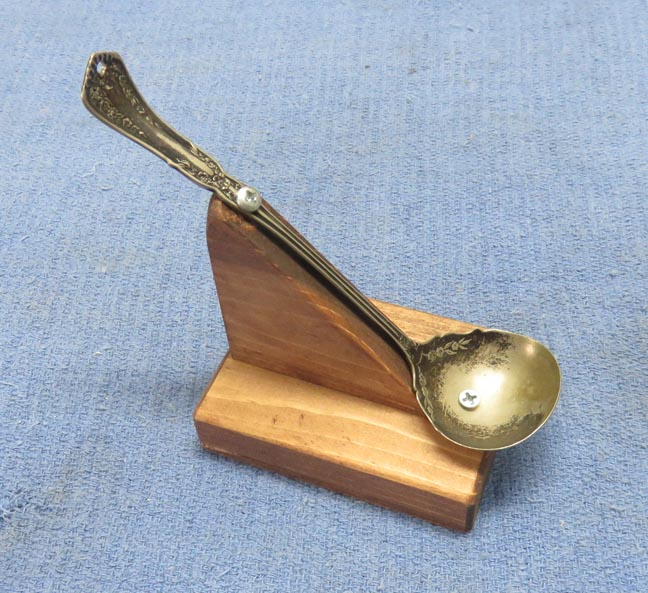
For some of the larger or longer figurines
I added an angled piece to help keep the length down to a minimum.
|
|
|
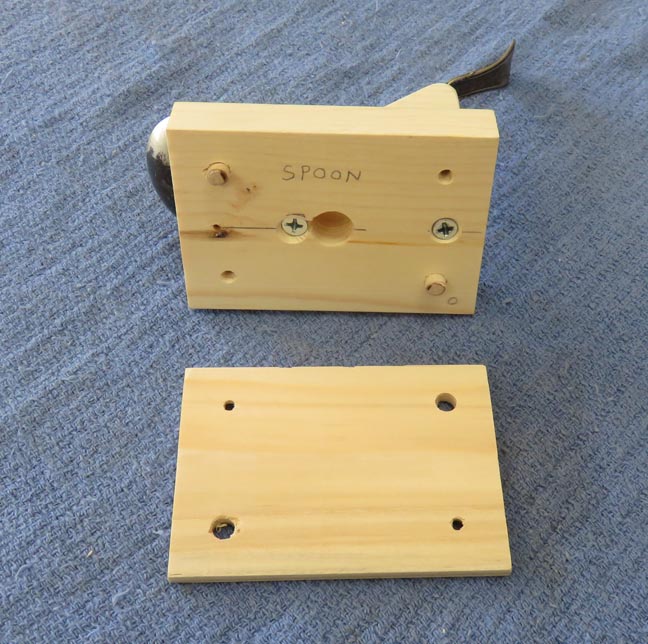
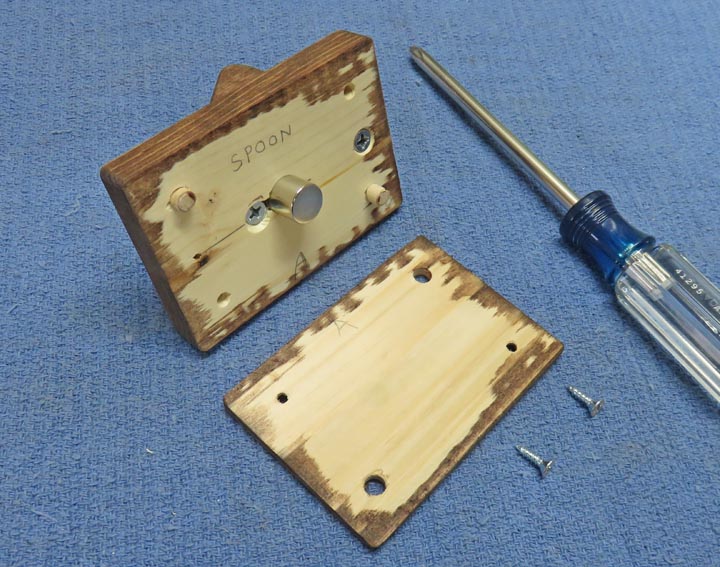
Here is what it looks once the two piece bases are taken
apart. You can also see the 1/2" hole in the center which will have a
magnet of the same diameter X 1/2" long in each one. The two screws that
you see are holding the angled piece on but not all the bases will have
them. Also notice I marked each one so I can keep track of which
figurine goes to which base.
|
|
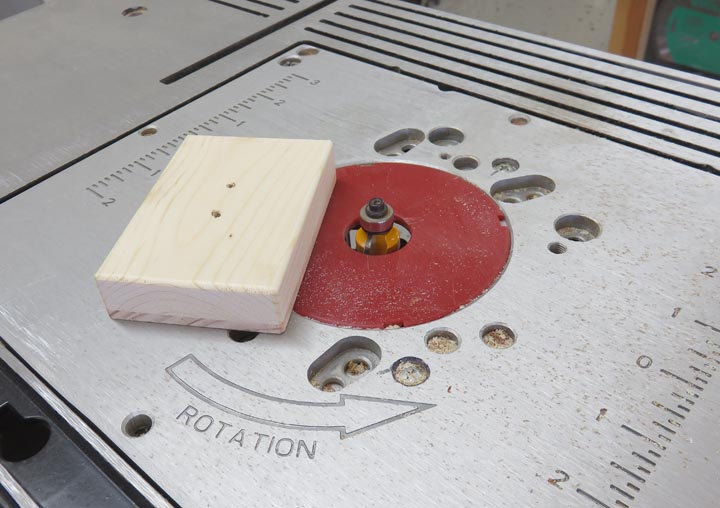
Now that each base has screws and dowels, It's time to skim each one so
they look like one piece.
|
|
I gave each base a 1/8" radius on the top only. This will make it easier
for the players to hold and move around.
|
|
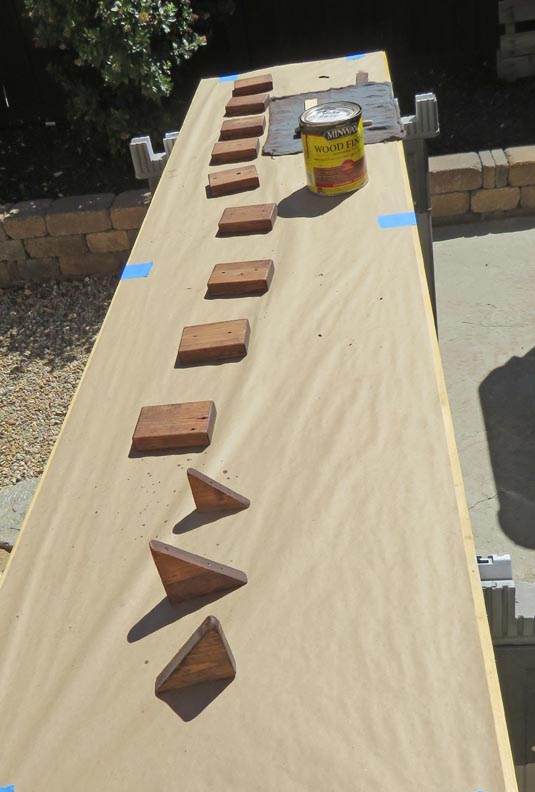
Next I applied some stain to each base.
|
|
|
Working With Magnets
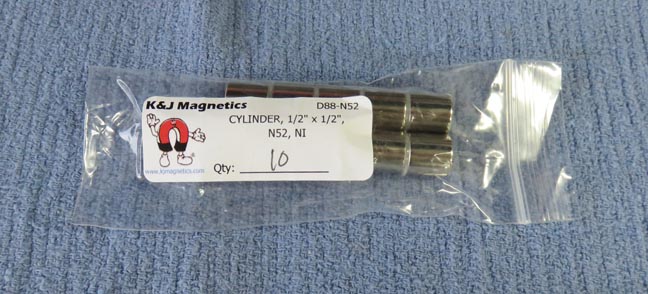
The next day the stain was nice and dry (but still stinky) so I was
ready to install the magnets. These magnets are 1/2" diameter X 1/2"
long and are very strong.
|
|
Here you can see I've placed one magnet in the center of the base. I
made the hole a slip fit so the magnets just slide in.
|
|
Now that it's back together, no one will be the wiser.
|
|
|
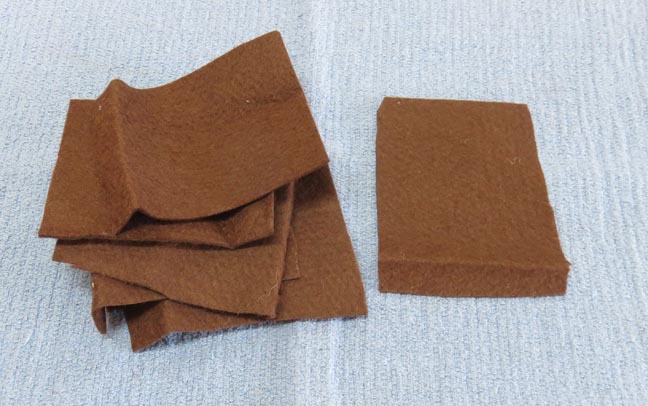
Working With Felt
I'm getting ready to glue some felt to the bottoms of the bases. This
way they will slide and won't scratch anything.
|
 |
|
1
2
3
4
5
6 |