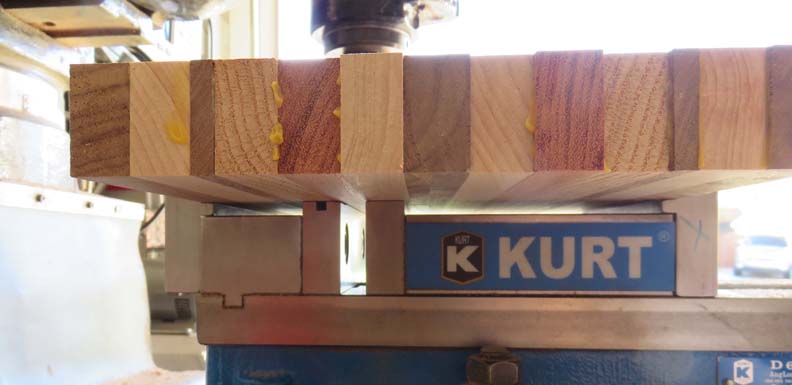
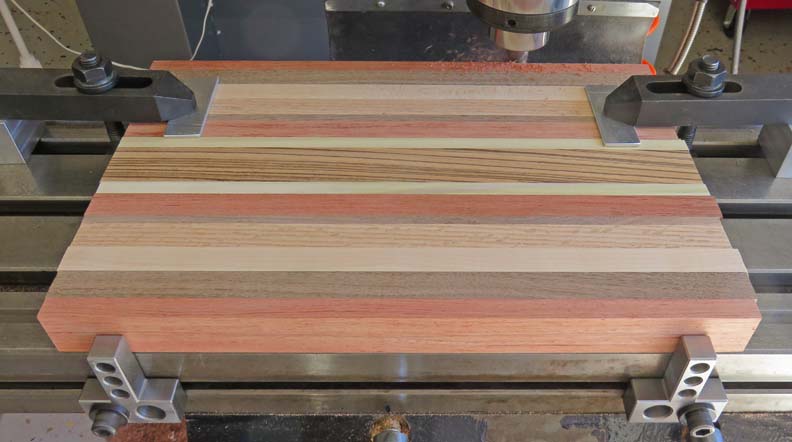
This should give you a better idea of what I was talking about.
Notice the work piece is touching in four places. This helps a great
deal because it gives some much needed support in the middle area, which
helps to reduce chatter from the cutting tool. And with less chatter,
that equals a better finish on your work piece.
|
|
 |
|
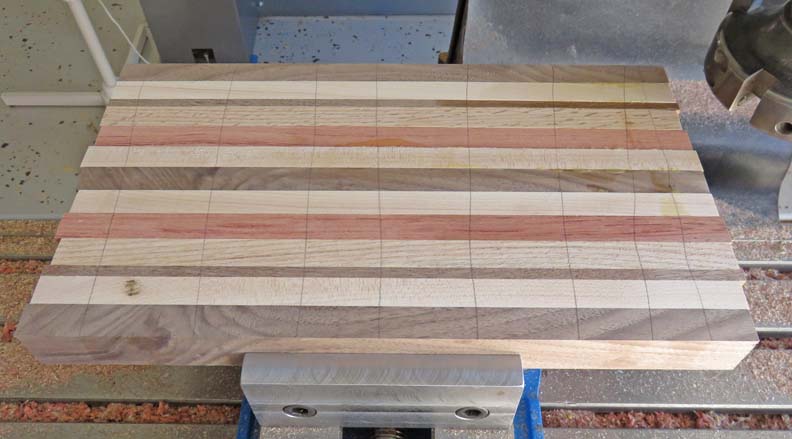
I like to put pencil lines on my larger projects to
make sure every area has been cut. When all the lines are gone, I'm good
to go.
|
|
 |
|
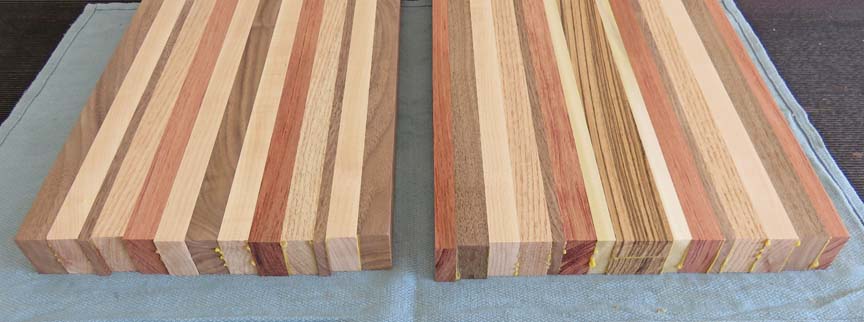
Now it's time to machine all the sides square.
|
|
 |
|
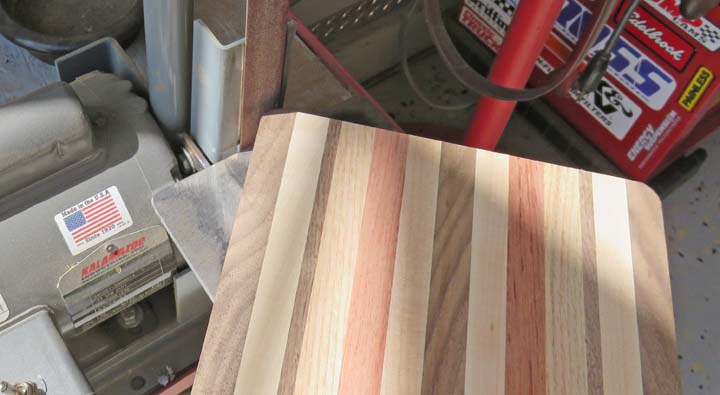
Like I said before I've never made a cutting board
like this before so I hope it looks good when I'm finished.
|
|
 |
|
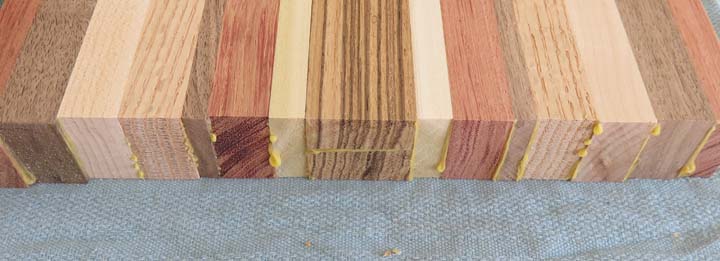
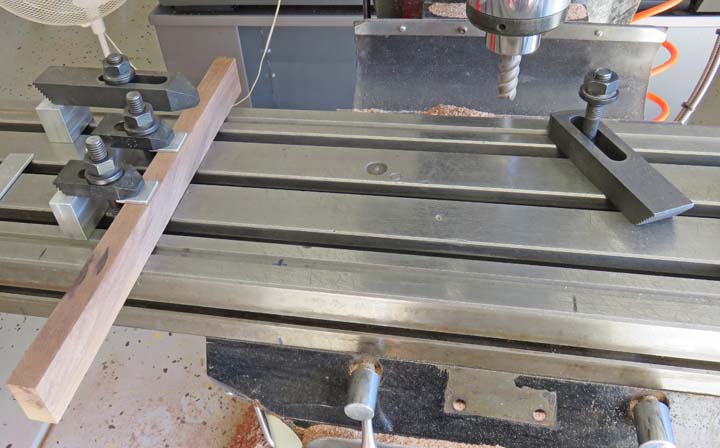
Here I'm machining the long sides first, which was an
easy process. Note that my mill stops are held on the side of the mill
table. This is just one nice feature of my new mill stops.
|
|
 |
To machine the ends square, I clamped a scrap piece of wood to the table
and made sure it was square to the X axis. And this piece will play two
rolls: first, I can bank the long side against this piece and know that
the ends will be square. Second, I'll be using the end of the scrap
piece to run my cutter into when it exits my work piece.
|
|
 |
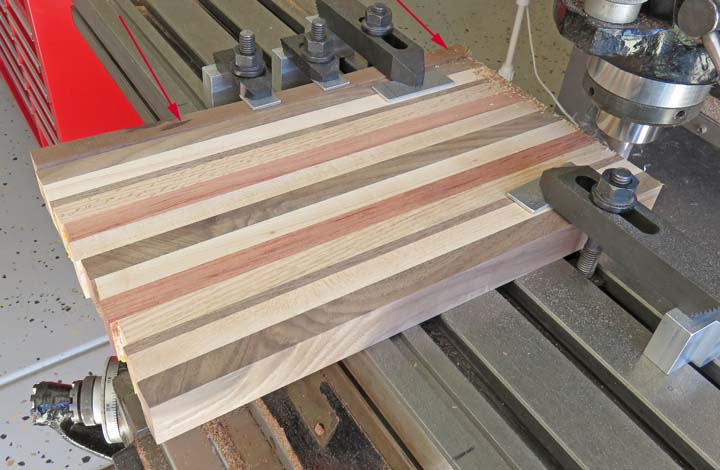
Here you can see how this setup will work. My work piece is against my
scrap piece (arrows). And with the end of the cutting board flush with
my scrap piece, I'm ensured my work piece won't chip at the ends. This
went nice and quick and it came out great.
|
|
 |
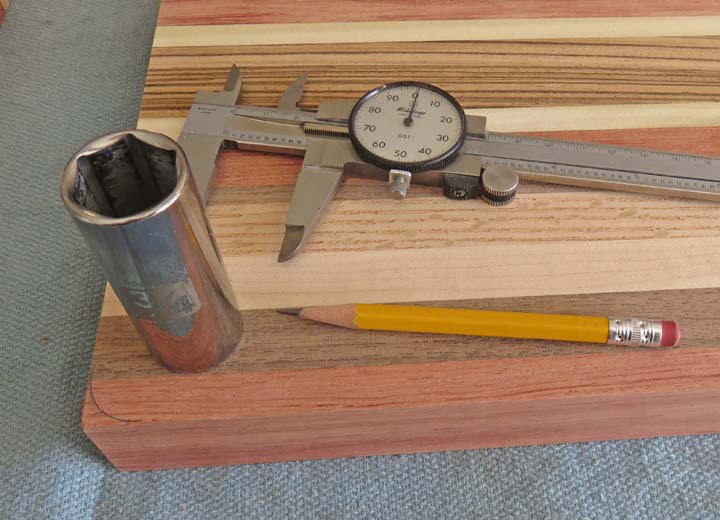
I'm getting ready to put a radius on all the corners here. Now pay
attention because this is a high-tech process. I found a socked that was
one inch in diameter, which will give me a 1/2" radius (radius = half
the diameter). I ran a pencil around the socket to give me a reference
line.
|
|
 |
Once I had my line, I used my belt sander to sand to the line. Now this
is a very fast process when you use a 120 grit belt. I got close to the
line and then switch to a 220 grit belt to sand right to the line. To
finish with, I used my small sanding block with some 220 grit paper. I
also sanded the top and bottom edge all the way around, breaking the
corners a small amount.
|
|
 |
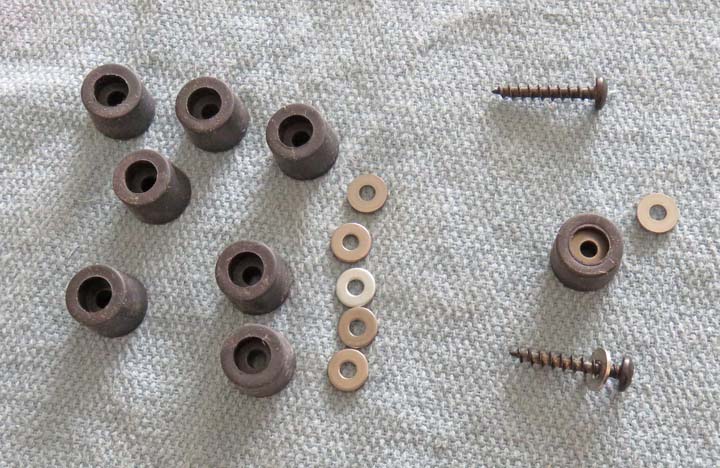
I'll be adding some small feet to them so it's easier to pickup them up.
I've used these before and they work great. I also added some # 6 flat
washers to each one to distribute out the load of the screws.
|
|
 |
|
1
2
3 |