|
I always wonder what to buy people for Christmas presents, just like most of you
reading this. And after talking to my son Tony, he suggested making a
cutting board for his new bride, Angie. Well that sounded good to me
because I've made a few of these in the past. After going over a few
details with him, the size of the cutting board will be 15" X 9" X 1
1/4".
I didn't have all the material that I needed so my wife and I took a
trip to
Reel Lumber in Riverside,
CA. While we were their picking out different species of wood, I asked
her if she wanted one too. She said 'yes', so I had her pick out some
wood for her cutting board. This works out good because it's just as
easy to make two of something as it is to make one (the setup is already
done).
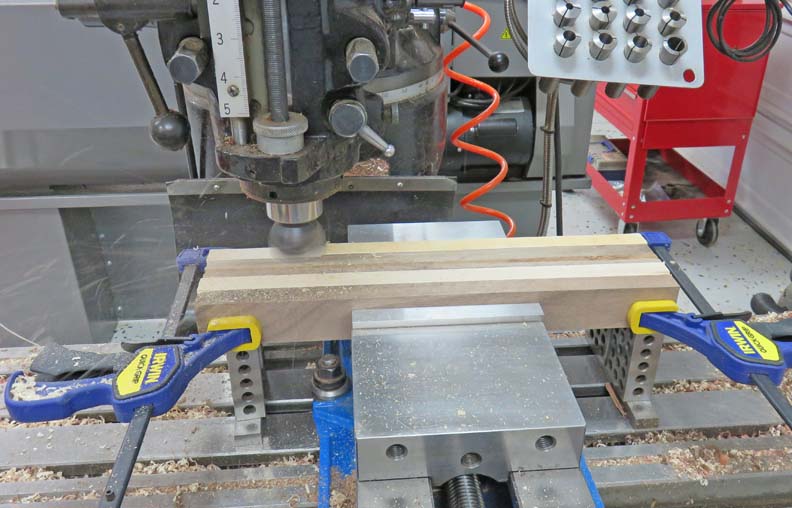
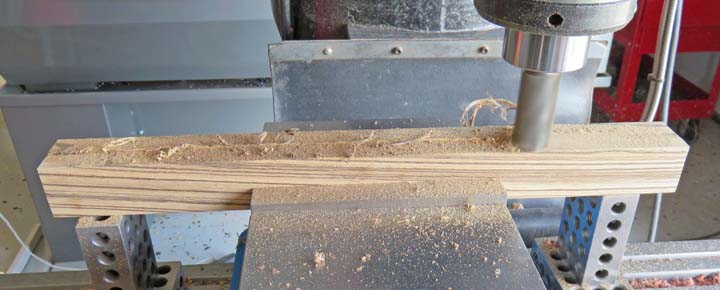
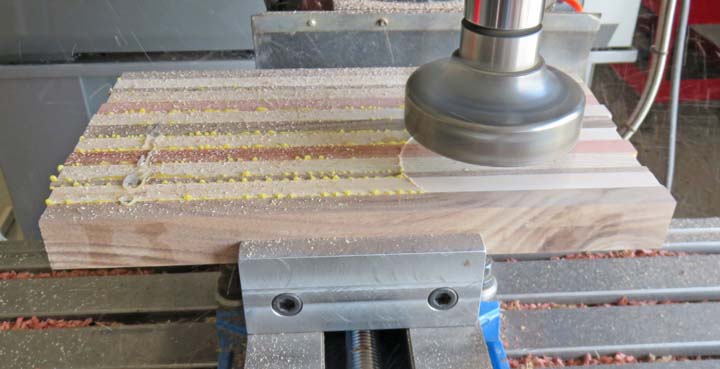
My vise jaws are six inches wide, which means some of the material
will overhang. By stacking the boards together, this helps stiffen them
all up. And by using some clamps at the ends makes the setup much more
solid. What I'm doing is cutting the areas that glue will be applied to
in this setup. I'm in the middle of a cut and if you look close you can
see some wood chips flying to the left.
|
|
 |
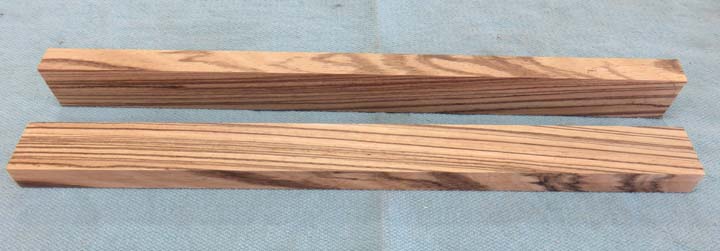
| My wife saw some zebra wood and thought that would look
nice in her cutting board. And after looking at it, I suggested that we
put it in the middle. Now I've worked with zebra wood before and it
looks great. However, this wood is only 3/4" thick, (like most of the
wood I buy) but if I were to glue two pieces together I could stack the
two and make the width anything I wanted.
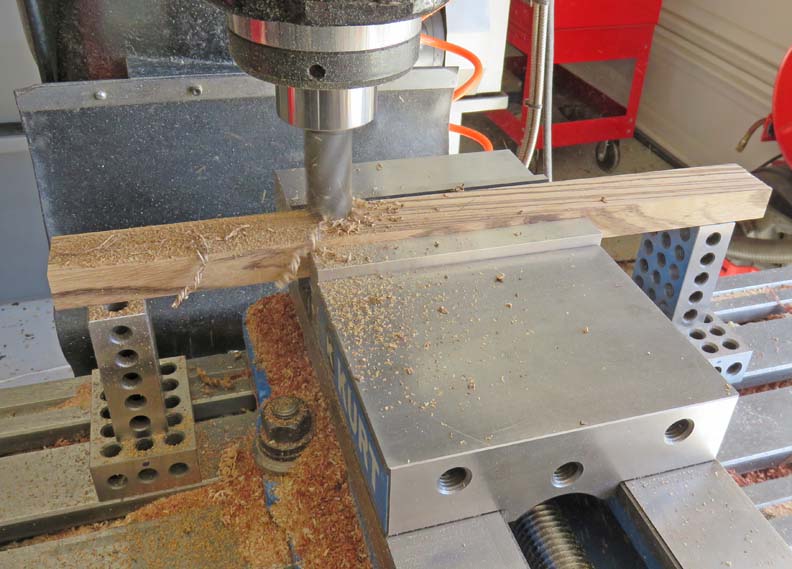
Here I'm cleaning up all the surfaces of the zebra wood so I can glue
them together to make a wider piece that will go in the center.
|
|
 |
|
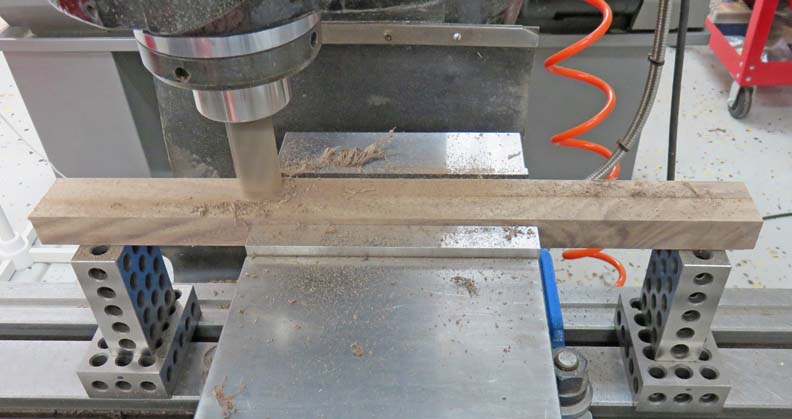
Here I'm machining some black walnut, which is one of
my all time favorite spices of wood.
|
|
 |
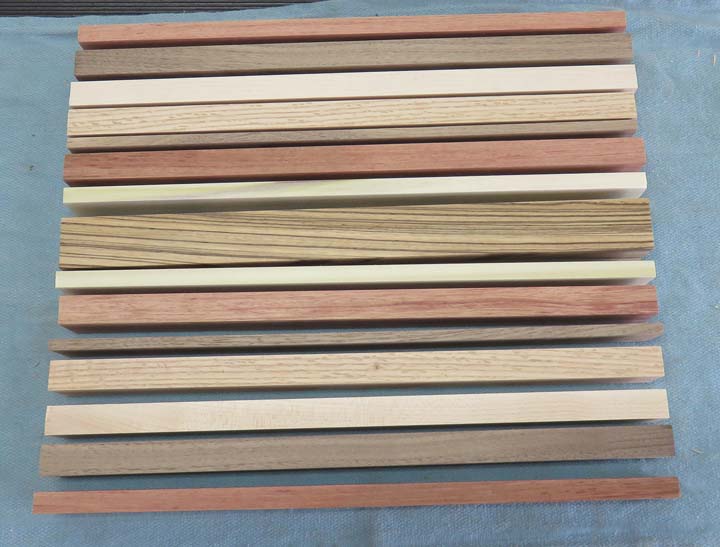
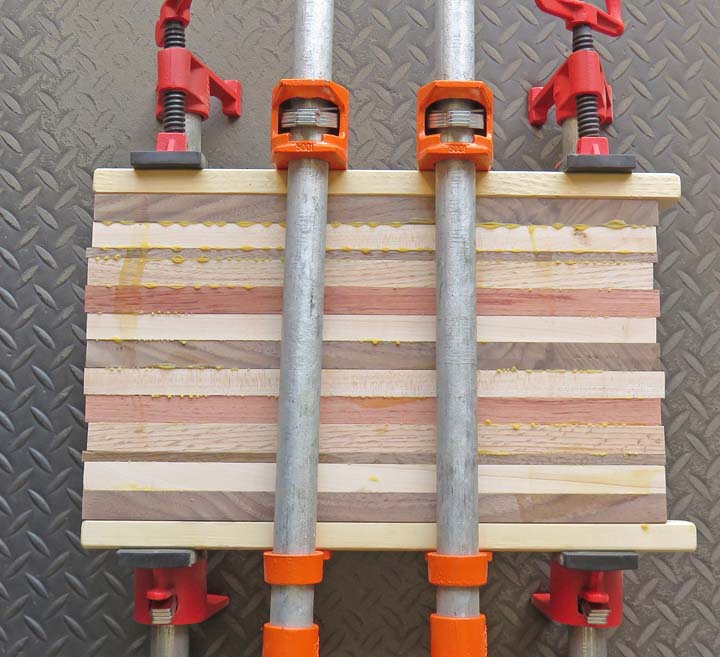
This should give you an idea of what my wife's cutting board will look
like. I machined the thickness down on some of of them, just because you
can. Starting at the outside is bubinga (1/2"), black walnut, hard
maple, oak, black walnut (1/4"), bubinga, poplar (3/8") and in the
middle is zebra (1 1/4").
|
|
 |
|
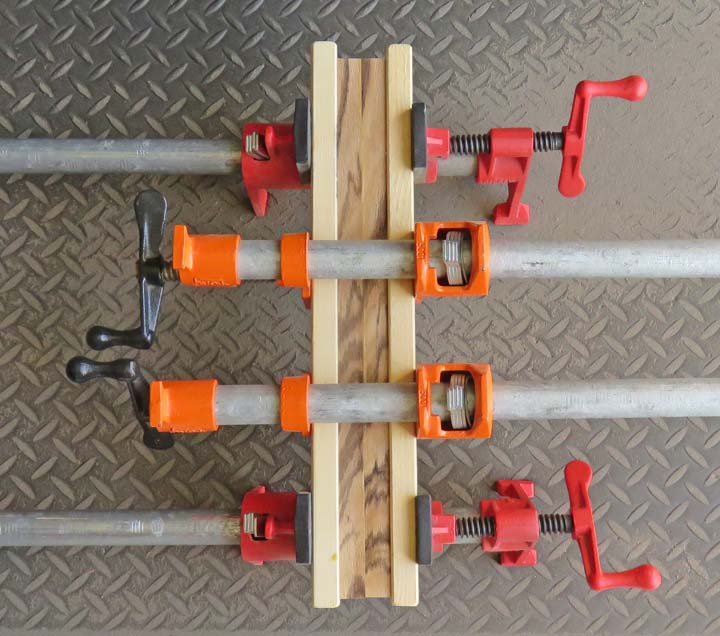
I'll be gluing these together to produce my wider
center piece. Now this is the first time I've ever done this so I hope
it looks good when I'm done.
|
|
 |
|
After gluing I let it set overnight. Note: the two
outside pieces are not part of the cutting board, I used these for
clamping only.
|
|
 |
|
The next day I machined the zebra wood square. This
went quick and now it's ready to be placed in the middle.
|
|
 |
This is Angie's cutting board and it's coming along very well. Starting
from the outside we have black walnut, hard maple, black walnut (1/4"),
quarter sawn oak, bubinga, hard maple and black walnut in the center.
|
|
 |
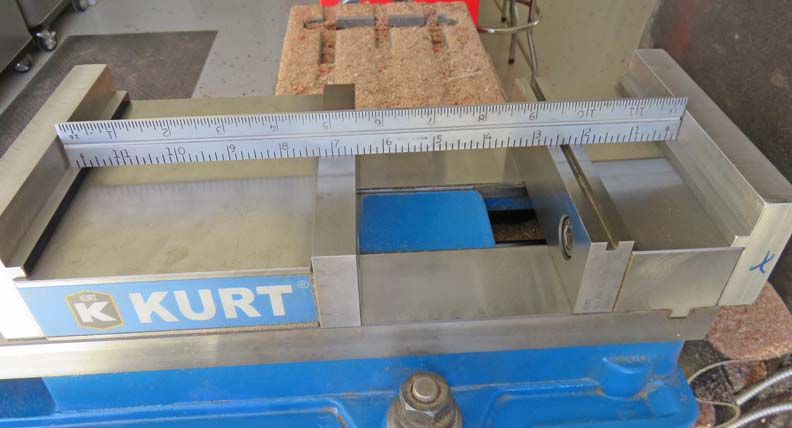
What you see below are some vise jaws that I made. These jaws bolt to
the ends of the vise and allow me to hold a larger work piece. I made
them with a 1/4" step, which matches the height of the other vise jaws.
This allows me to rest my work on all of them, giving some much needed
support in the center. Also notice how tall the jaws are. This helps
distributing the clamp force over a larger area, which helps a great
deal with wood working so it doesn't indent the wood.
|
|
 |
|
This makes machining something like this very easy compared with
clamping my work piece to the table and then playing the 'work around
the clamps with the cutting tool game'.
|
|
 |
|
1
2
3 |