|
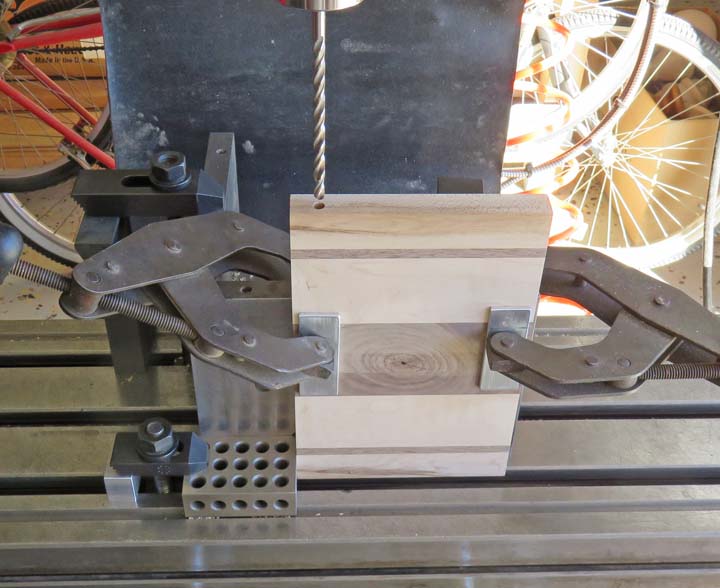
I'm using an angle plate to locate my work piece against
and a 1" X 2" X 3" block as a work-stop. Now I can drill each piece and
know that all the holes will be in the right location.
|
|
|
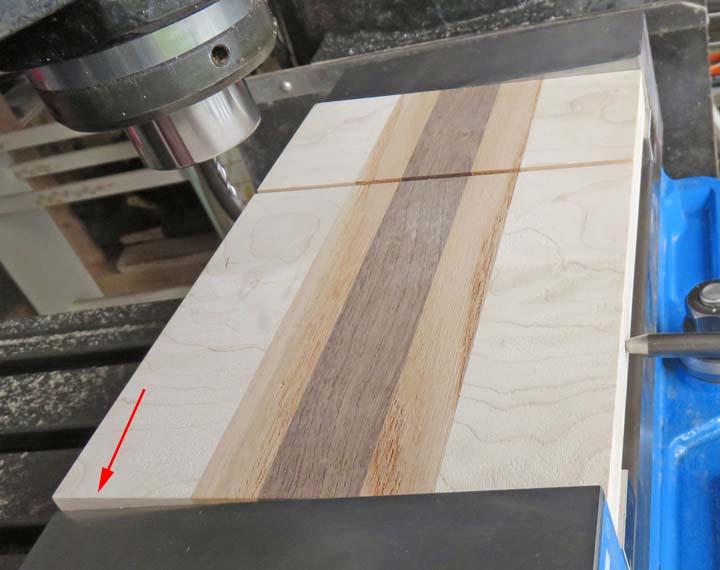
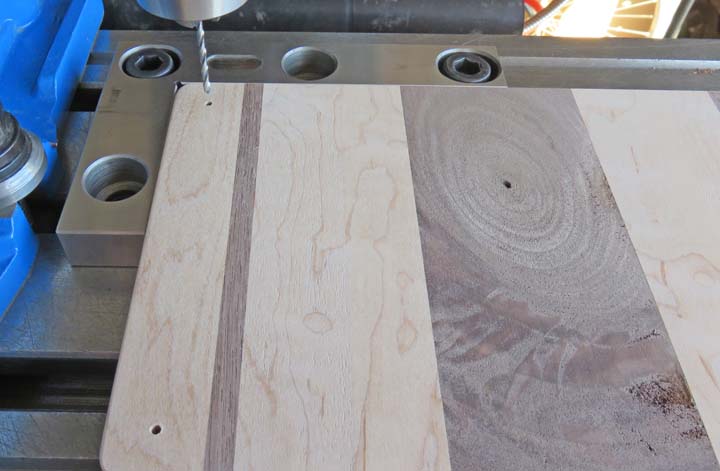
Here I'm milling the1/8" wide slot for the cutting wire.
Note that I have the wood sitting at an angle (arrow). I figured out how
much angle that I needed and added some shims to one side to give me the
correct amount.
|
|
|
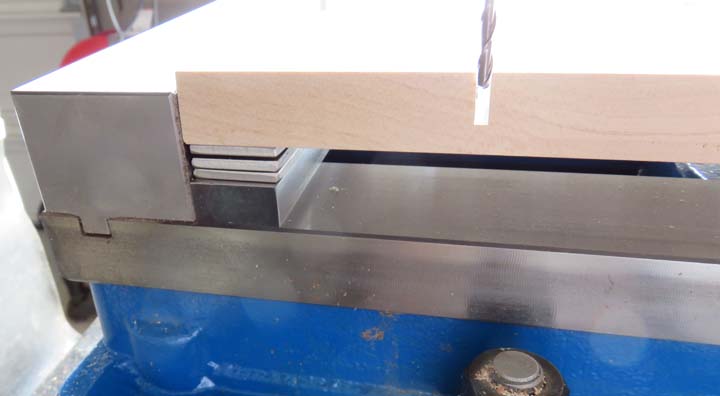
The thick piece resting against the bottom of the vise
is a parallel (which are at both ends of the vise). The shims on top of
the parallels are 1/8" each for a total of 3/8 of an inch. With this
amount the slot ended up being .030" below the hole for the arm and 1/16
deep at the front. The center of the slots are 3.000" from the end.
|
|
|
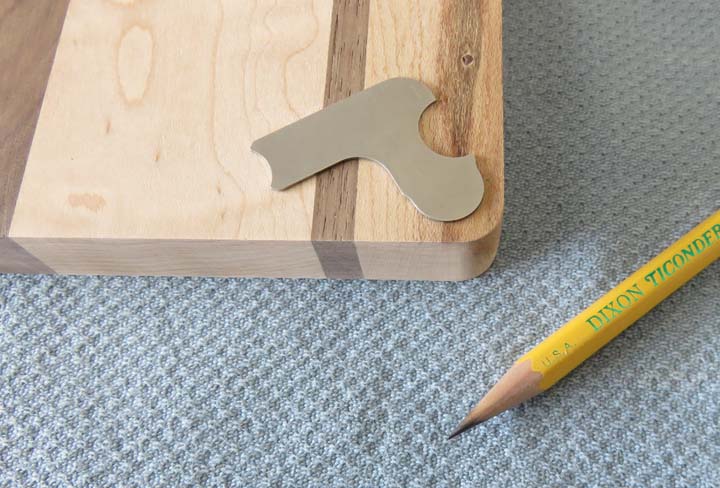
After all the slots were in, I put a 1/4" radius on each
cheese slicer so it would be easier to work with. I traced a pencil line
around a radius gage, then used my belt sander and sanded to the line.
This method works great and it's fast.
|
|
|
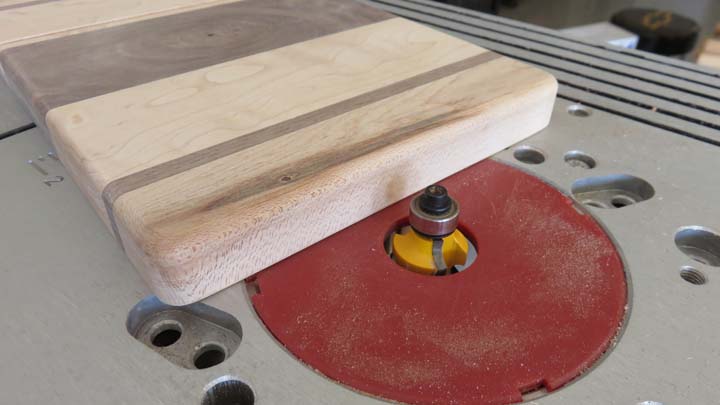
One other area to make sure it's easy to work
with is rounding over the edges and for that I'm using my router table.
The size of the radius is 3/16" which should work out pretty good.
|
|
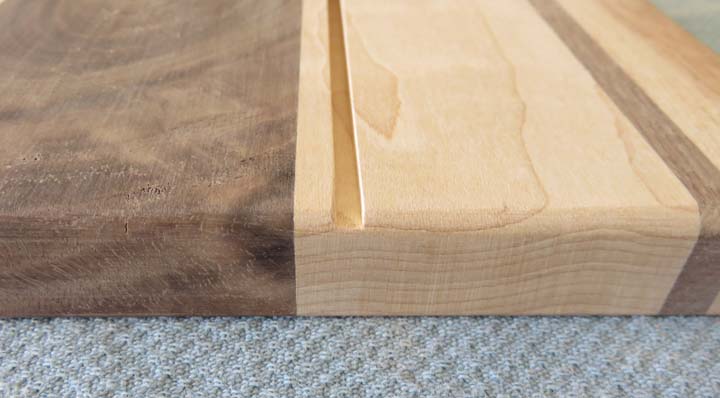
Here you can see the front of the slot and it's depth of 1/16".
|
|
|
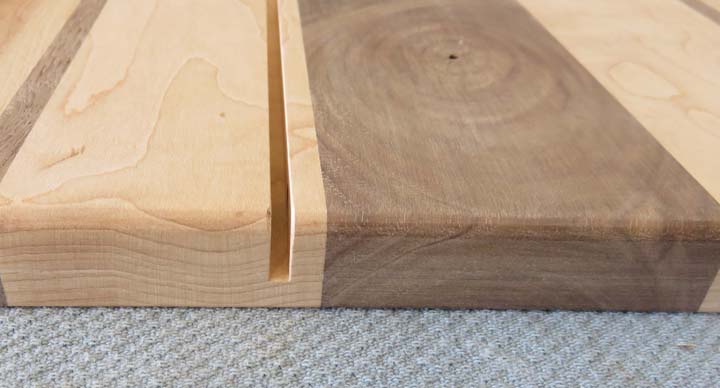
And here is the back. Now you can see why I took the
extra time to make sure I wasn't going too deep here because of how thin
it is now. I sanded the entire piece including the slot which was quick and
easy.
|
|
|
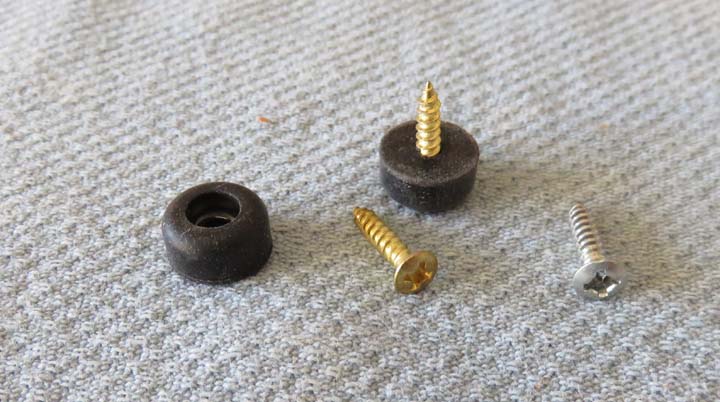
I'm going to use these rubber washers as feet for this
project. They will serve two rolls here: one so the cheese slicer won't
move while working with it, and two, so it's easier to pickup. I've used
these rubber washers on some cutting boards and those worked great. They
also have a steel insert molded into the rubber so they don't
squash as much when screwing them down.
I used the stainless screw on the right to make all the
threads in the wood first and then fastened them all with brass ones.
I've learned my lesson with these brass screws on the last project that
I worked on (Aidan's weights) because I had two of them break off while
making the threads for those soft brass screws.
|
|
|
I used a nest for this step which made it very
easy and quick. All you do is push your work against the back and to the left of the nest, then drill your hole. No clamps needed here,
just hold it by hand while drilling.
|
|
|
1
2
3 |