|
Finishing Touches
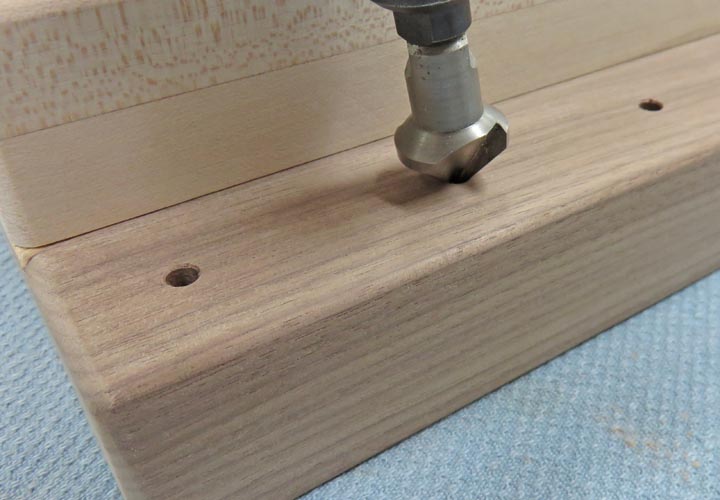
Here you can see the tool in action. Touch your part, turn the cutter
one or two turns and that's it. This gives you a lot of control.
|
|
 |
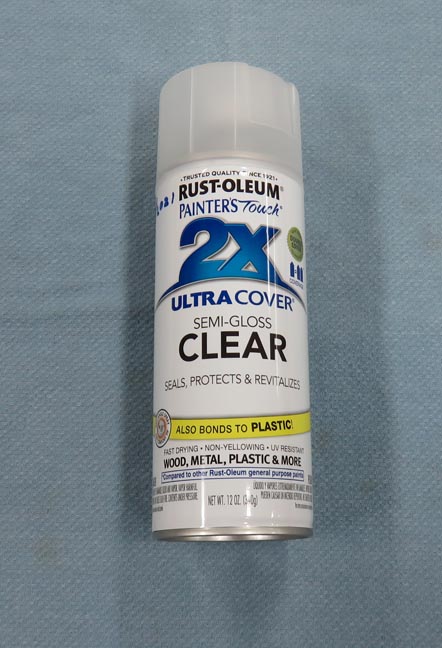
I'll be using semi-gloss clear for this
project. I used two coats and it goes on easy.
|
|
 |
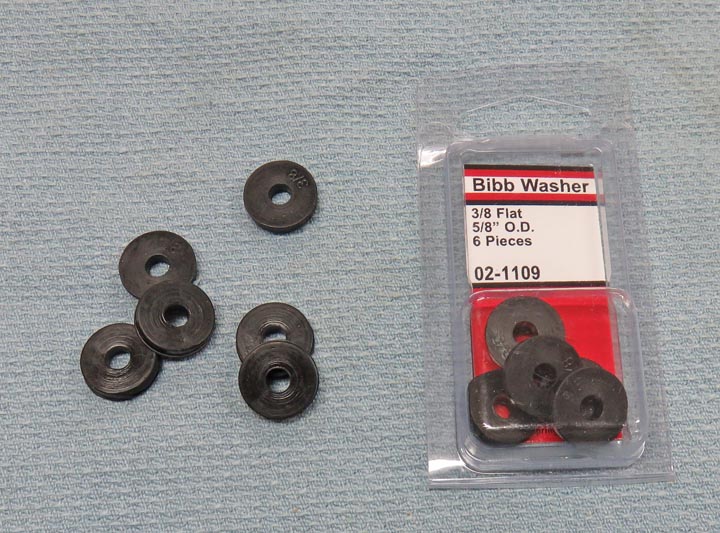
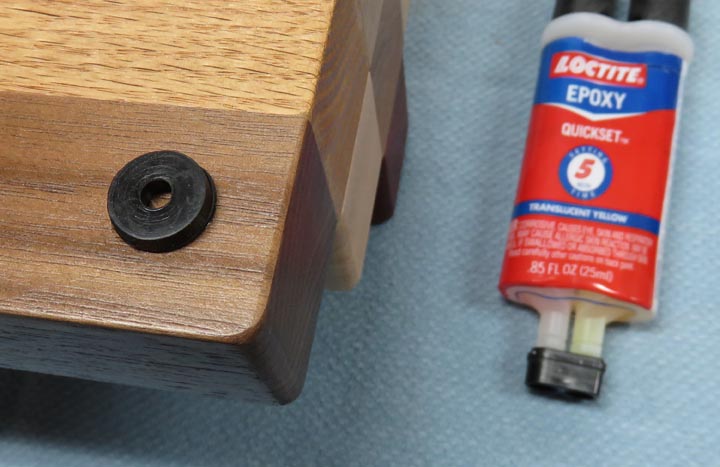
I don't want this cake pop stand to sit too high so while I was in the
hardware store, I found these rubber washers made for fixing a leaky
faucet.
|
|
 |
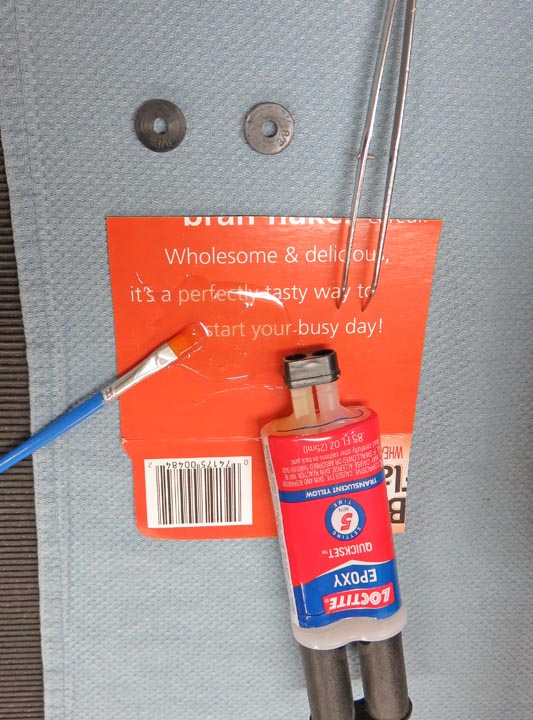
I mixed up some five minute epoxy and used a small paint brush to apply
the glue.
|
|
 |
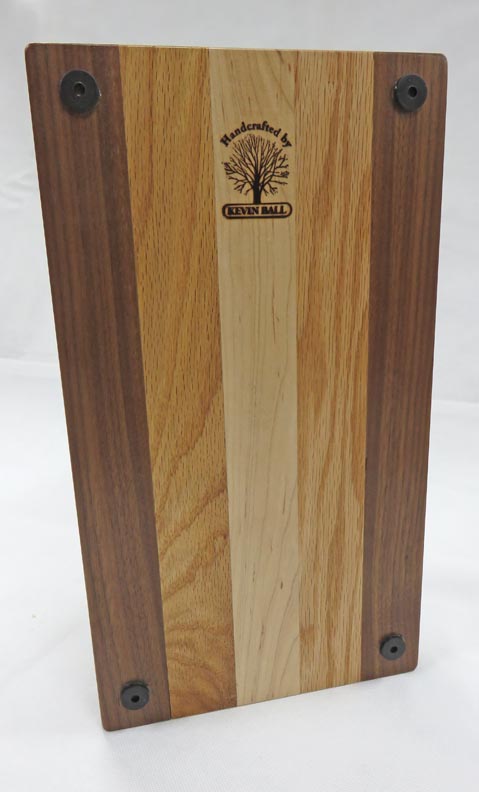
I wanted to use some low profile feet on this one in place of the type
I've used on cutting boards. These will keep the stands from moving
around and will let them sit nice and low.
|
|
 |
|
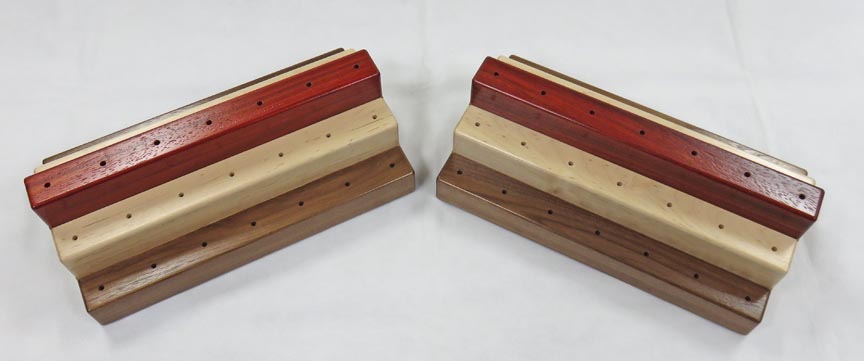
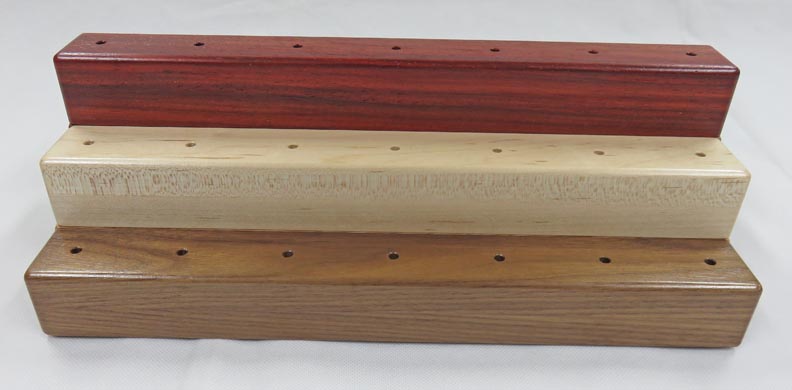
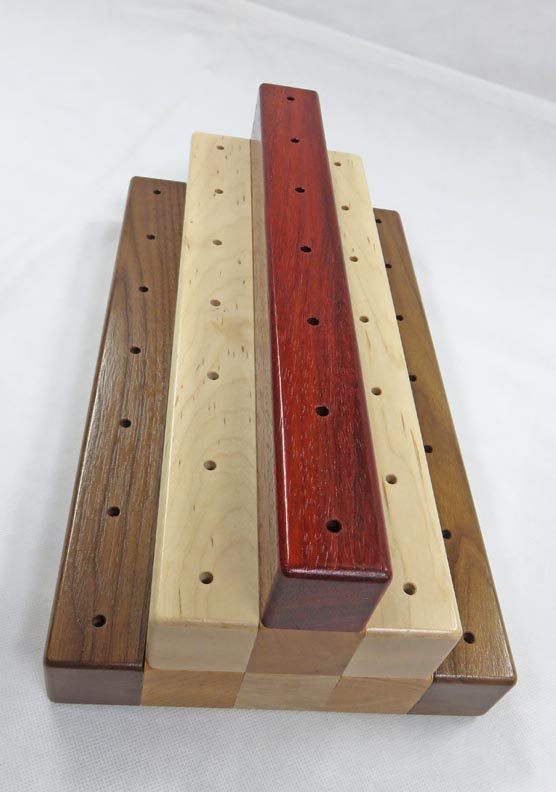
It's Finished
Here they are all finished.
|
|
 |
In this shot you can see all the edges that have a 3/16 radius on
them.
|
|
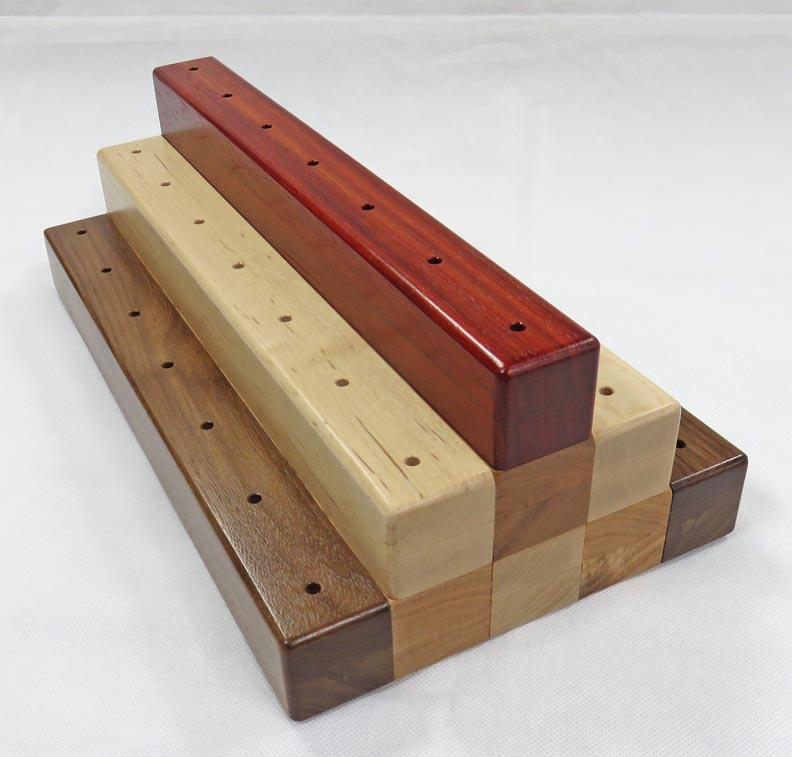 |
On the top surfaces are African paduak, maple and black walnut with cherry,
ash and oak making up the rest.
|
|
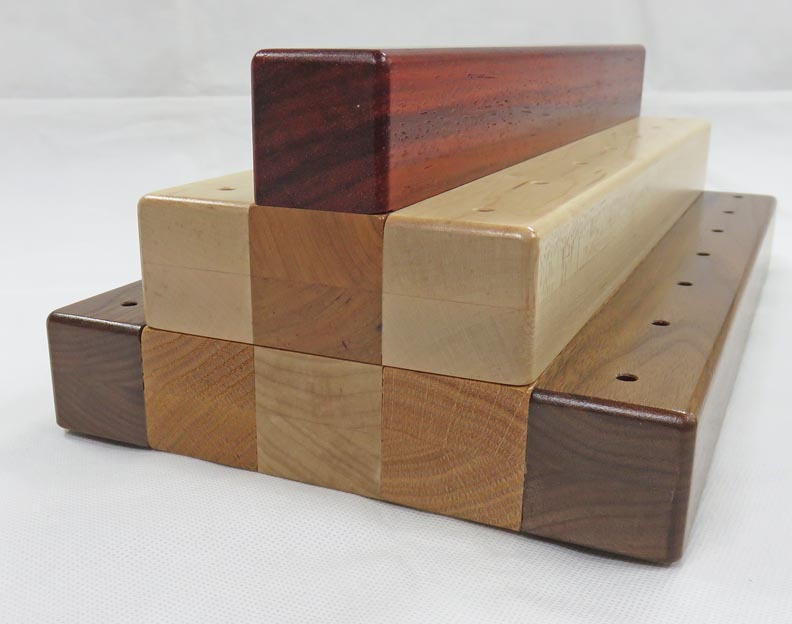 |
It has a nice color contrast.
|
|
 |
Those rubber feet should stay on there despite the clear finish their
stuck to.
|
|
 |
Merry Christmas Tracey and Angela, I can't wait to see it in use because
that means it's time for desert.
|
 |
|
1
2
3 |