|
My daughter Angela, sent me a picture of a potential
project, which was a cake pop stand. Now this was at the end of Summer
when I first saw this project but after thinking about it, I decided to
make two of them. One will be hers and the other will be her sister
Tracey.
And I'll give them as Christmas presents.
Making Cake Pop Stands
When I'm making a new project, one of the hardest things
for me is deciding on what kind of material to use and the shape of it.
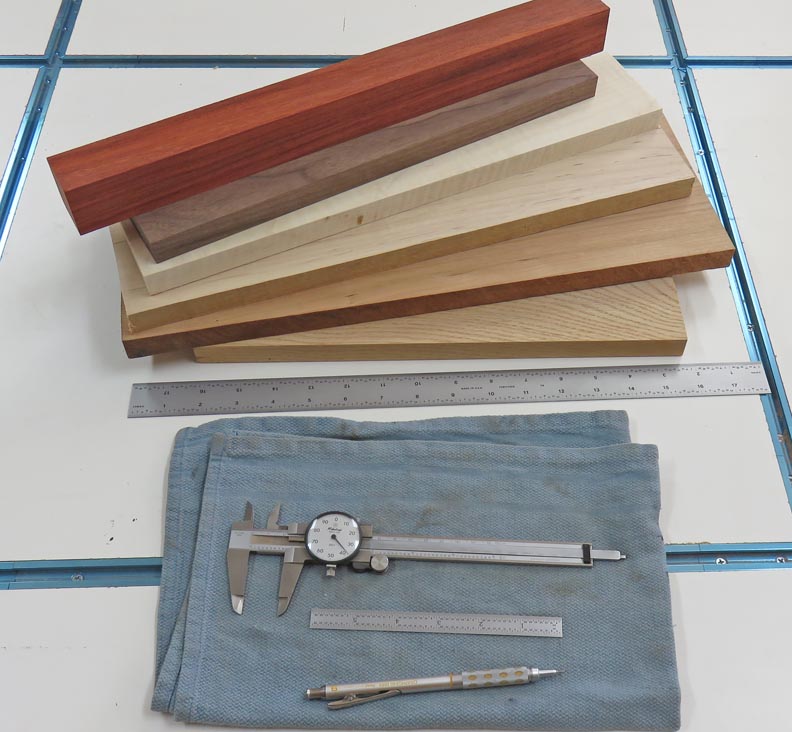
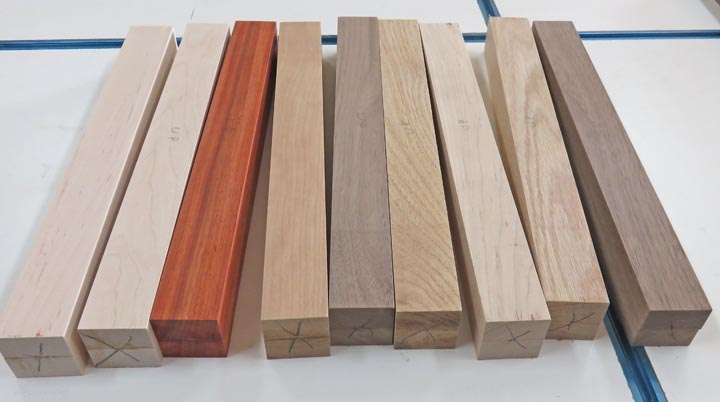
And as you can see, I'll be using a lot of different species of wood
here. From top to bottom: African paduak, black walnut, maple, ash,
cherry and oak.
What I'll be doing first is making some blocks 1 1/2" X
1 1/2" X 13 1/2" long. Then I'll arrange them so I have five on the
bottom row, three on the second row and one on top. Let's get started.
|
|
 |
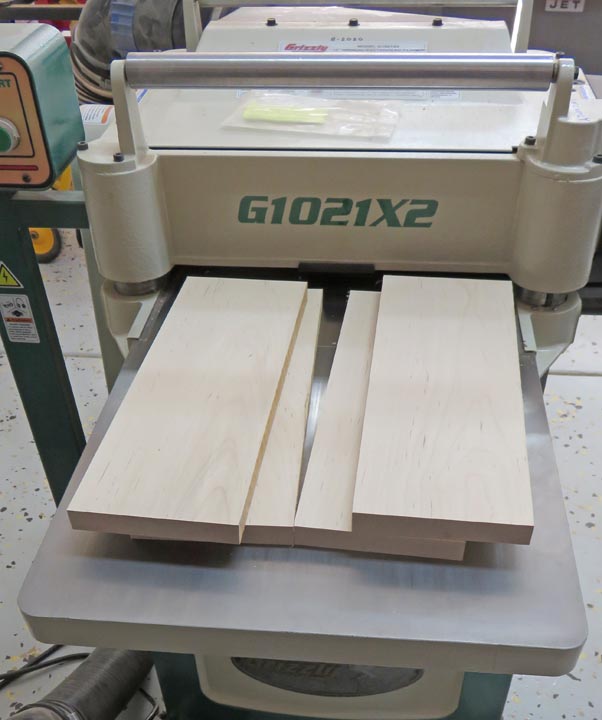
The first thing I did was run all my
material through my planer so they were all the same size and nice and
flat. Then I ran them all through my table saw, making them slightly over my target
size of 1 1/2".
|
|
 |
|
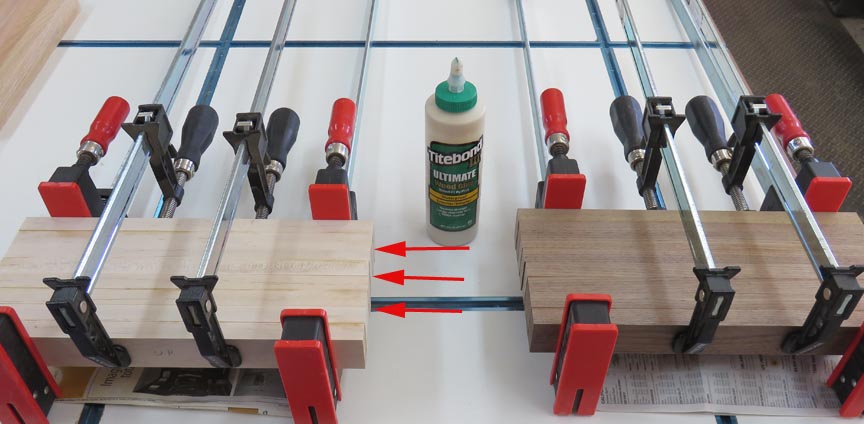
Now that I have all my pieces cut oversize, it was time
to do some gluing. All my wood is 3/4" thick so I needed to glue two
pieces together to get my 1 1/2" final size. I'm gluing four pieces
together here but I didn't put glue at each arrow. The same on the right
side as well.
|
|
 |
A few days later I had all my pieces glued and now it was time to cut
them to size. This went pretty well so now it's time to cut them to
length.
|
|
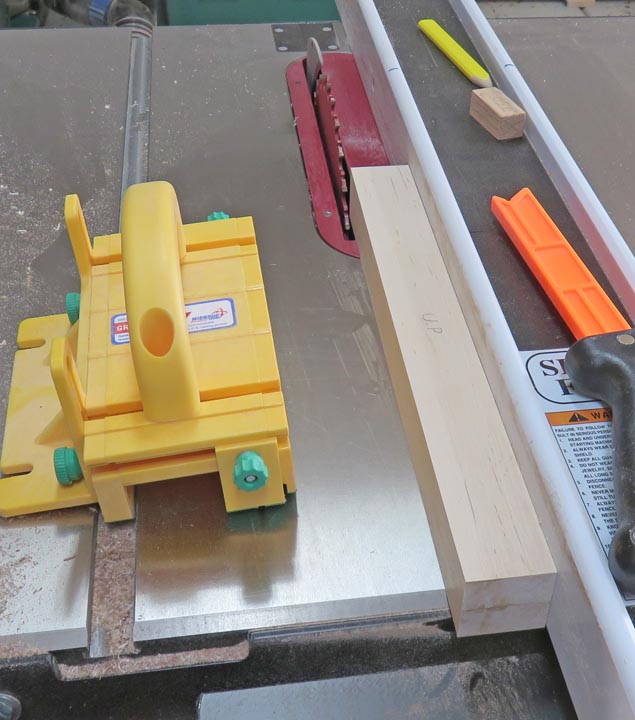 |
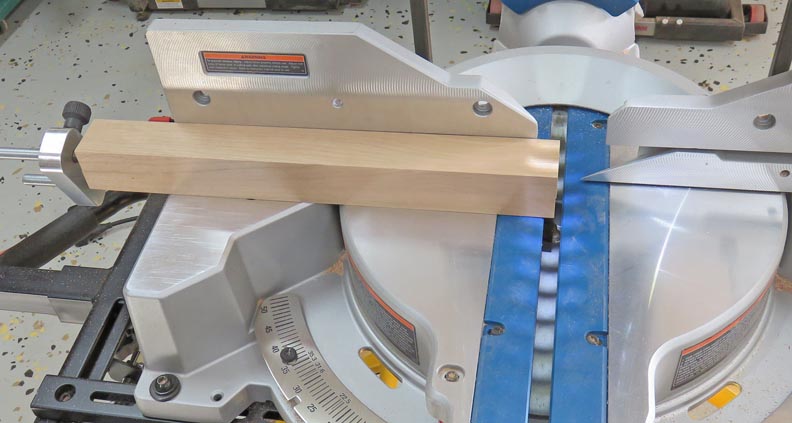
Next it was time to cut off the excess material from each block, but one
end only.
|
|
 |
I put an pencil mark on each end to help me keep track of the cut ends.
|
|
 |
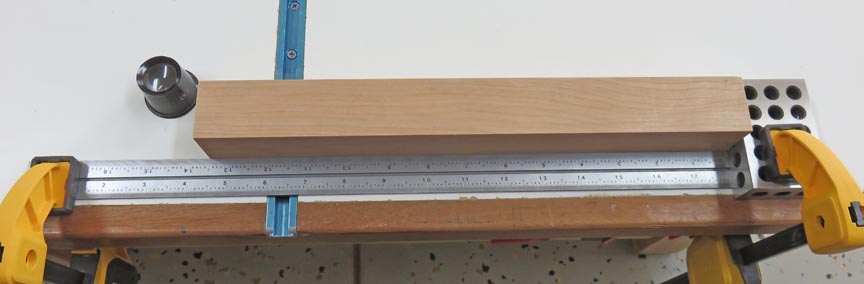
Here I'm measuring my work piece, which was slightly oversize here.
|
|
 |
|
Once I knew how much needed to be removed, I placed my
indicator against my work stop, moved it the desired amount and clamped
it back down. The next cut was right on the money. This may be a little
extreme doing it this way, but remember that I'm a machinist.
|
|
 |
|
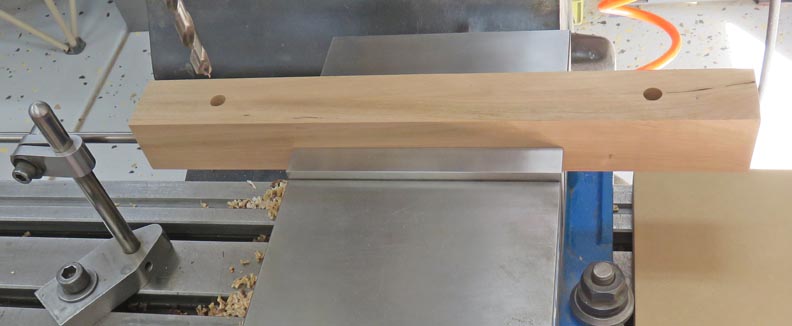
I'm getting ready to drill all my blocks for 3/8"
diameter dowel pins. This will keep the pieces together while they're
being glued. I'm center drilling one end first, then moving the table to
the other end for the second hole. This way I know all the pieces will
fit together correctly.
|
|
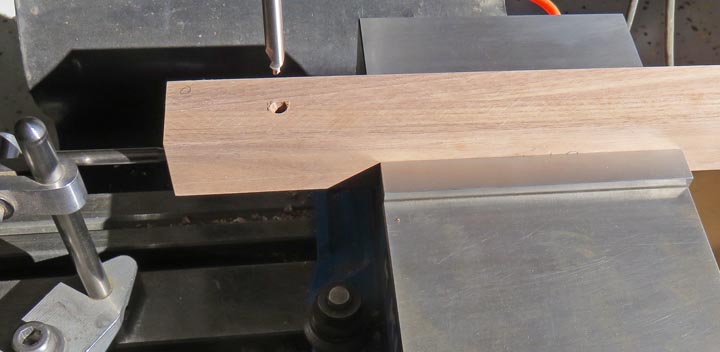 |
Here I'm using a 3/8" drill for my dowels.
|
|
 |
|
1
2
3 |