|
Making Cake Pop Stands Continued
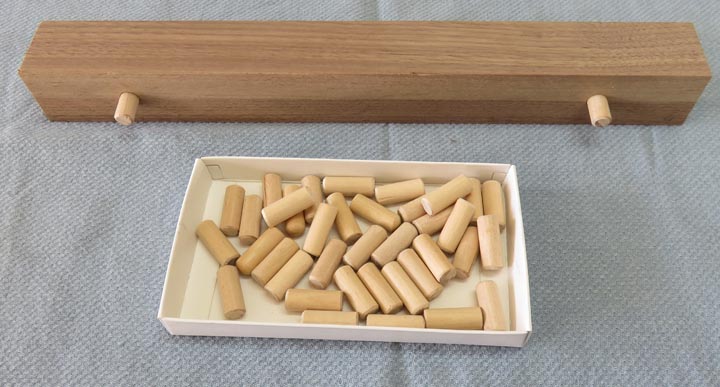
I had two pieces of 3/8" dowel and sure enough, they were different
sizes so I had to do some sanding.
|
|
 |
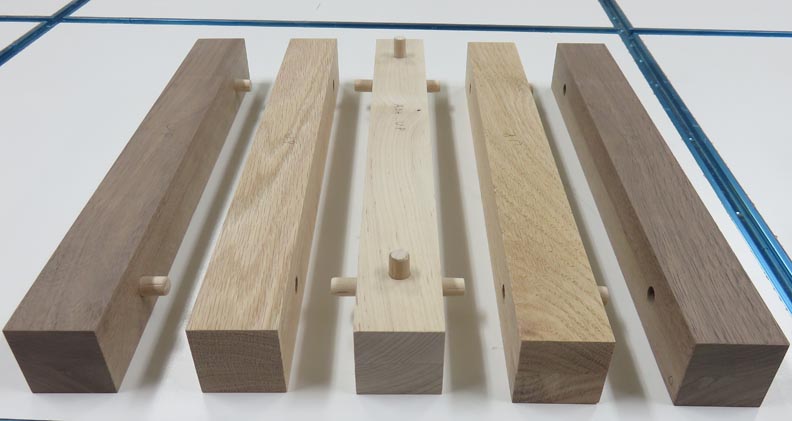
This should give you a good idea of where
the dowels will be placed. The vertical ones in the center are to help
align the second row.
|
|
 |
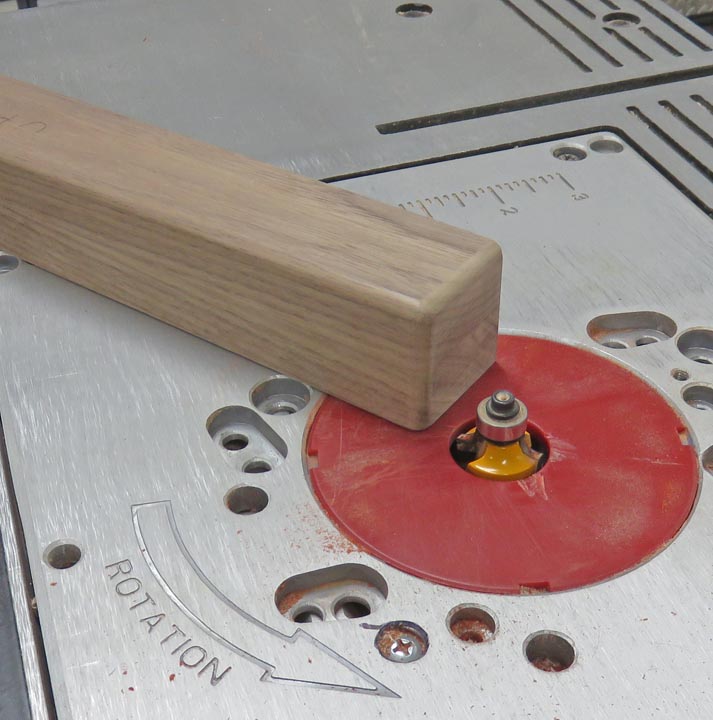
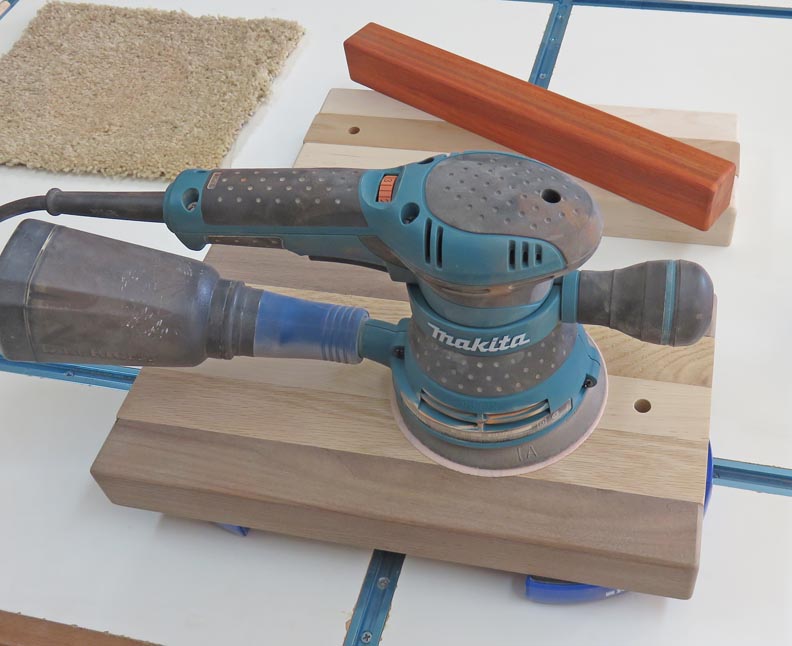
I wanted to make sure some of the edges were rounded so I used my
router table with a 3/16" roundover bit.
|
|
 |
|
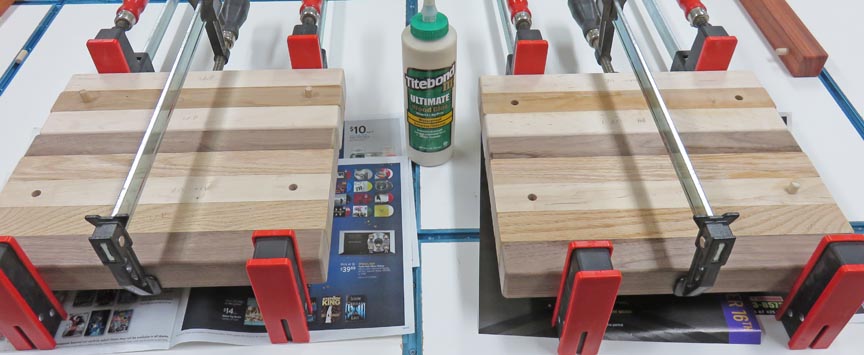
Glue Up # 2
I'm gluing the bottom row and second row here. And like I did before,
no glue between the two pieces.
|
|
 |
Once the glue was dry, I sanded both sides with 120 grit.
|
|
 |
|
Glue Up # 3
This is the final gluing with all three tiers clamped in place. And
the single top piece has dowels as well.
|
|
 |
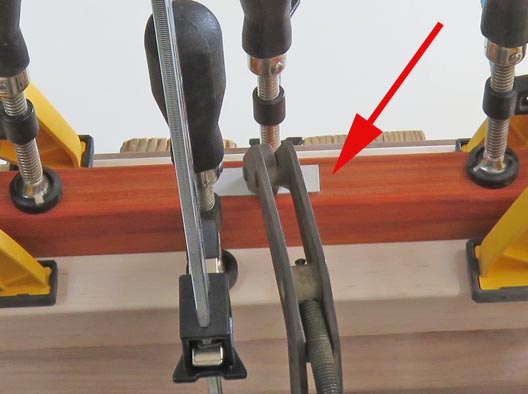
To make sure I didn't put a dent in my top piece I'm using a cardboard
shim under the clamp.
|
|
 |
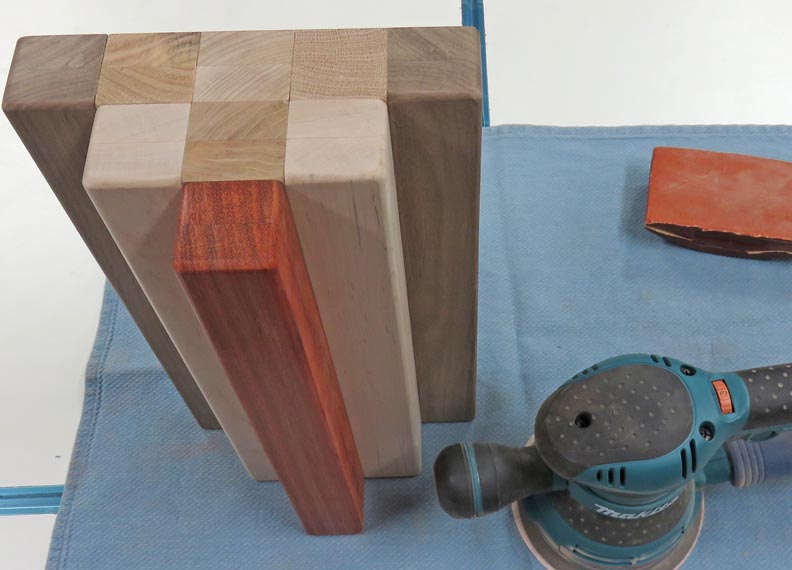
Both ends only needed minimal sanding until each block was nice and smooth.
Also note that only some of the edges have a 3/16" radius.
|
|
 |
|
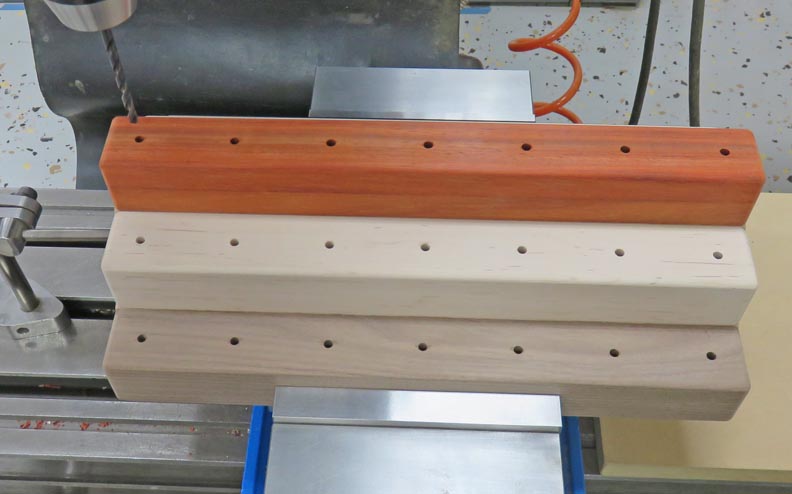
Time For Some Holes
I did some checking and I found two different size cake
pop sticks; 3/16" (.1875) and 5/32" (.156). I'm drilling the holes .191"
diameter because this way both sizes should fit. The depth is one inch
deep and there are seven on each tier, making 35 total holes.
|
|
 |
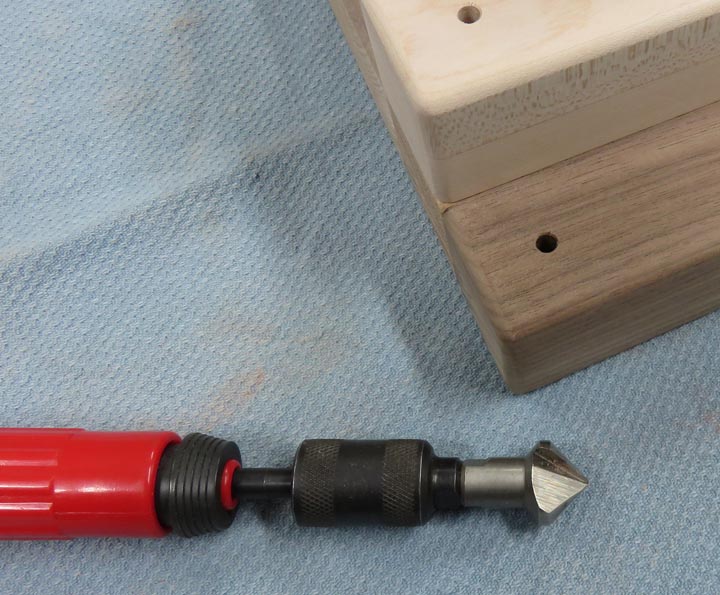
I put a small chamfer on each hole by hand. This tool works great for an
edge break that doesn't need to be very large.
|
|
 |
|
1
2
3 |