|
Working With Wood Continued
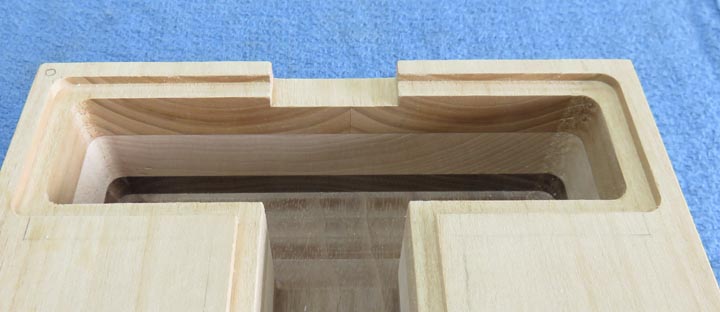
Here is the coin slot all finished. It's large enough for a silver
dollar to slide through just in case mom and dad have one of those old
coins.
|
|
 |
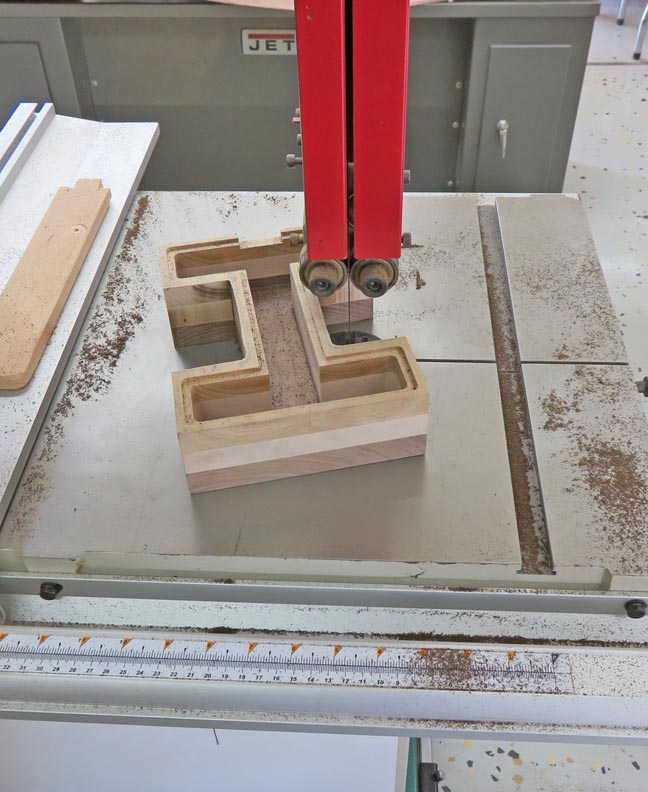
Now it's time to cut away the sides to
make the bank look like the letter "I". I used my bandsaw to rough out
the waste which went pretty fast.
|
|
 |
|
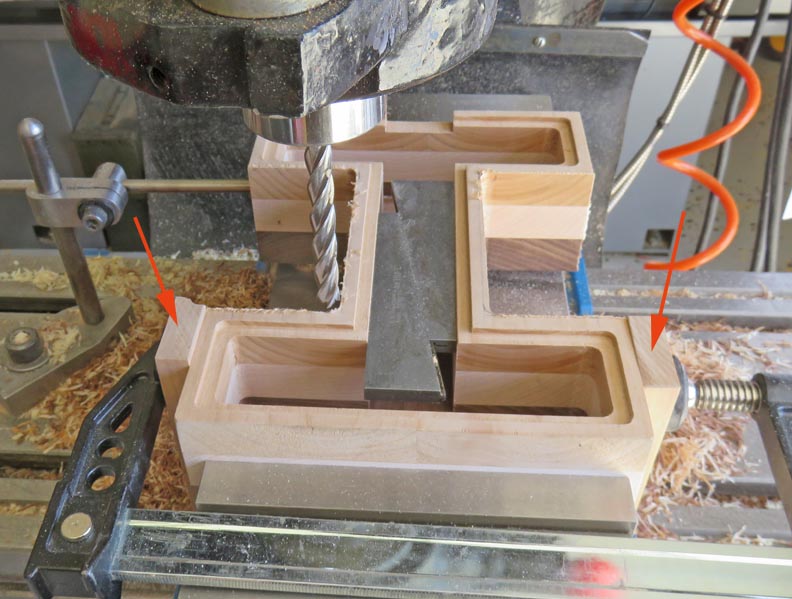
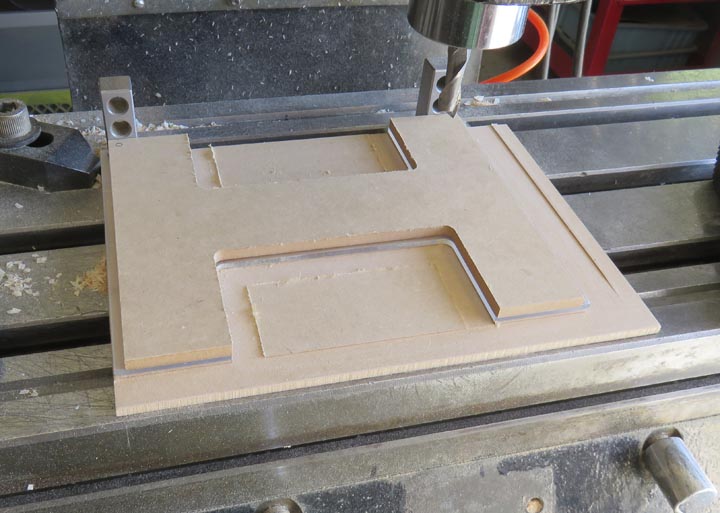
Next I used my milling machine to smooth out the rough
saw cuts. Also notice the two scrap pieces of wood that are clamped to
the sides (arrows). This is just like before when I was cutting the coin slot
so the end grain doesn't crack or splinter.
|
|
 |
|
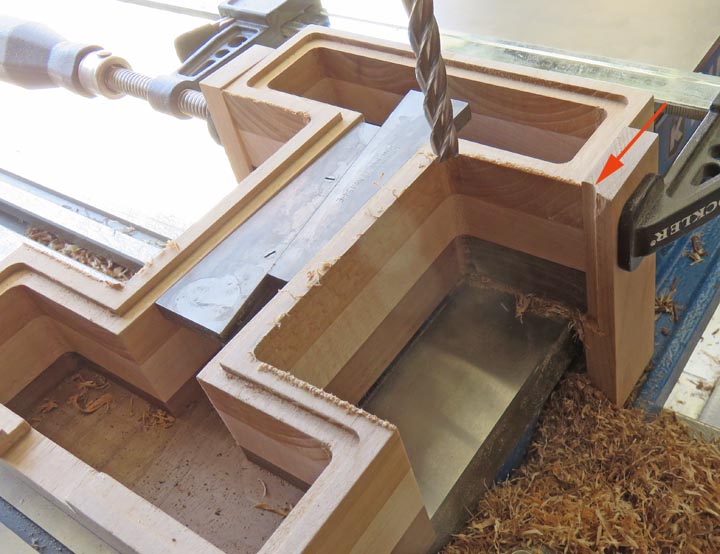
When I exit my work piece, this scrap piece keeps
everything where it needs to be (no cracks). Also notice the adjustable
parallel in the middle. This is to prevent my work piece from breaking
and to make sure everything stays true while the sides are being
clamped. Once this side was finished, I moved the scrape pieces to the
other end and repeated this process.
|
|
 |
|
Working With Plastic
It's time to cut out the plastic that will be on the front of the
bank. Again I used my bandsaw to rough out my work piece.
|
|
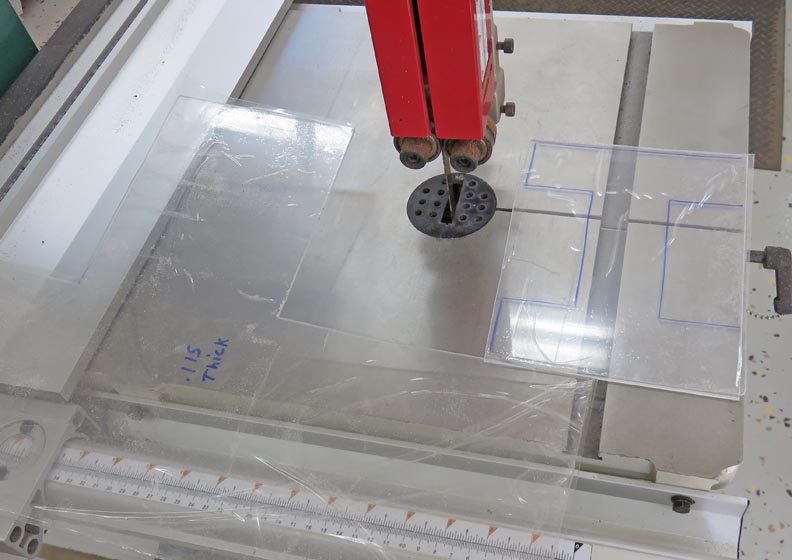 |
Here I'm cutting one end of the plastic but just a minimum clean-up.
Then I turned the plastic around and cut it to size.
|
|
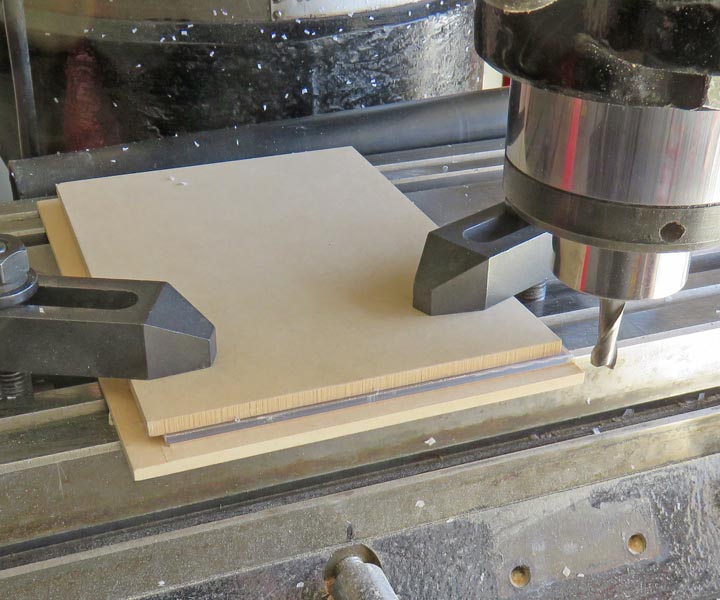 |
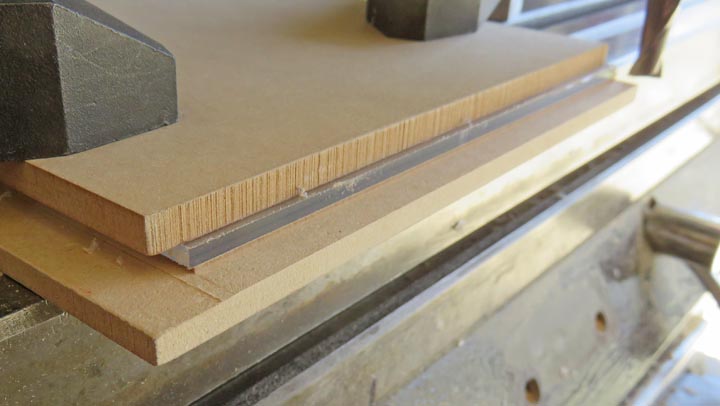
I used MDF under my work piece and another on top as a clamping plate so
it doesn't damage the plastic.
|
|
 |
Now that the plastic is square and to size, it's time to cut out the
sides. I used my bandsaw to rough out the sides, just like I did the
wood piece earlier.
|
|
 |
|
Back over to the milling machine, I'm locating the
plastic at two
spots in the back and one on the left side. This way I can remove my
work piece, do some checking (if need be) and place it back exactly
where it was before. This worked out well and things went smoothly.
|
|
 |
|
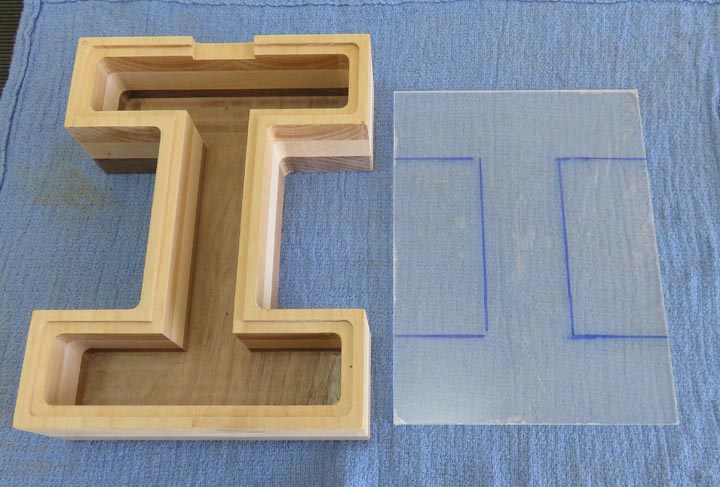
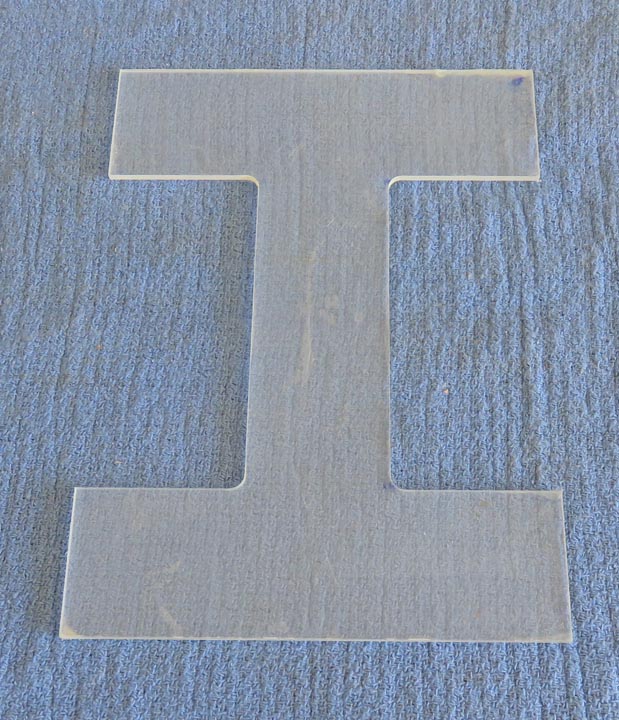
Here is the front plastic piece all machined to size.
However, it still doesn't fit...yet. Notice the eight corners that are
sharp. Well, those won't work with radius corners on the wood piece so
I'll need to do more work here.
|
|
 |
|
1
2
3
4 |