|
Working With Steel
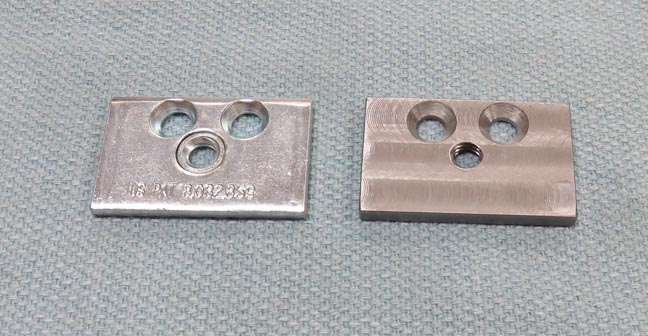
The rectangular bracket below with holes in it is what I'll be
making. And the piece above it is now ready for holes and a 1/4-20
thread.
|
|
 |
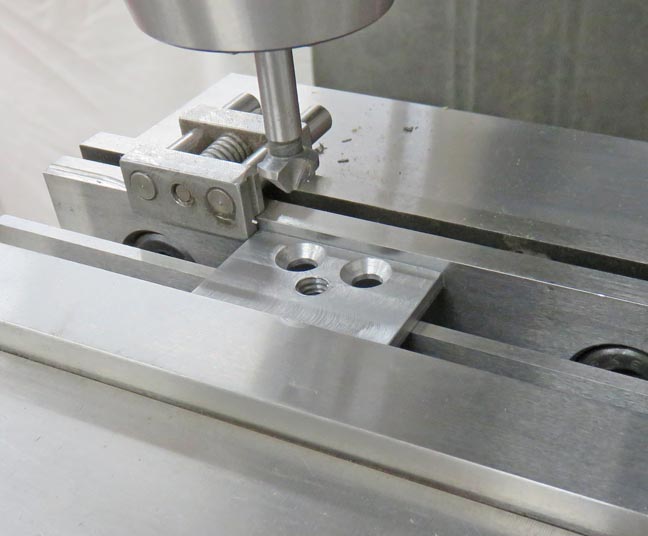
Once I had the dimensions I needed, I
drilled and chamfered two screw holes and drilled and tapped some
threads.
|
|
 |
And there we go, I'm ready to install my brackets.
|
|
 |
|
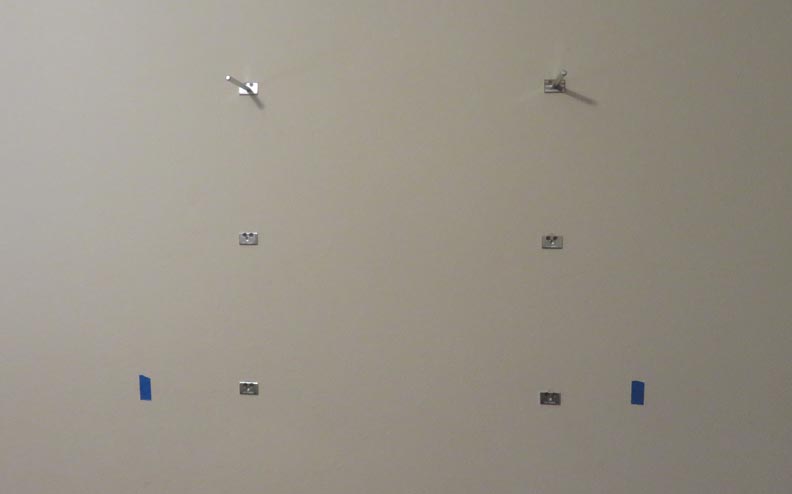
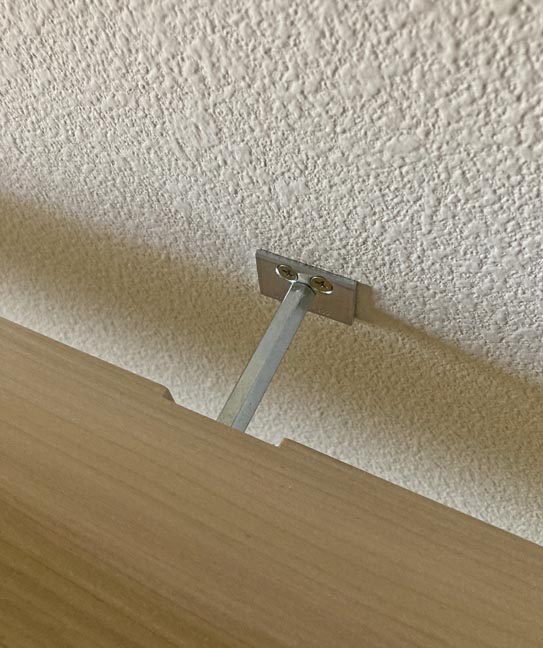
I started installing the brackets on the left side
first. Then I used my story stick and laid out the right side. This
process is easy but you need to take your time to make sure everything
comes out level. As you can see, I only have two rods threaded on my
brackets. However, I need six in total so it's time to make some rods
now.
|
|
 |
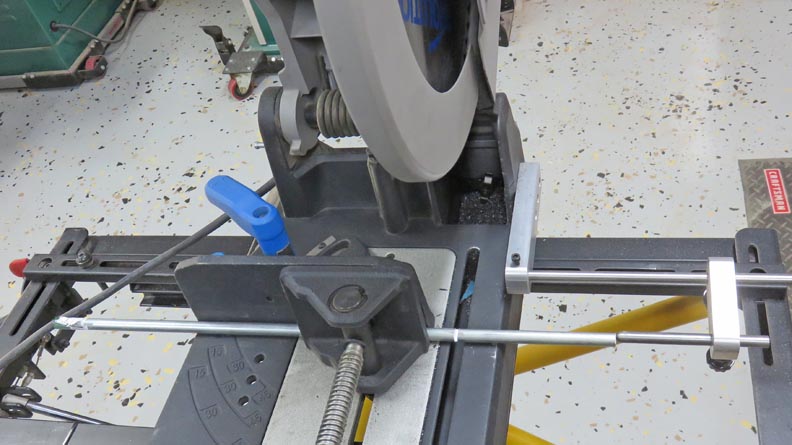
Here I'm cutting some 7/16" diameter round bar using my metal cutting
miter saw.
|
|
 |
|
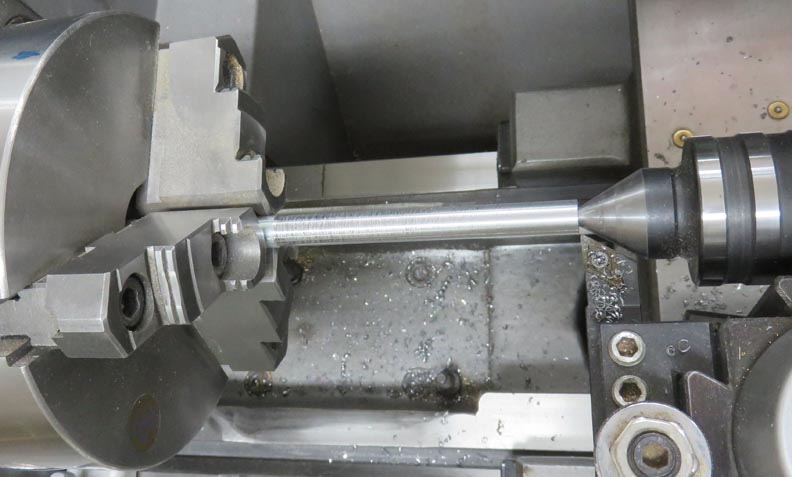
The original rods that came with the kit were slightly
under 7/16", which makes sense because that will allow them to
install easier. What you see below is me taking a cut on my rods to make them
match the store bought ones. The amount I'm removing is only .020" so
this is no big deal.
|
|
 |
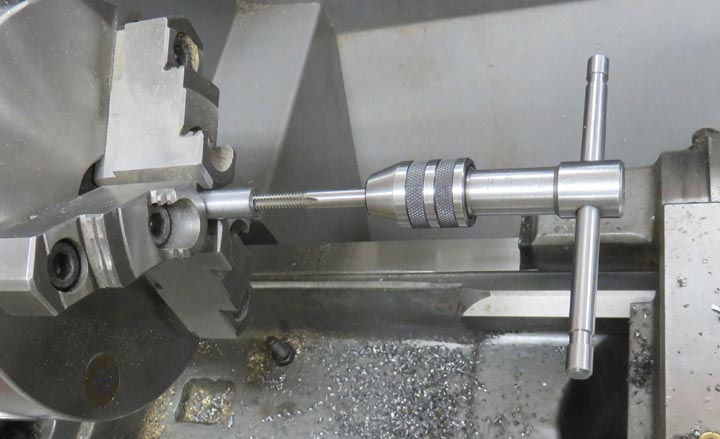
One end gets the 1/4" threads so they can be attached to the brackets.
The other end gets a chamfer.
|
|
 |
|
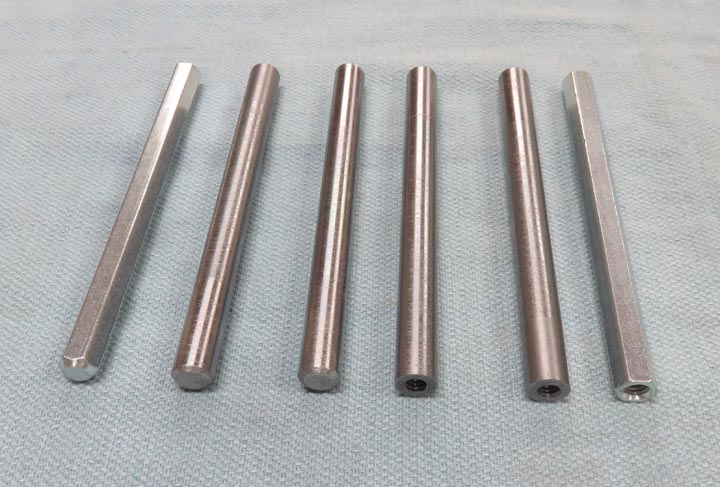
After a few minutes on the lathe, all my rods are
finished. The outer two pieces are the original ones, (which I'm showing
you the front and back of) and are hexagon shaped. The ones I made are
not hex shaped but they don't need to be. The company that made the
original ones used hex material to save time and money because if you
measure across the higher spots on them, they are slightly under 7/16"
which makes them the perfect size when you drill your hole with a 7/16"
drill. Oh, I also gave mine a nice chamfer on the leading end to make
them easier to install.
|
|
 |
|
Here is what the floating shelves look like when you
install the shelf on the hardware. If you measured correctly, did your
layout spot on and drilled all your holes in the right places, this is
how things should go together. Now it's time to do some sanding.
|
|
|
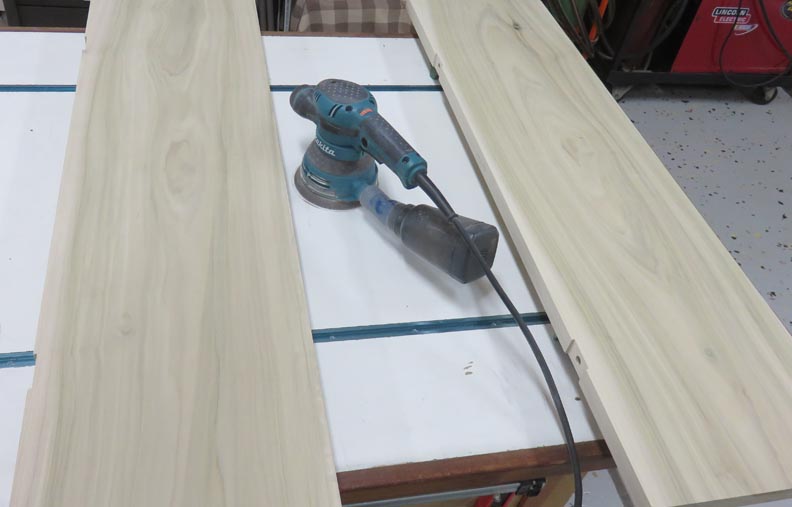
Working With Wood Again
With all the hardware installed, it's time to sand my shelves. I used
some 80 grit and then some 150 to end with. I gave all the edges a nice
soft edge using my sanding block.
|
|
 |
|
1
2
3
4 |