|
Working With Wood Continued
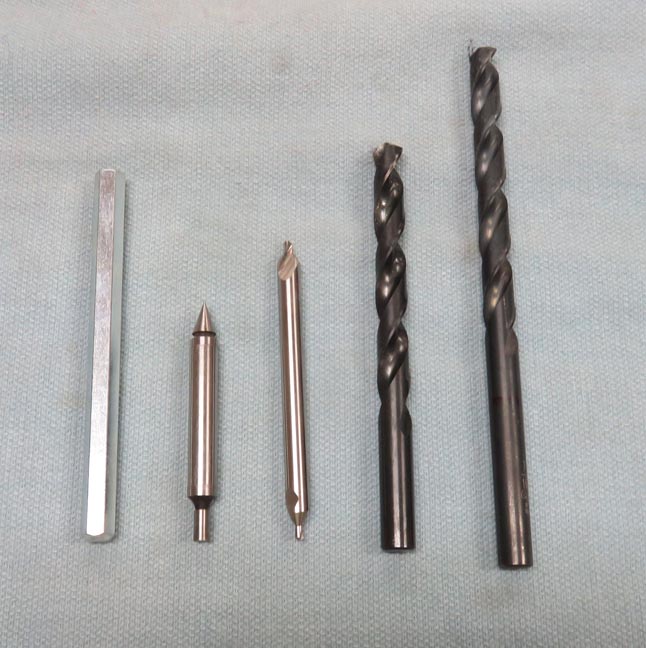
Here are the tools that I'll be using to make the holes
for the shelves. The piece on the left is one of the rods that
came with floating shelf kit that I used last time. I had two leftover
rods from that previous project so I thought I'd use them here. The item next to the rod is a
center finder. I use this tool to find the center of my layout
lines that are in pencil.
Next is a center drill, which is a rigid type of drill
that won't walk or flex while using it. This is key to make sure that your
drill follows this machined hole so it ends up in the exact location you
intended. And last is my 7/16" diameter drill, or drills in this case.
I'll use the shorter one first until I run out of drill-length and then
switch over to the longer one to finish the depth.
|
|
 |
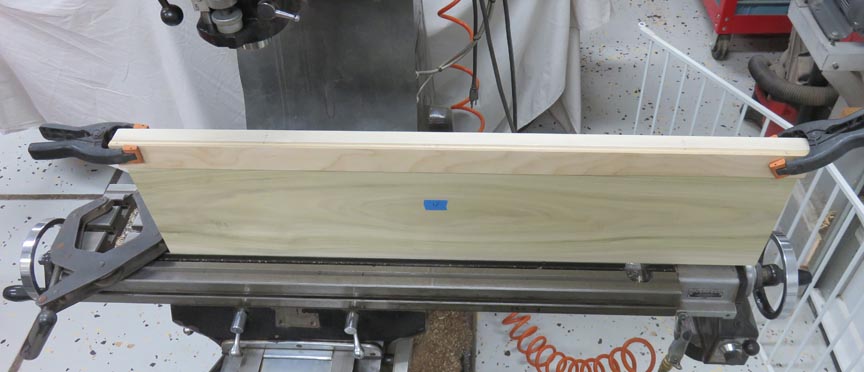
If you look close you can see two clamps
holding my 'story stick' to my shelf.
|
|
 |
|
I've placed two marks on my story stick and then once it's clamped in
place, I transfer both lines onto my work piece. Then I remove the story
stick and use my center finder to pickup those pencil lines.
|
|
 |
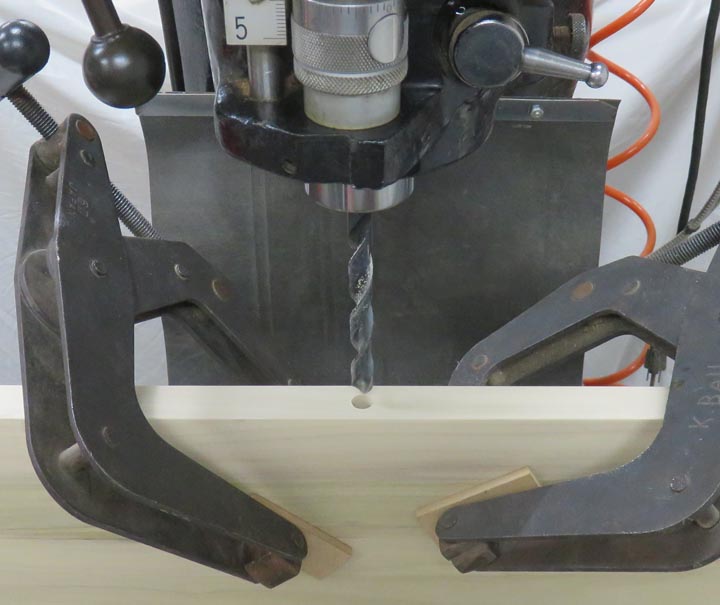
Next I use my center drill to prepare for my drill.
|
|
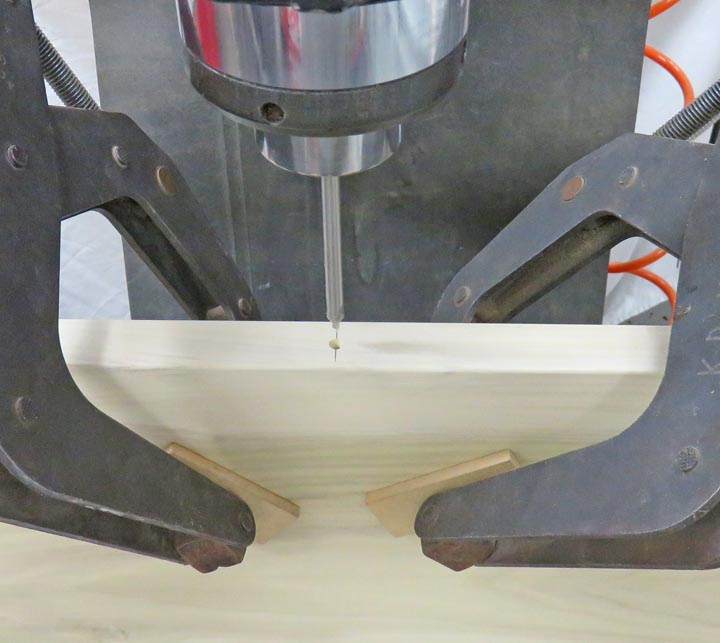 |
And last I use my 7/16" diameter drill and go as deep as I can before
switching over to the longer one.
|
|
 |
|
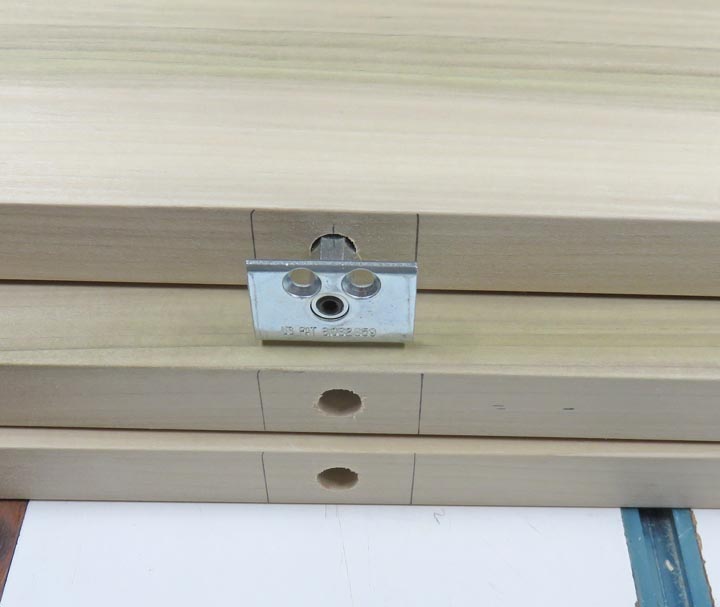
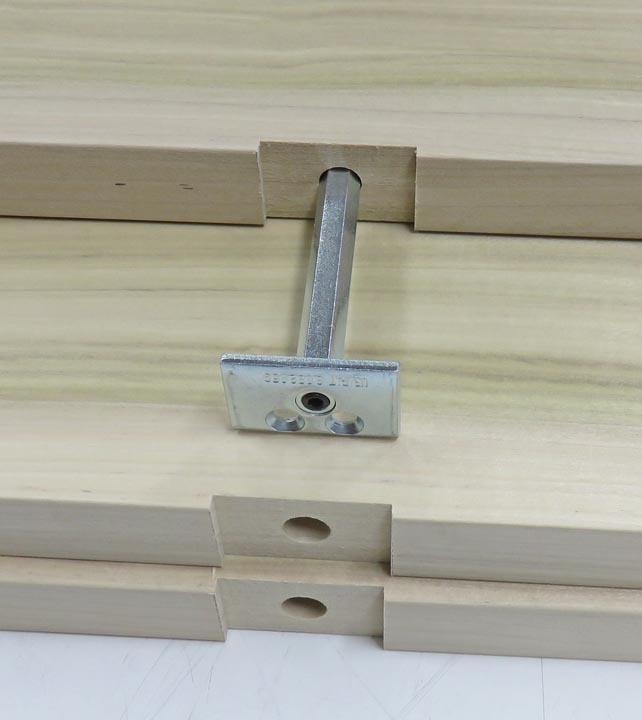
Here is what it looks like once the holes are drilled and
my hardware installed. Those pencil lines represent the outer edges of
my hardware. What I'll be doing next is making a recess for the hardware
to sit flush with the back of the shelf.
|
|
 |
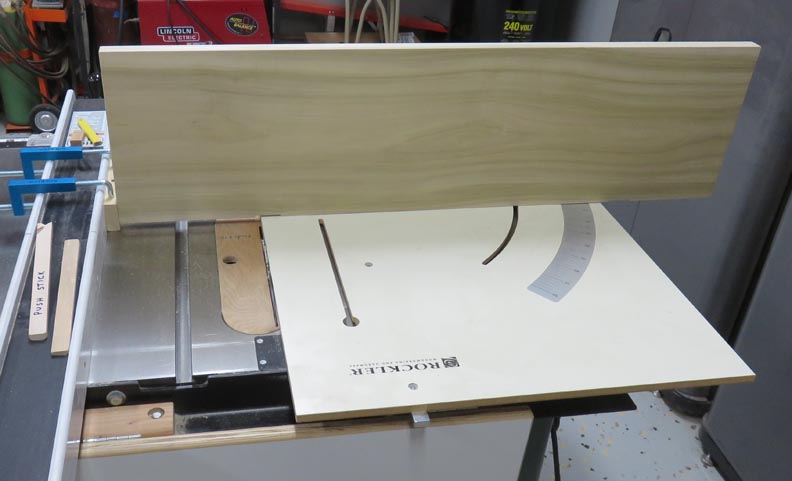
I used my table saw and my cross-cut sled to make my dado cuts for the
brackets. I also used a work stop clamped to my fence because all three
shelves have a bracket in the same place.
|
|
 |
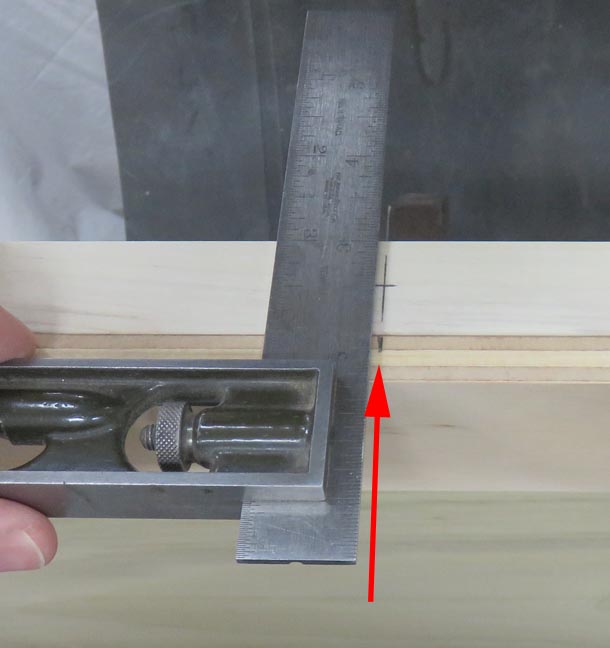
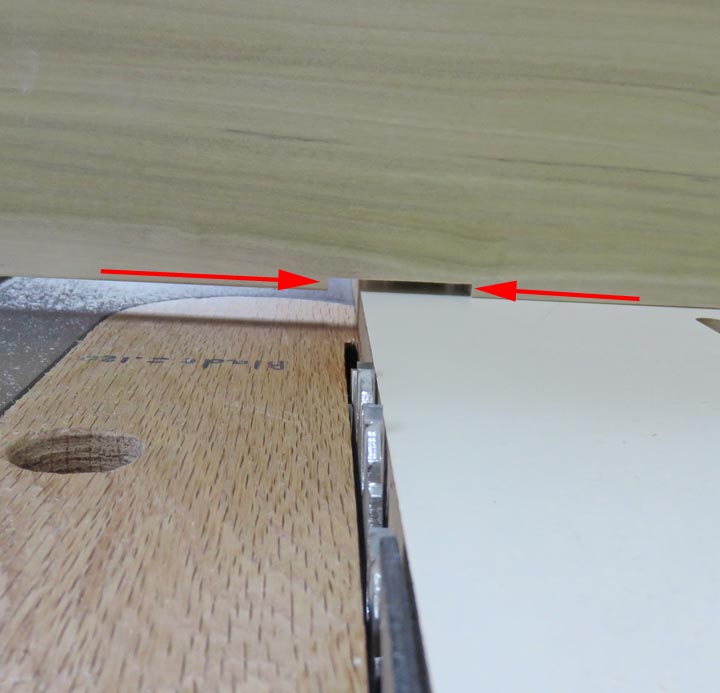
A close-up of the dado between the arrows. This process takes many
passes with my saw blade because I was using my normal rip blade that is
1/8" thick.
|
|
 |
A few minutes later I had all my dados finished. This didn't too long
doing it this way and it went smooth. Now it's time to work with some
metal.
|
|
 |
|
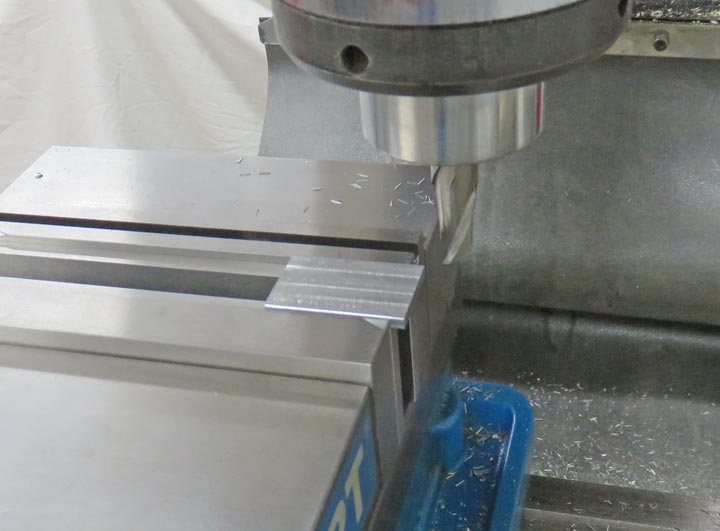
Working With Steel
What I'm getting ready to make is one single bracket because I only had
five and I need six. No big deal so I found some steel, cut it oversize and
started machining it.
|
|
 |
|
1
2
3
4 |