|
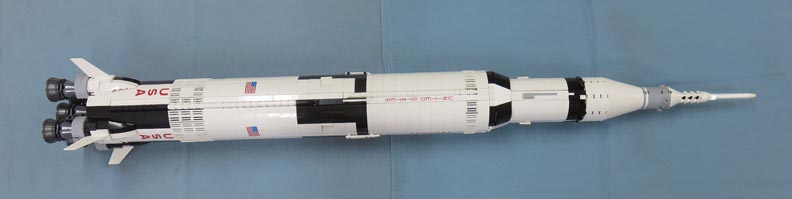
I'm going to build a shelf for my Lego project, which is
the Saturn V rocket. This rocket was part of the Apollo program back in the late
60's and early 70's which took humans to the moon, collected rock samples and then
returned them to Earth. The V in the rocket name is the Roman numeral five.
This Lego rocket is 39" long, comes apart to show all
three stages along with some of the inner workings if you wanted to
display that way. As for me, I'll be keeping it all together and then
setting in on a wooden shelf in my office. With all that being said, lets get started
with the shelf project.
|
|
 |
| Working With Metal
I'm going to make floating shelves for this project,
which I've done before.
But this time I'll be making all the hardware instead of buying it. Now
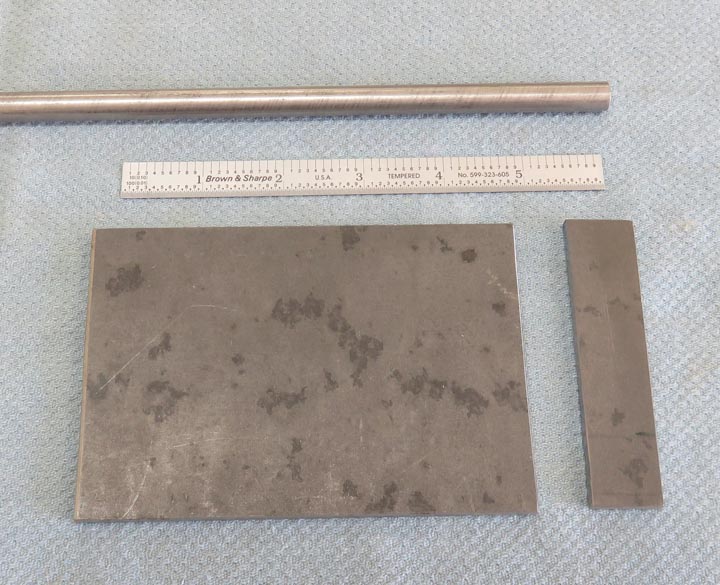
this shelf won't have much weight on it so the round supports will be
3/8" diameter steel in place of the other ones that were 7/16" diameter.
I'll be using 3/16" thick steel plate for the
brackets
that screw into the wall, which is the same if you were would buy them.
The piece that I cut off (right side) will make my two bracket pieces.
|
|
 |
|
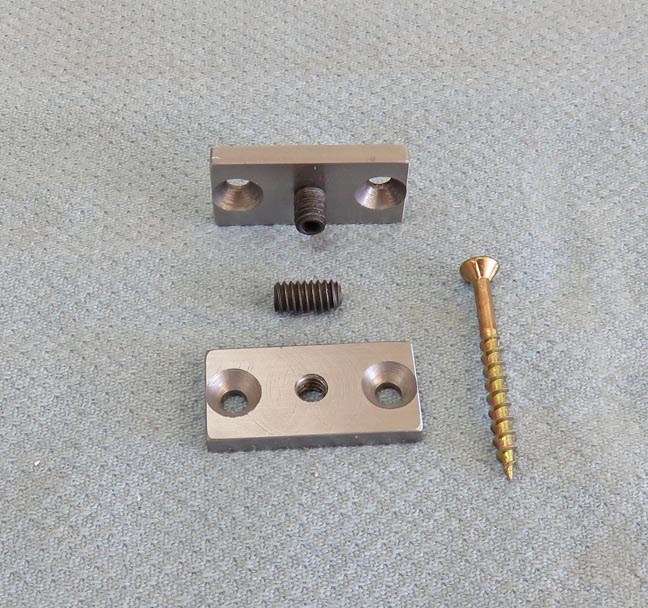
Here are what the brackets look like that will be screwed
to the wall. I'll be using 2" long drywall screws to attach the brackets
and I'll be using 1/4-20 set-screws that will screw into the 3/8" round
support rods to the brackets.
|
|
 |
|
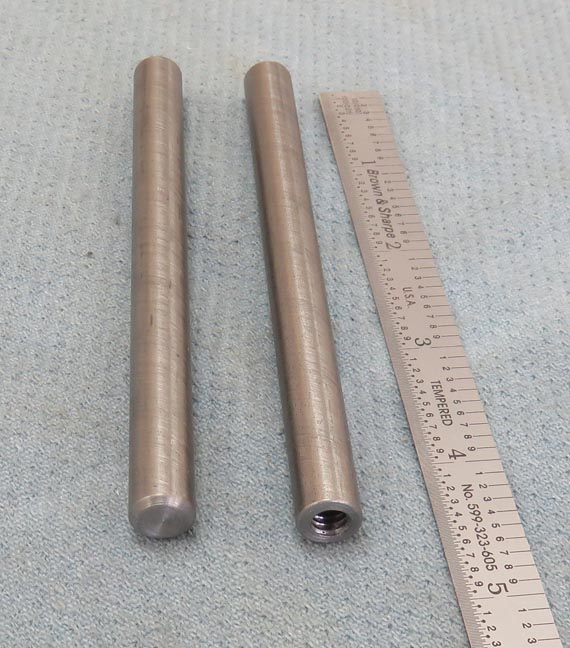
Here are the 3/8" round supports that are 4 1/2" long.
One end is threaded for the 1/4-20 set-screws and the other end is
chamfered that will go into a hole in the wood shelf. Speaking of wood,
now it's time to start on the shelf.
|
|
 |
|
Working With Wood
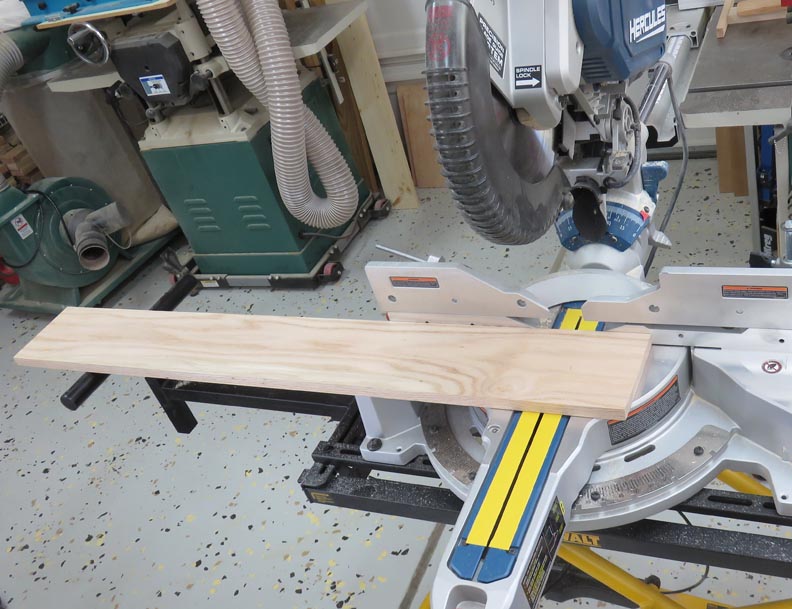
I had a piece of oak that was perfect for this project. I only had to
remove a few inches from it.
|
|
 |
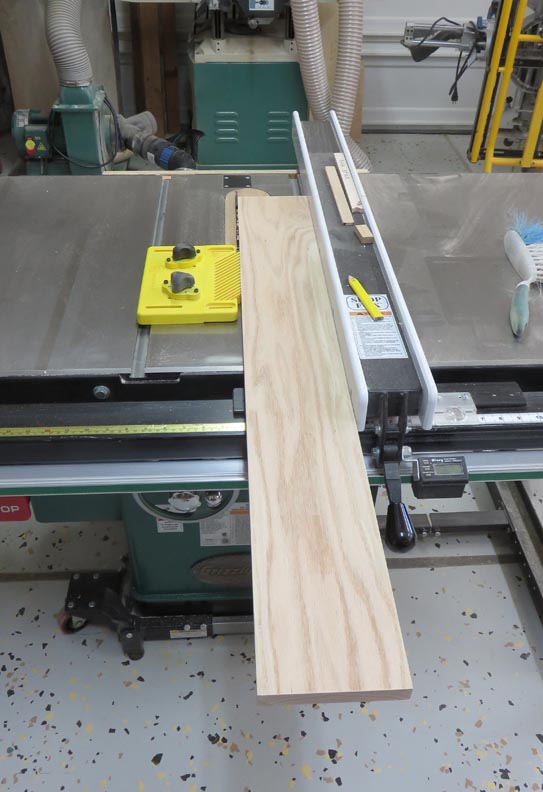
Then I used my table saw and jointed both sides. The size of this shelf
is 40" X 5 1/2".
|
|
 |
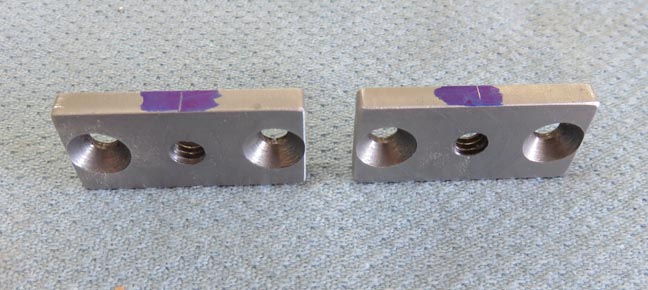
I'm getting ready to layout the location of the two mounting brackets
for the wall. I scribed some center lines on both pieces.
|
|
 |
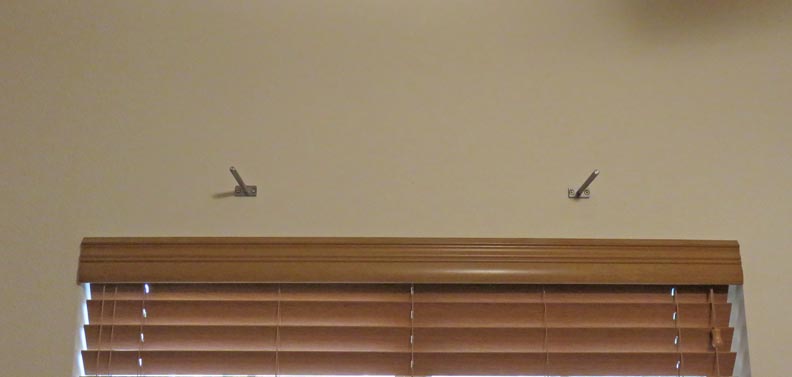
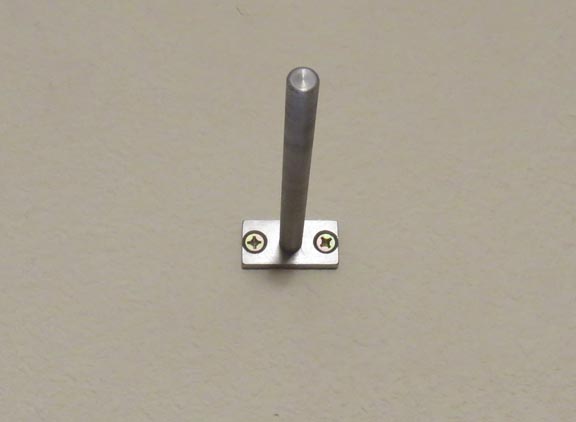
Then I screwed them to the wall centered above my office window.
|
|
 |
Here is what I have so far. Now it's time to make a story stick to
transfer the center lines to my shelf.
|
|
 |
|
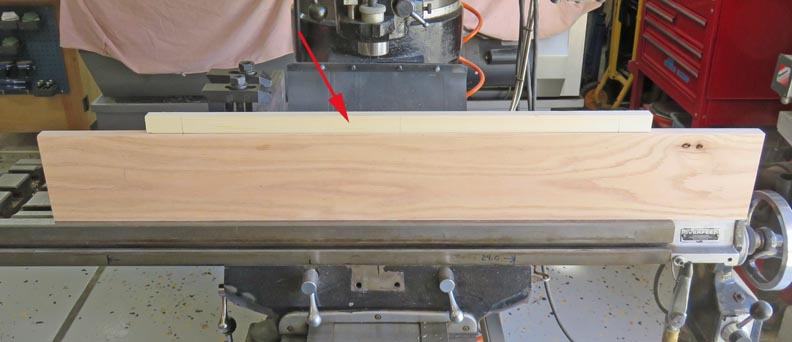
The arrow is pointing to my story stick. I centered the
story stick above my brackets on the wall above, and then transferred those
lines onto my stick. Then I transferred those lines from my story stick onto my shelf. Now
it's time to drill some holes.
|
|
 |
|
1
2
3
4 |

