|
Making A Multipurpose
Fixture Continued
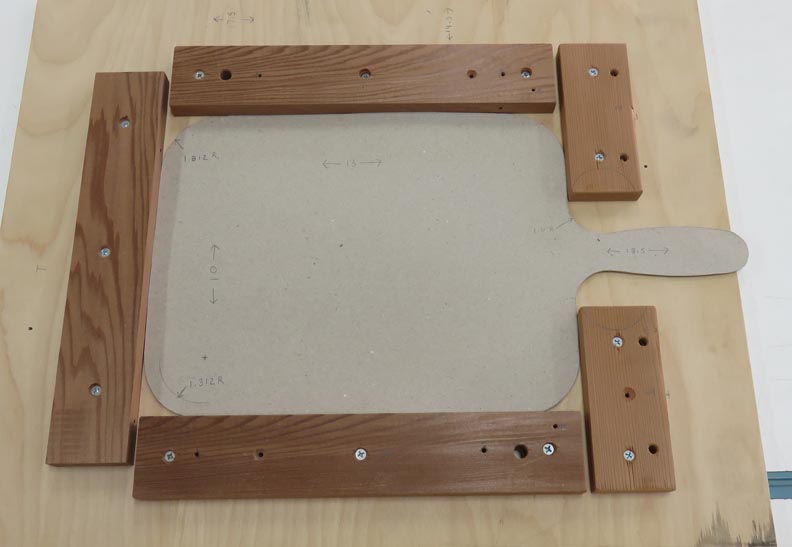
I drilled four clearance holes for some drywall screws which will
hold my router template in place.
|
|
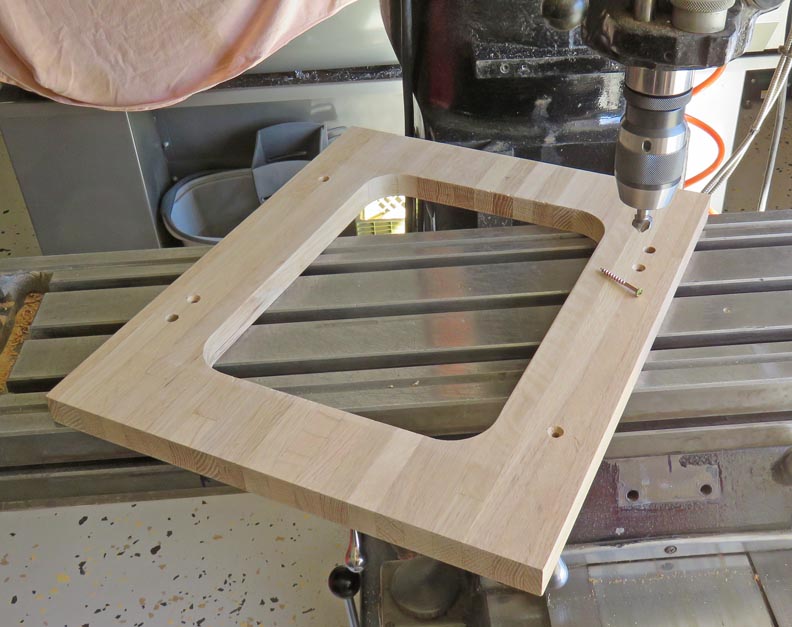 |
The screw heads need to be below the
surface so my router can slide across this area.
|
|
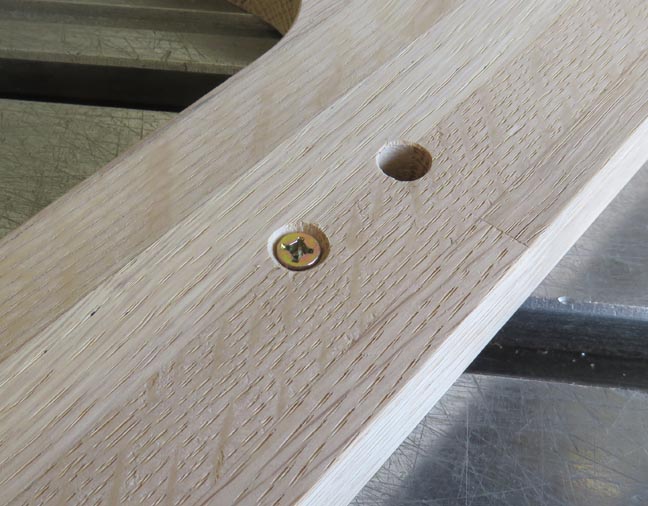 |
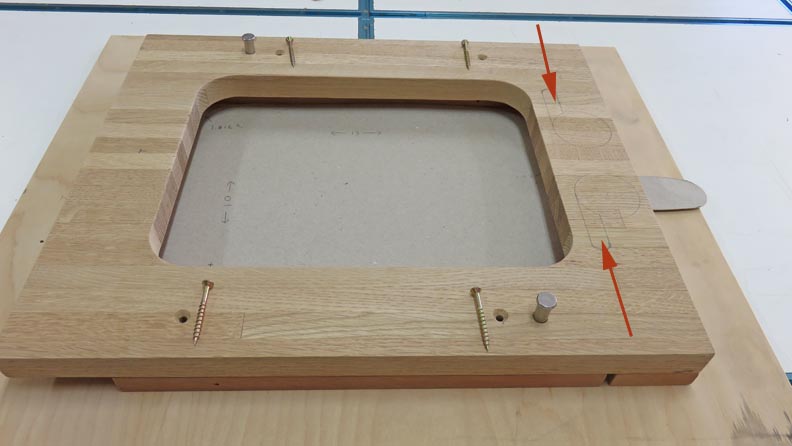
Here is the template fastened in place along with the dowel pins. When
my work piece is in the fixture, the template will act as a clamp
plate keeping my work piece from moving.
|
|
 |
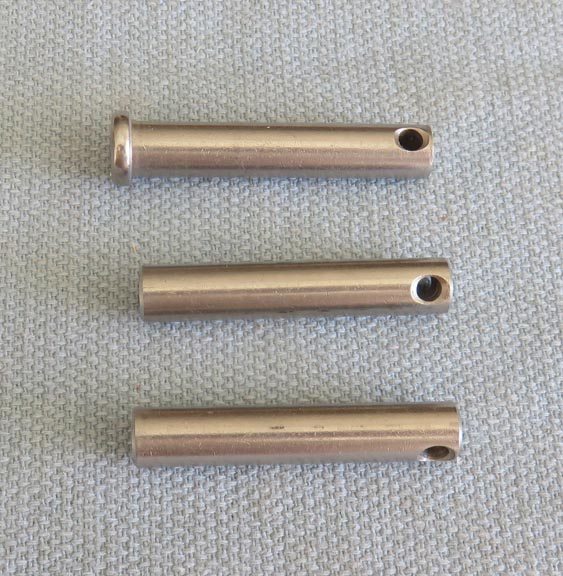
The heads on these pins will end up being in the way once I'm using my
router so it's time to do a little modifying. By the way, these clevis pins
were bought when I was building my 33 Ford.
|
|
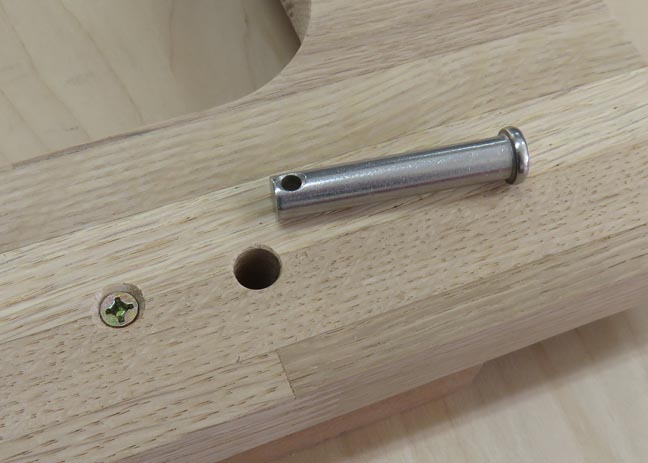 |
A quick trip to the lathe and now the heads are gone with both ends
chamfered too. Quick and easy!
|
|
 |
|
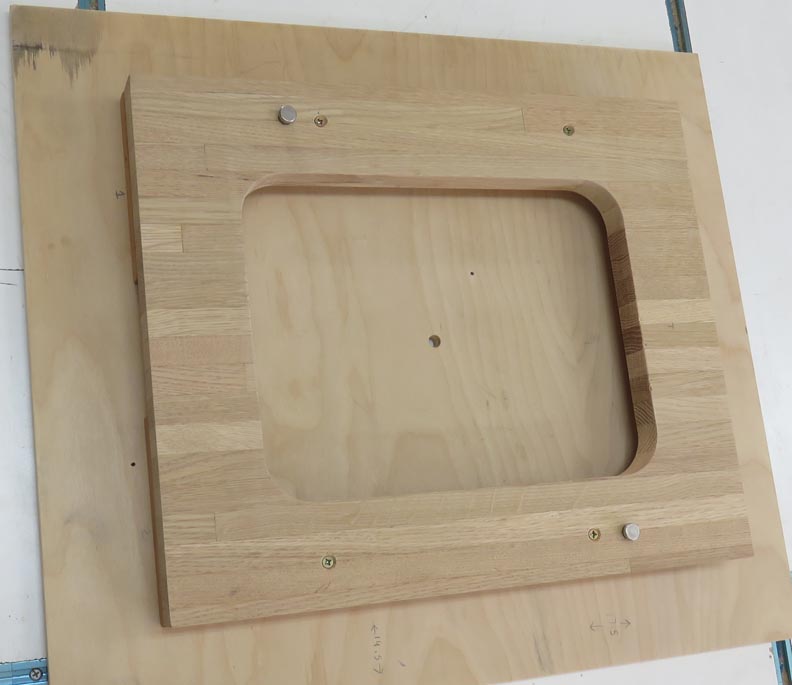
I placed the cardboard template into the fixture to show
you how its going to work. When the real pieces are in here, they will
be higher
than the redwood pieces. I also put some dowel pins in both pieces next
to the handle so they can be removed while I do other operations. Then
once those operations are finished, I can put these back in
exactly the same spots.
|
|
 |
|
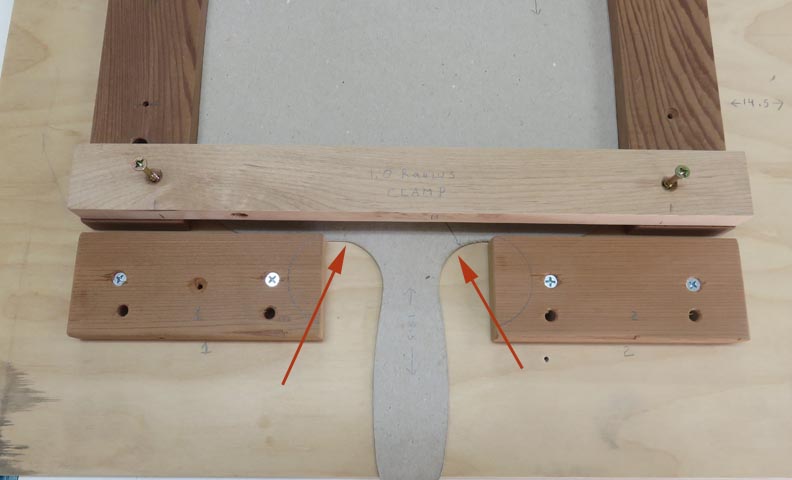
The other operations I was referring to is the one inch
radius and the 13" dimension, which you can see in pencil (arrows). I
planned on making cutouts in the top piece to machine my trays but when
I saw the pencil lines I decided not to do it this way.
|
|
 |
|
I made this wooden clamp that spans across the fixture
which will hold the trays while machining the one inch radius (arrows)
and 13" dimension. This new clamp will be used in place of the oak
piece, making it easier for me to machine those two things. And those two redwood
piece will be removed while I'm machining, making it that much easier
overall. Once I'm finished with those two operations, I'll remove the
clamp, reinstall the two redwood pieces and then I'll be ready to use my
oak template. Now for the last operation with the holes in the handles, I'll
use this clamp one more time, along with one other. At this point, this fixture is just about complete so
it's time to start on the charcuterie boards.
|
|
 |
|
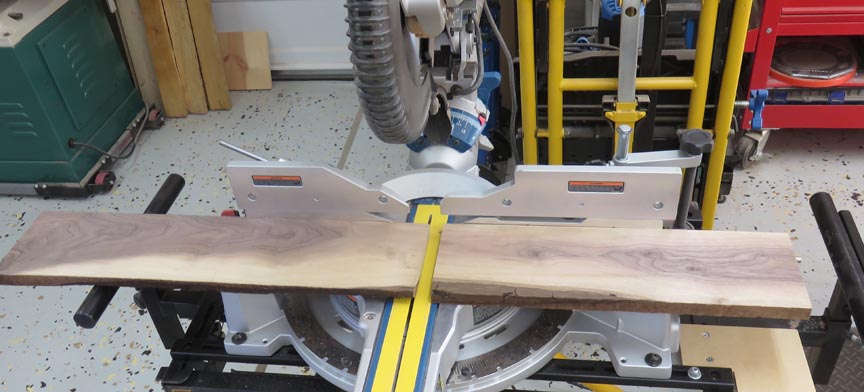
Working With Wood
I'll be using black walnut for the charcuterie boards
which should look nice. However, I didn't want to use just one color for
these so I choose some walnut that had different color variations within
it. Now don't get me wrong, black walnut is some beautiful wood, but
while I was looking at all the stock that
Reel Lumber had, I noticed a
few of these pieces that had some lighter areas and thought this would
look even better.
|
|
 |
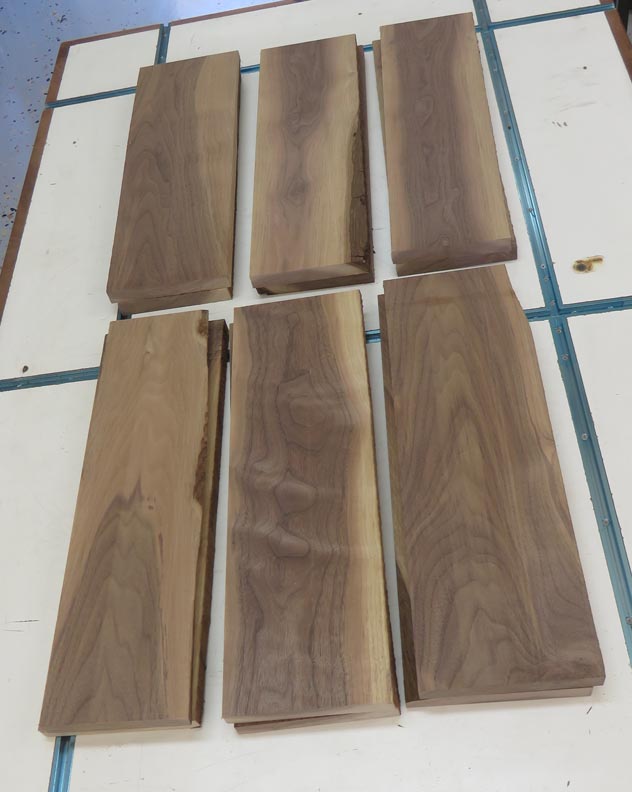
I'm going to make six boards in all, which will go to family members.
But I might have one leftover so I'll have to figure out who that one
will go to.
|
|
 |
|
1
2
3
4
5
6
7
8
9
10
11 |