|
Working With Wood Continued
Here is what it looks like after sanding. Now it's time to add some
fasteners.
|
|
 |
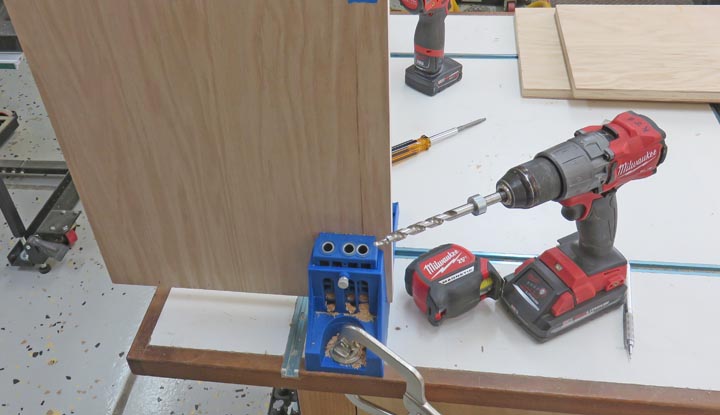
I used my pocket hole jig to drill five
holes on each board.
|
|
 |
This is the bottom and all the screws will be hidden. However, the top
piece will be easier to see but the books should hide most of them.
|
|
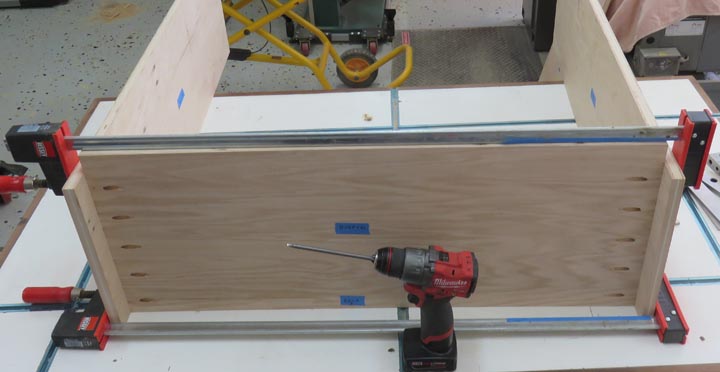 |
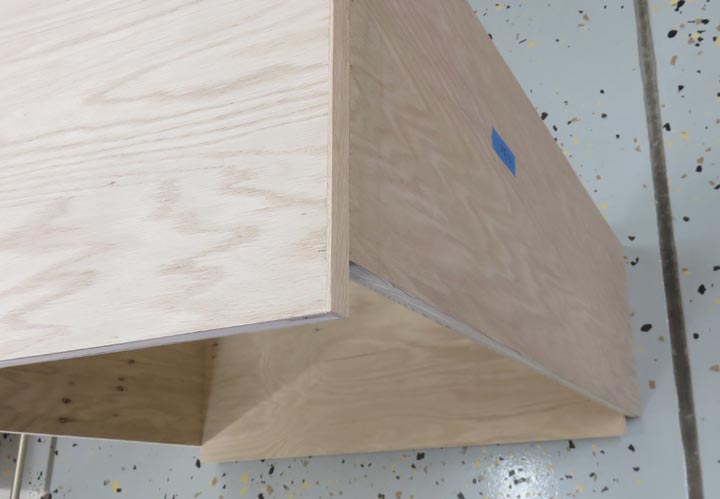
Here is what it looks like so far. I'll be adding some trim pieces to
the front later on.
|
|
 |
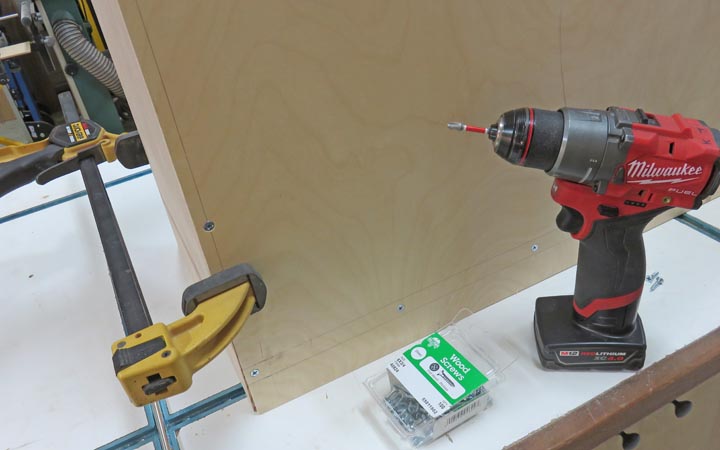
Now it's time to add some plywood to the back. I'm using some 1/4" thick
plywood for this and I've got it clamped in place while I layout some
pencil lines.
|
|
 |
|
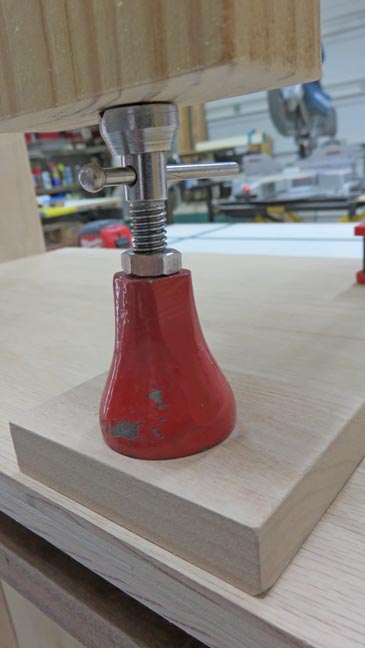
Remember earlier that my plywood was cupped, well I wanted to make sure the
carcass was square and parallel. To make that happen, I used one of my
parallel clamps, reversed the jaws and clamped it in place. Now this
worked great for the front, but the back still had a problem. To remedy
that, I used a 2 X 4 and a machinist jack to force the backside
of the carcass to where I needed it.
|
|
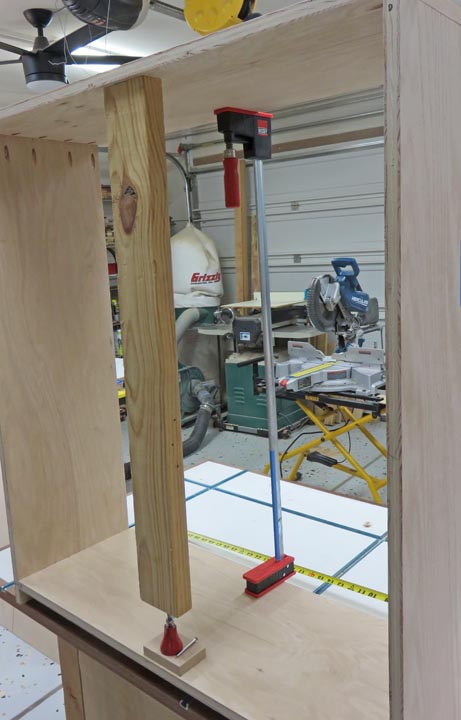 |
A close-up of the jack. It's unfortunate that I had to do this but it
worked great.
|
|
 |
I laid out some center lines and then used a pilot drill for some number
8 screws. Then I used a countersink for the flathead screws and drove
them all in.
|
|
 |
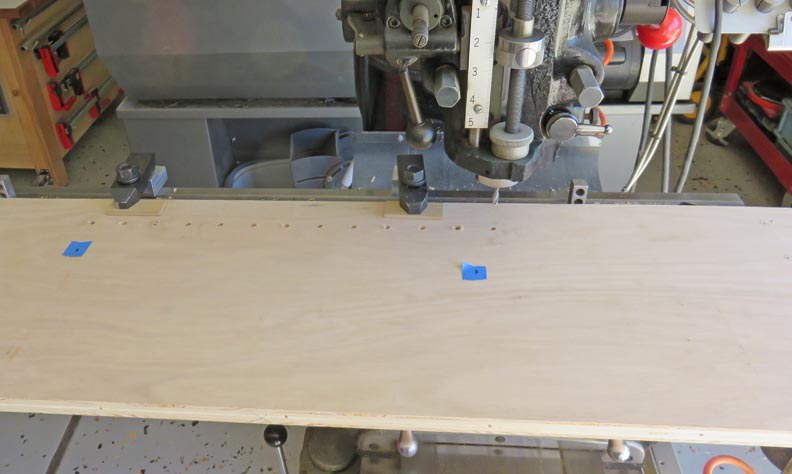
Here I'm putting in some 1/4" holes that are 1 1/4" apart so the shelves
are adjustable.
|
|
 |
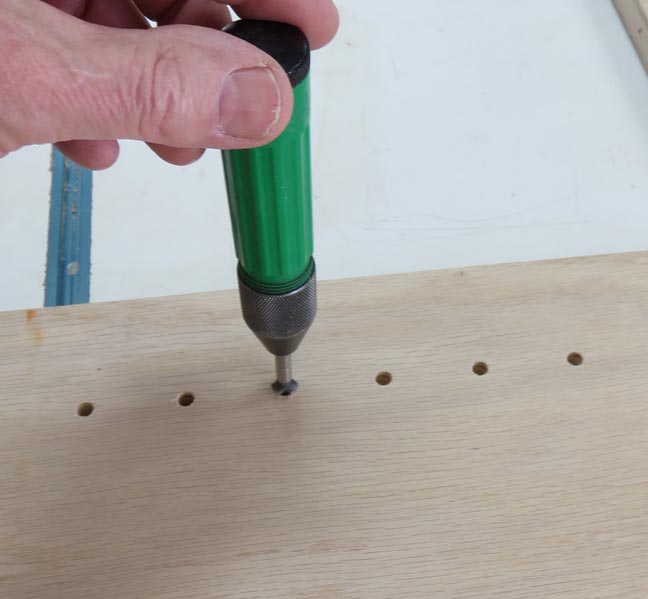
A quick deburr with a hand held collet chuck holding a small
countersink.
|
|
 |
|
1
2
3
4
5
6 |