|
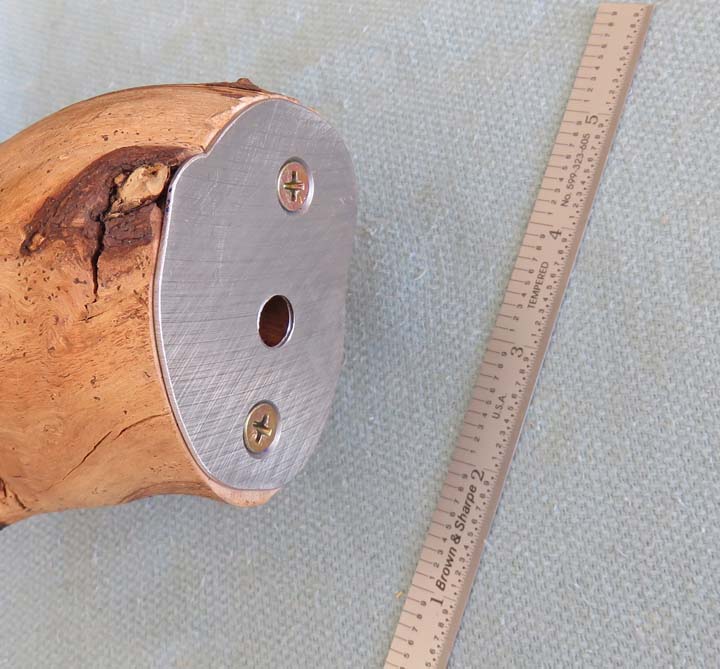
Adapter Plate Continued With the help of my belt sander, I now have an adapter plate all
finished. And that bushing that I made earlier
made all this possible, that kept my steel plate in the correct location.
|
|
 |
| Wooden Bases
8-2020
This
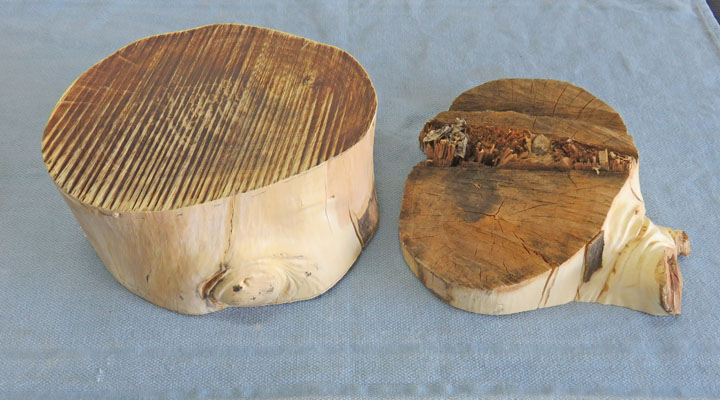
is a piece of grapefruit wood that I plan on using for a base. The piece
on the right was the end and was discarded.
|
|
 |
|
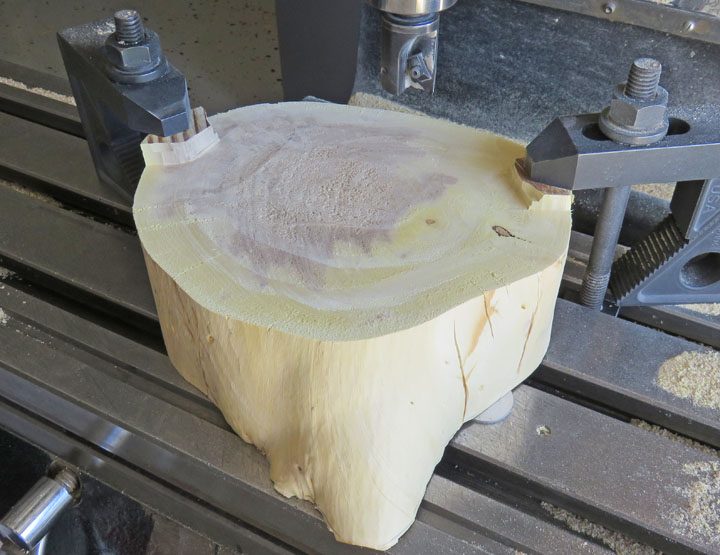
This grapefruit wood gave me two pieces to work with
(notice this one's different from the one above). What I'm doing is
machining the surfaces parallel but working around my clamps. Once I
moved the clamps I machined those two remaining areas.
|
|
 |
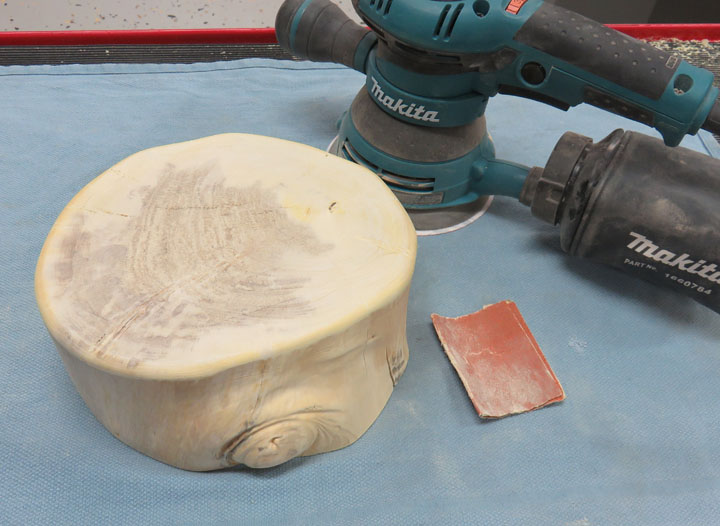
I used my router to put a 3/16 corner round on the top surface and then I sanded
both pieces.
|
|
 |
|
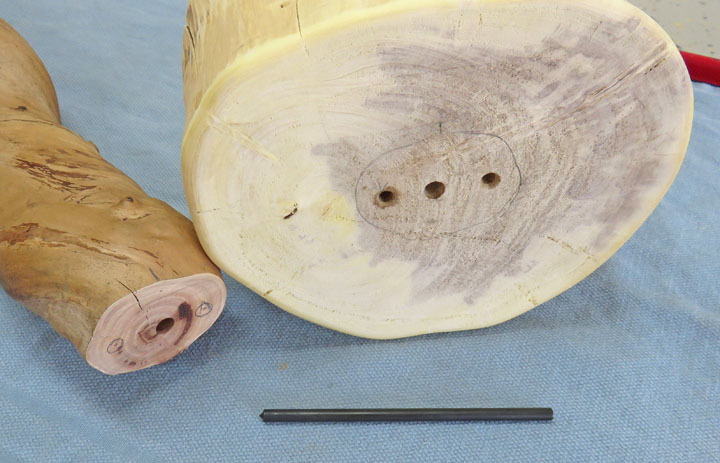
I placed the twisted juniper on the base and drew a
pencil line around it. This gave me a center point to work with and I
drilled a 5/16" diameter hole through the base. Once I had the center
hole, I drilled the two outer holes for some screws to pass through. Then I
used those two holes and my transfer punch to mark this location on my
twisted piece.
|
|
 |
Here you can see the center punch marks that the transfer punch made. I then
used my hand drill to put some pilot holes in.
|
|
 |
|
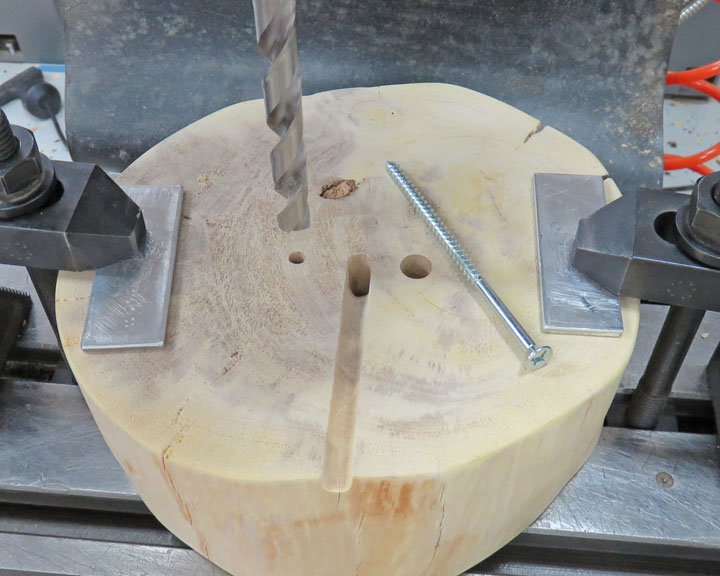
I went to the hardware store and couldn't find screws
that I was looking for so I had to settle for some shorter ones. And because
I'm using shorter ones, I had to counterbore about half way through the
base so I would have enough thread engagement on my twisted juniper.
Here I'm using a drill as my counterbore and it worked great.
|
|
 |
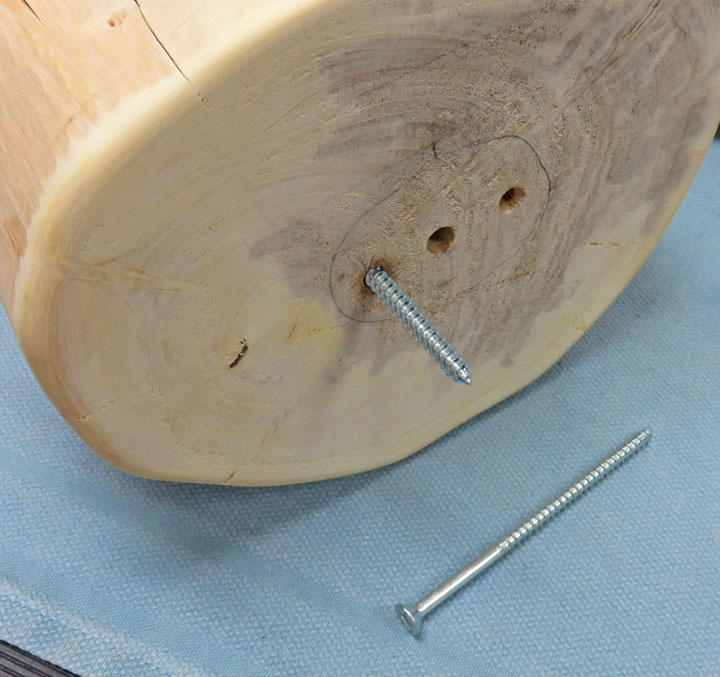
The screws are four inches long and the base is about 3" thick.
This should leave me plenty of thread engagement.
|
|
 |
|
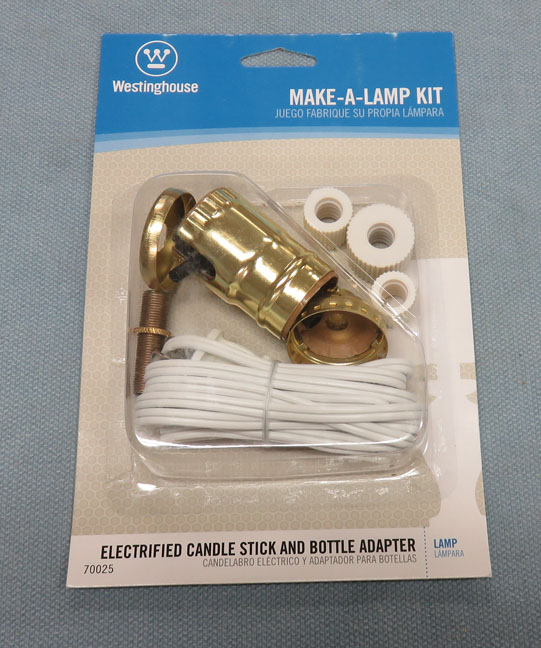
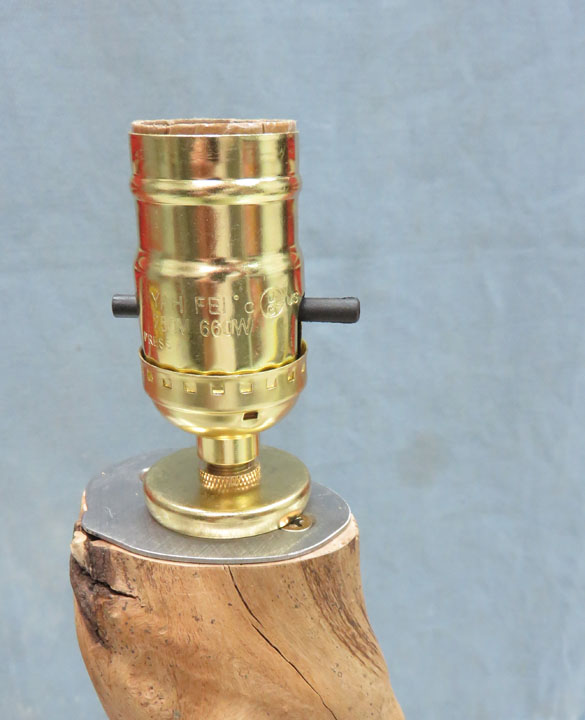
Electrical
I also bought this lamp kit but didn't use all the goodies.
|
|
 |
Here is what it will look like but at this point I don't have the wire
hooked up yet. So far so good.
|
|
 |
|
1
2
3
4
5 |