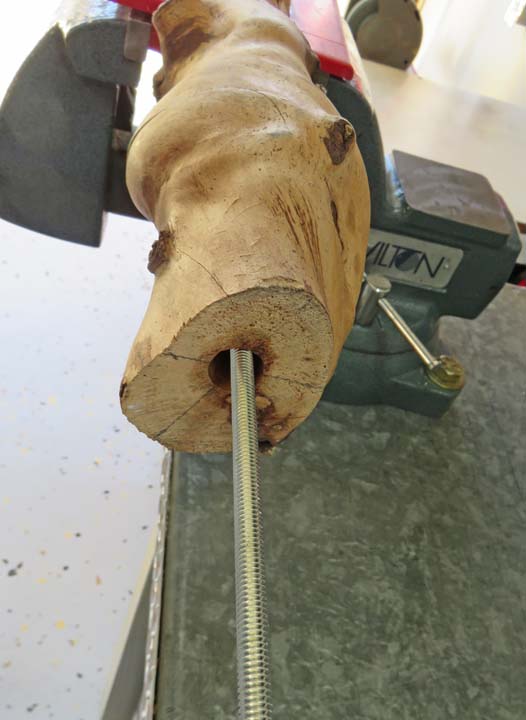
By working the all-thread back-and-forth like a file, I was able to open
the hole enough for an electrical cord to pass through. Whatever works
ya know!
|
|
 |
|
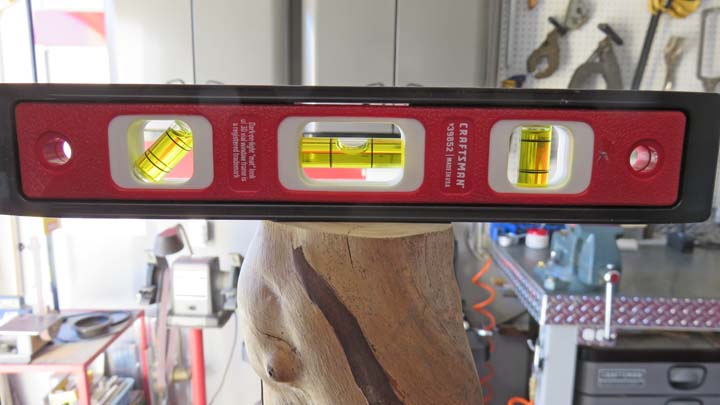
Adapter Plate I placed my wood piece on my milling machine table and
worked this end until I had it level. I didn't use my milling machine to
cut anything, I used my belt sander, file and sanding block so both ends
were parallel.
|
|
 |
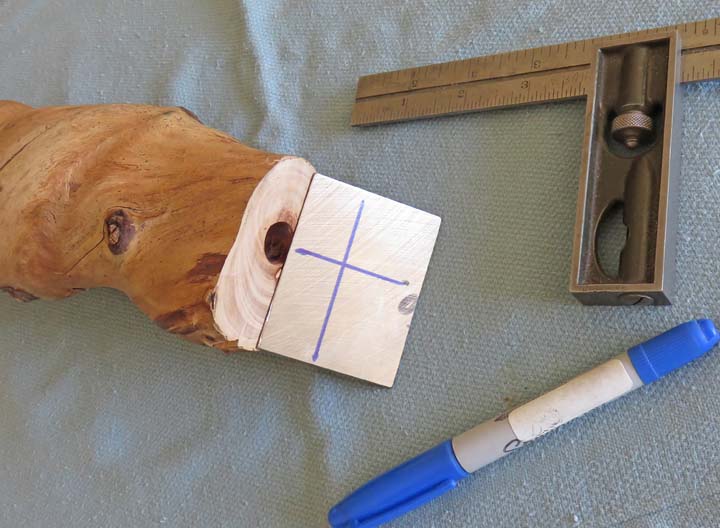
What I'm getting ready to do is make a contoured piece to fit on one
end. This piece will have 1/8" pipe threads and will be held down with some
screws. This piece is made out of 1/16" steel.
|
|
 |
|
Here I'm tapping the pipe threads. Now all I have is a
tapered pipe tap but these should have been straight pipe threads. That
means I'll have to be careful not to go too deep on these threads.
|
|
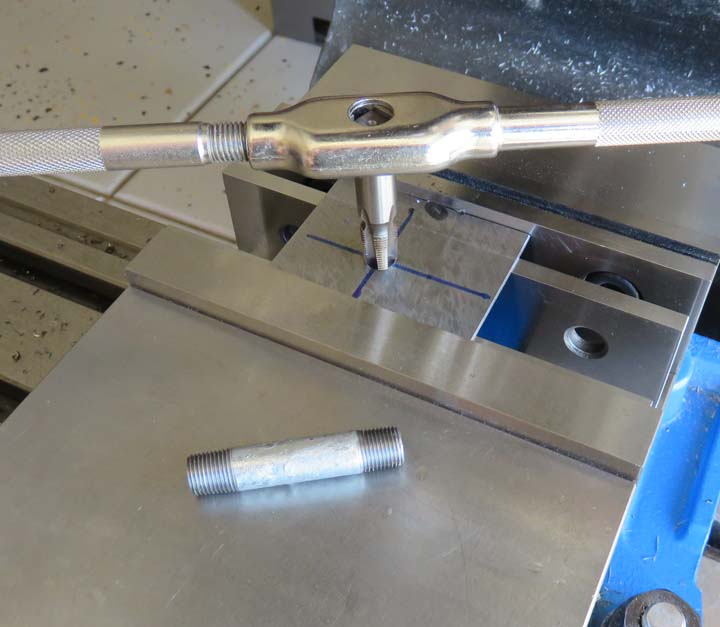 |
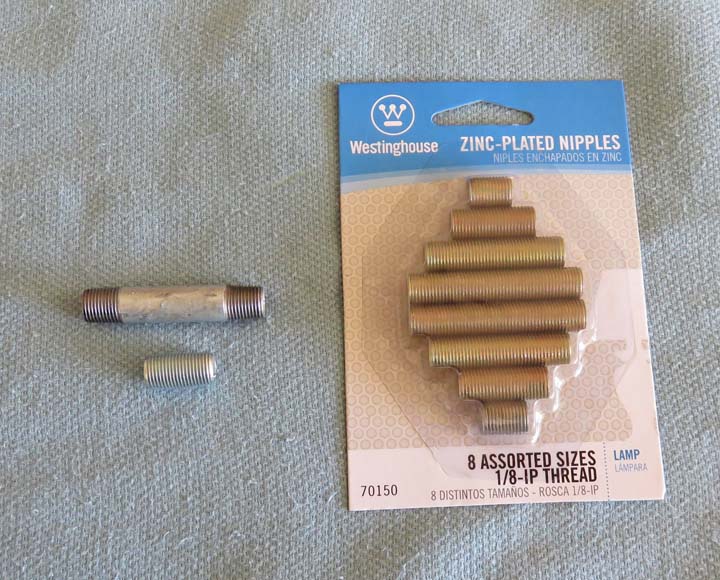
I bought these pipe nipples at the hardware store so I have some
choices. And these pipe nipples all have straight pipe threads.
|
|
 |
|
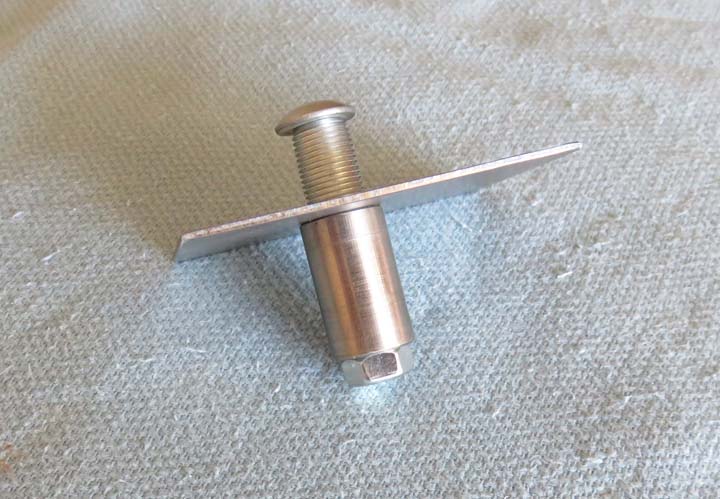
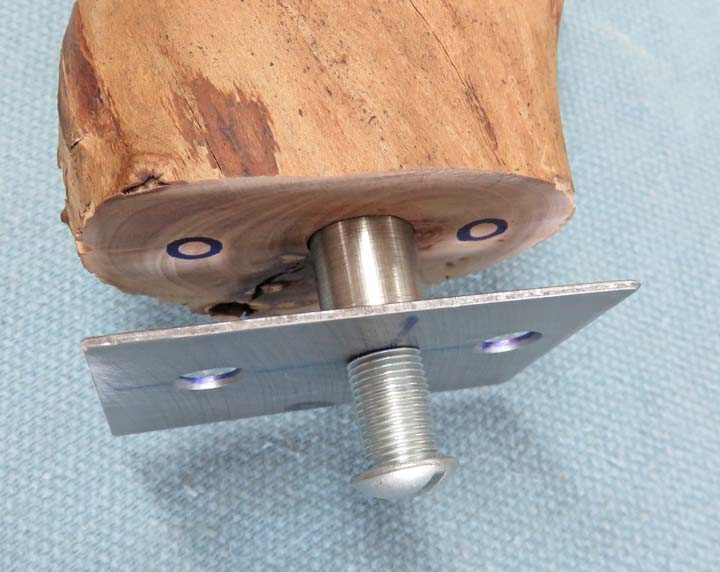
What you see below is my 1/16" steel end piece but I
needed my 1/8 pipe thread centered in my piece of twisted juniper. To
make that happen I made this small bushing that is 5/8" outside diameter
and the inside diameter is the same as my 1/8" pipe thread. And with a
pipe nipple threaded into my steel plate, I used a 1/4-20 bolt through
the center to hold everything together.
|
|
 |
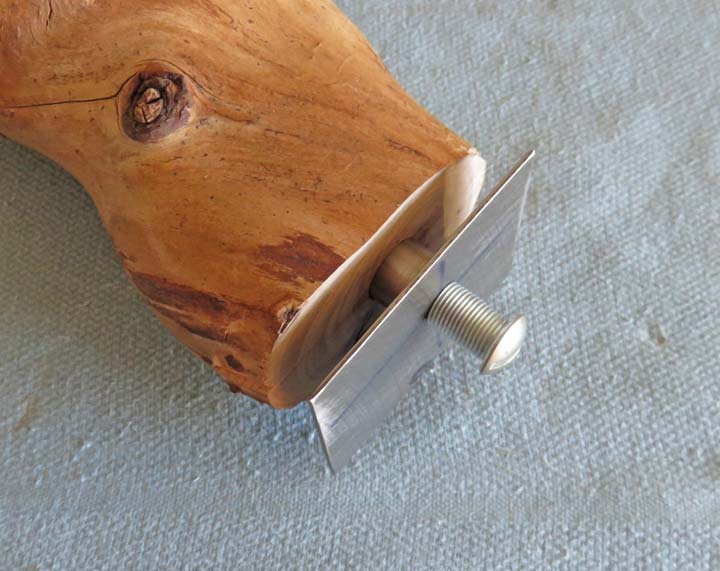
Now I can insert the bushing into my wooden piece and it will stay
centered while I do some layout.
|
|
 |
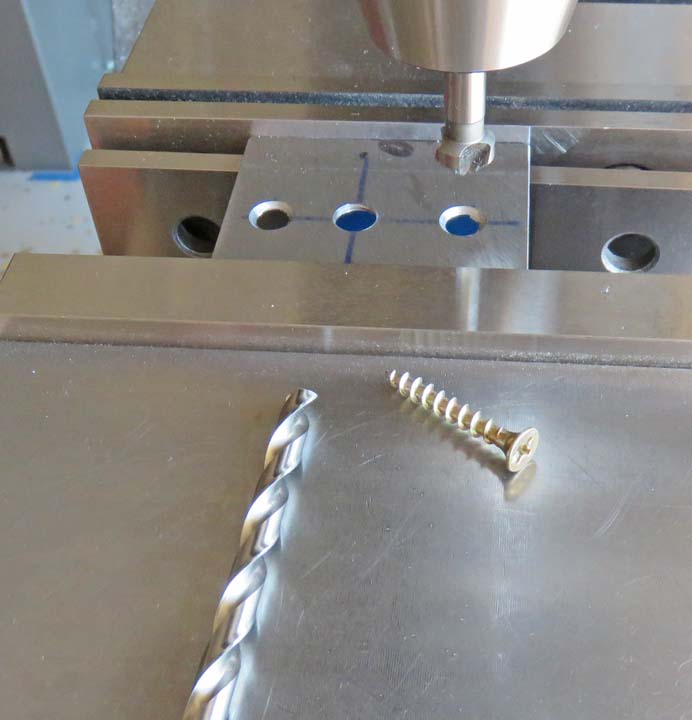
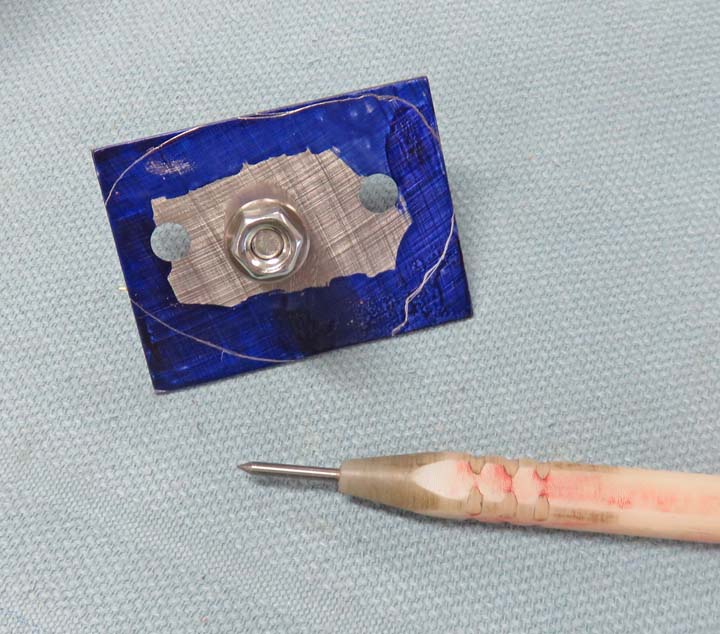
Here I'm drilling and chamfering some holes to fasten the steel plate on
with.
|
|
 |
Now I can transfer these holes to the wooden piece.
|
|
 |
Here I've scribed a line from my piece of juniper and now it's time to shape
it.
|
|
 |
|
1
2
3
4
5 |