|
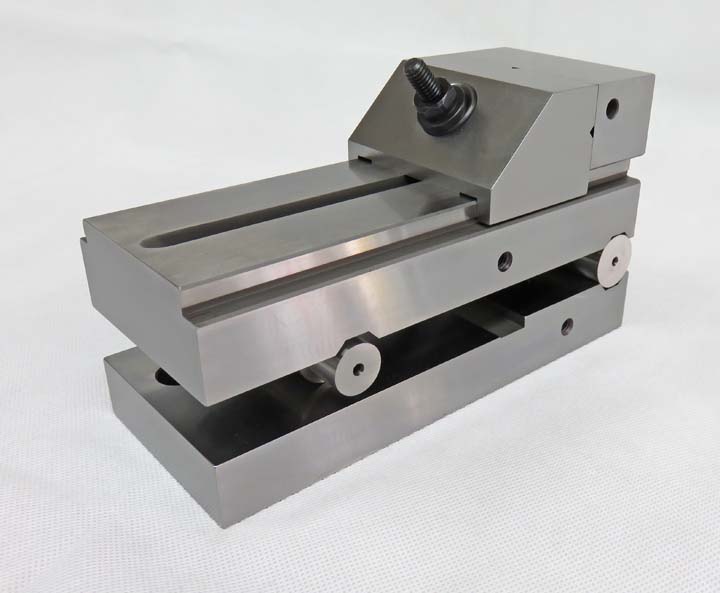
Precision Vise
After about 30 plus hours of grinding, my new precision vise is
finished.
|
|
 |
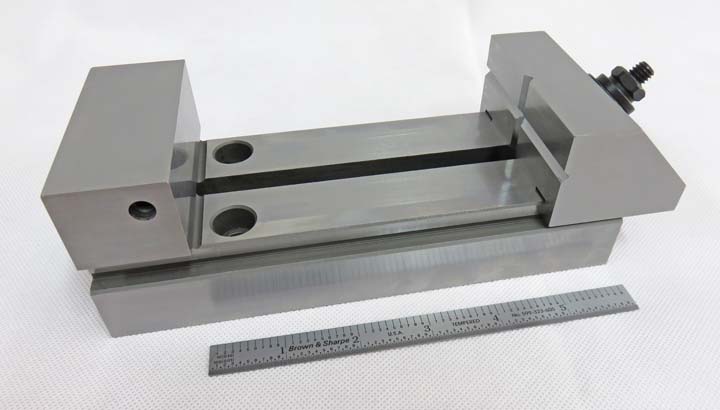
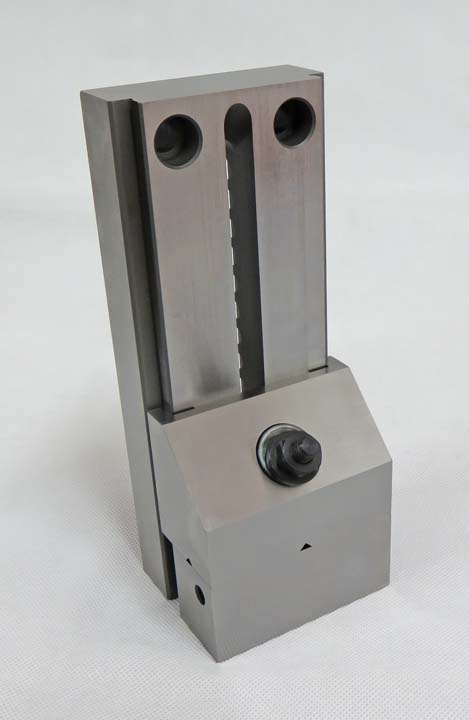
Here you can see the different positions that you can use depending on the size of
the parts that your holding. Each notch is .400 apart and it's very easy
to move from notch-to-notch.
|
|
 |
|
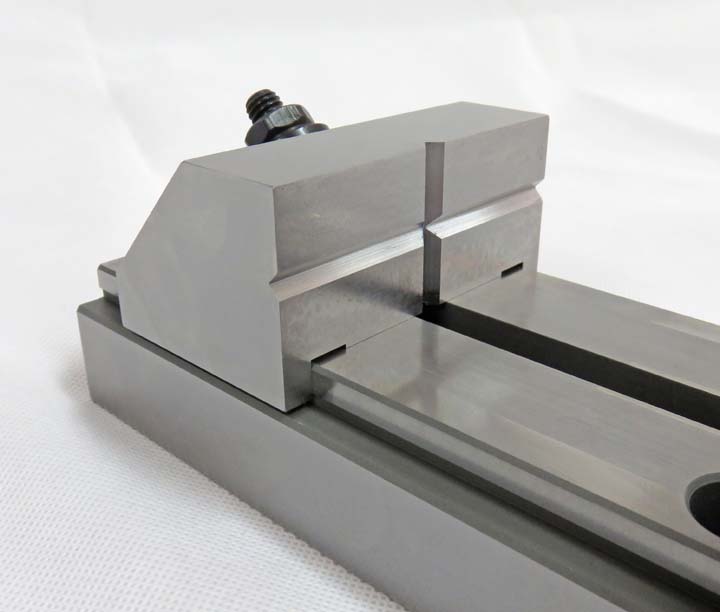
A view of the V's in the movable jaw.
|
|
 |
|
Both vises can hold parts that are over five inches
long.
|
|
 |
|
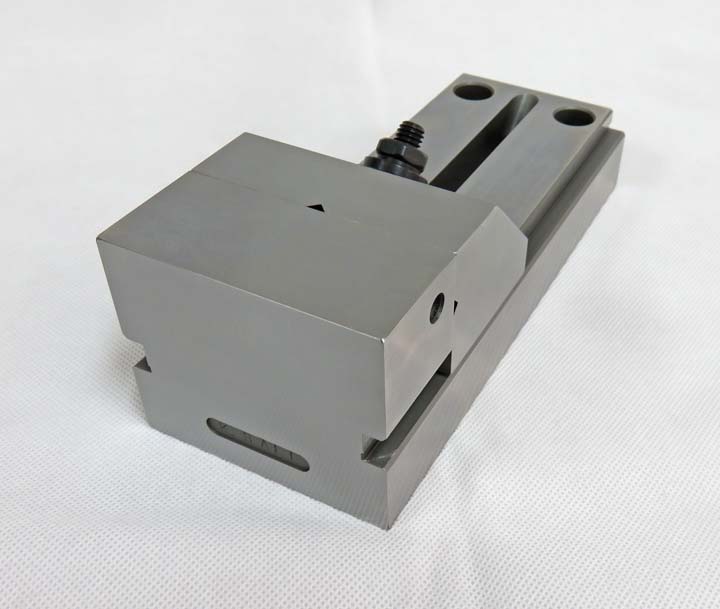
You never know what you might work on so this is why
you make your vise square, just in case you have to hold your work piece
in this manner.
|
|
 |
|
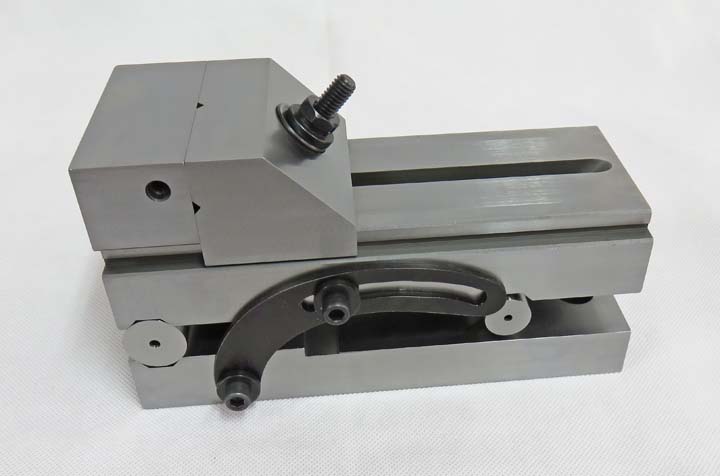
5" Sine Vise My first attempt
at making a sine vise and it took longer than I thought it would.
|
|
 |
|
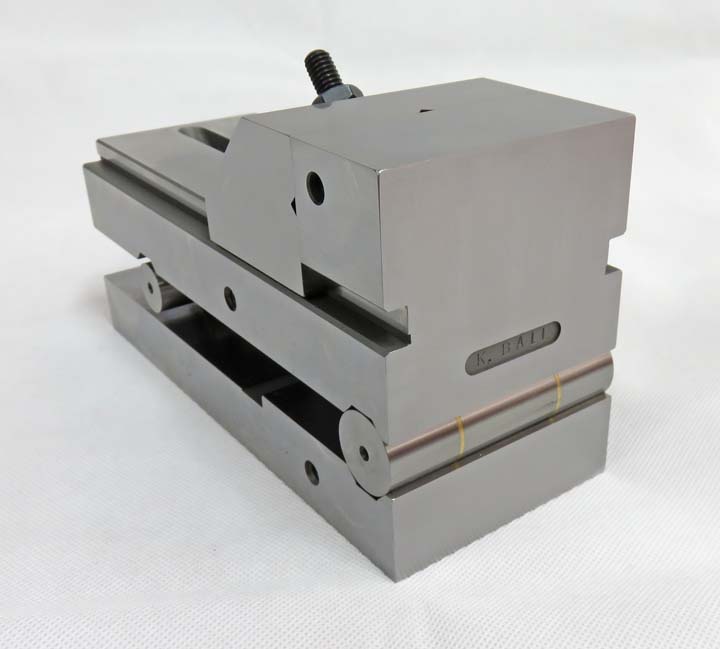
The entire vise is square and parallel within .0002".
Just so you know, that's not easy to do. The key to this is to take your
time and go slow.
|
|
 |
|
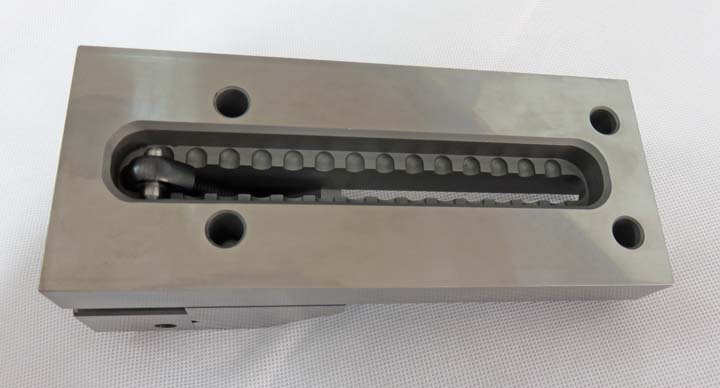
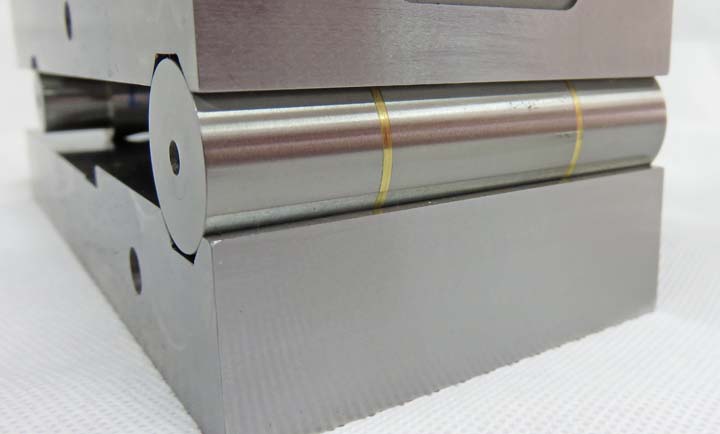
A close-up of the hinge or moveable cylinder.
|
|
 |
|
The curved clamp is to make sure nothing moves once
you have the angle that you want. Speaking of angles, I checked the
accuracy of my 5" sine vise at my work on a coordinate measuring machine
(CMM) and found out it's almost dead on. And to do this I could
use any angle that I wanted as long as the CMM checking it new the angle
I was attempting to use. In this case I went with 25 degrees and placed
the proper amount of gage blocks under the cylinder and tightened the
curved clamp.
In case you don't know, one 'degree' is broken down into
pieces called 'minutes' and each minute is broken down into pieces
called 'seconds', like a wall clock is. Well my vise was only "three
seconds off" from my target of 25 degrees. Now that's a very small
amount and I can live with that because the smallest piece of dust
between the vise and gage blocks can cause this error.
|
|
 |
|
I put a second set of clamp holes on the other side
because you never know what setup you'll be dealing with. And the holes
on either side of the solid jaw is for a work stop, just in case I need
one.
|
|
 |
|
1
2
3 |